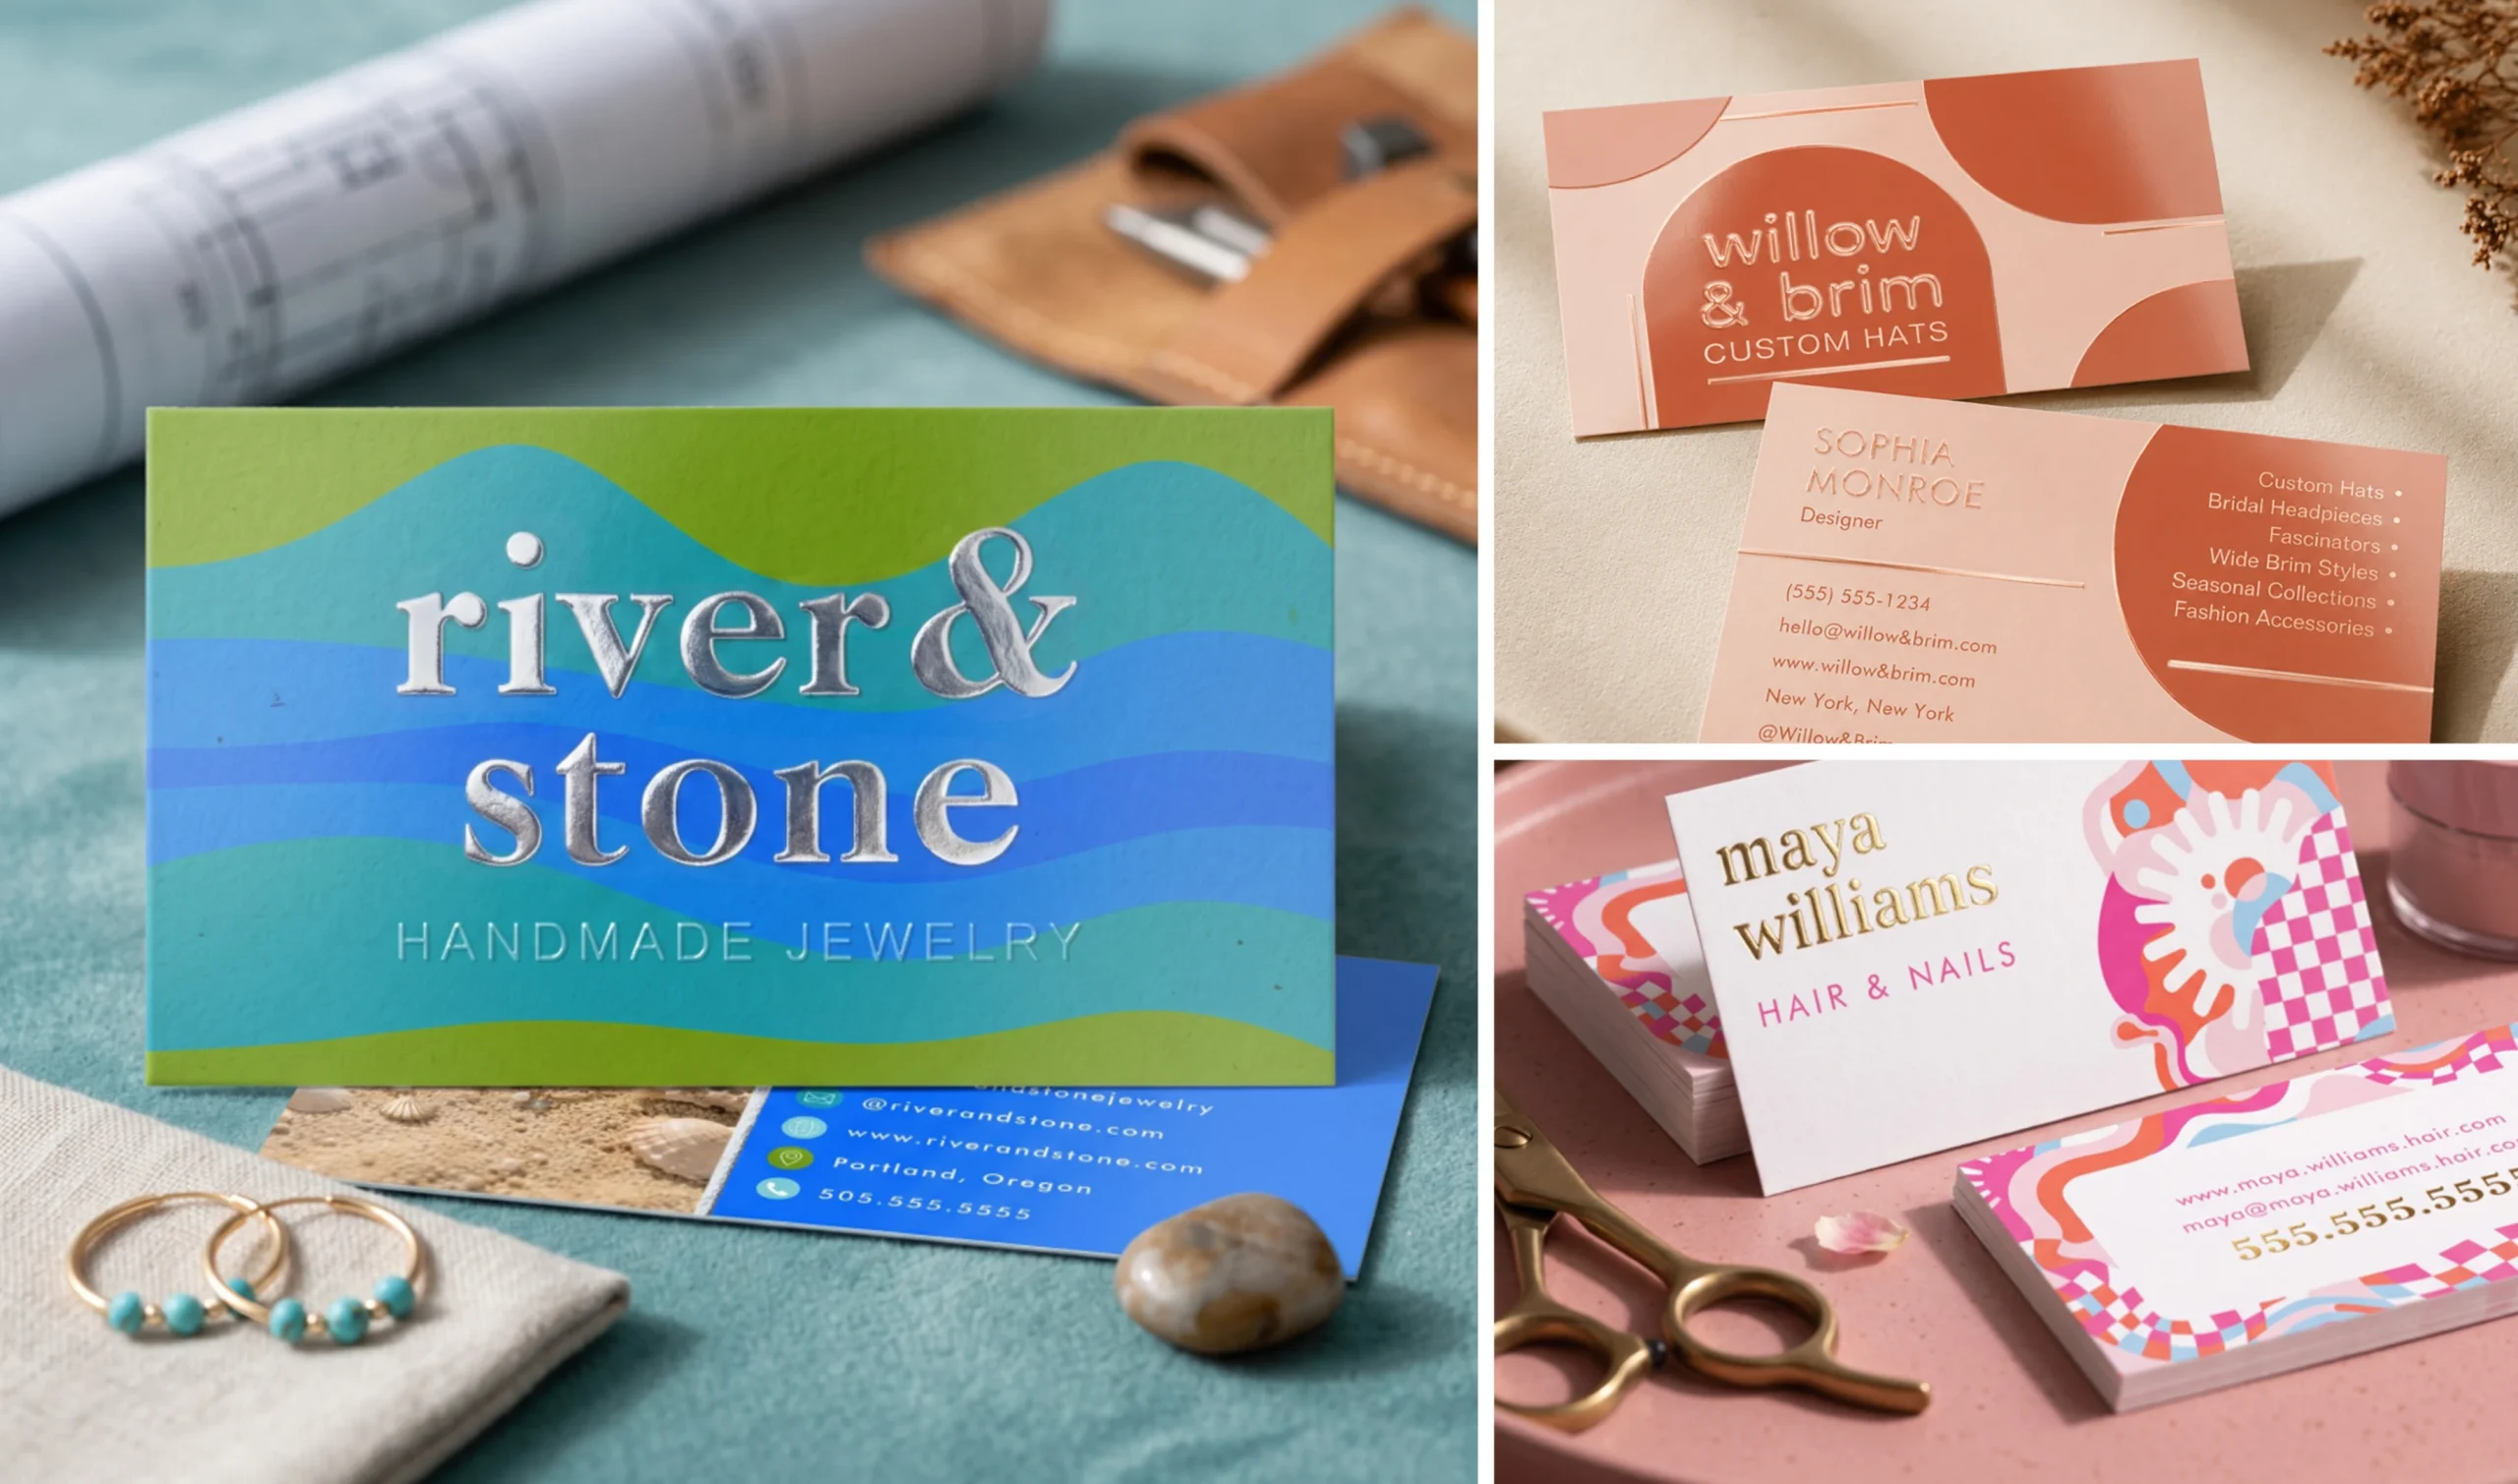

Although the prevalence of digital networking continues to grow, business is at its best when conducted face to face. Emails and social media can’t compare to the moment you shake a stranger’s hand and present ‘real’ business cards. There’s a tangible takeaway in that encounter; it’s something they can consult or admire long after the event is over. Even if it initially languishes in a wallet for a few days, there’s still much to appreciate about a well-made business card.
Of course, making sure your business cards are “well-made” is crucial. The most impactful cards often incorporate a unique finish, such as foil, frosted plastic, or a magnetic backing. Today, we’re focusing on spot UV cards, which, for the uninitiated, feature a shiny coating applied to key elements of the design. Read on to learn how to design a spot UV business card on Zazzle. We promise not to gloss over any details!
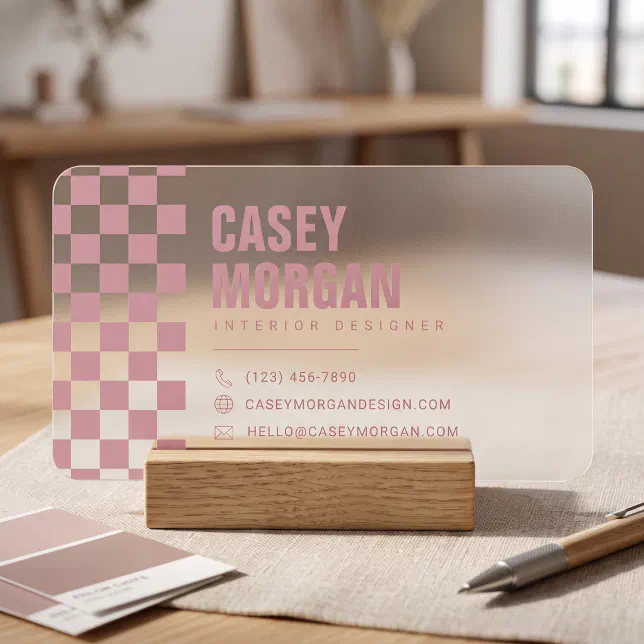
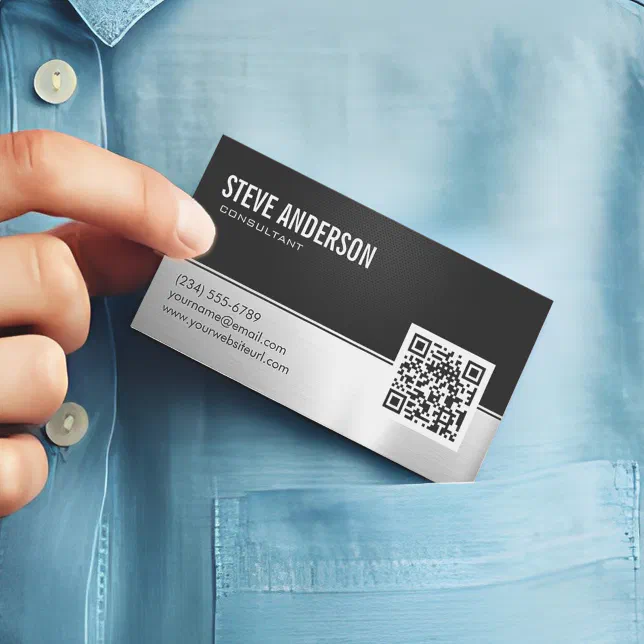
What Is Spot UV, and Why Does It Work?
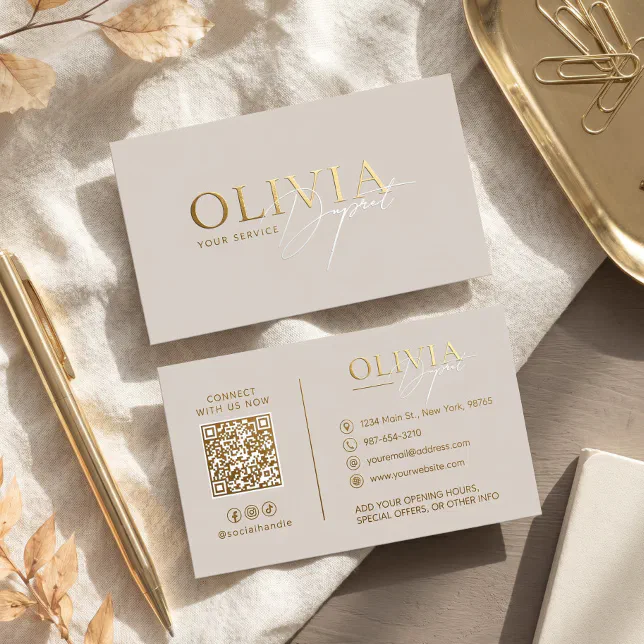
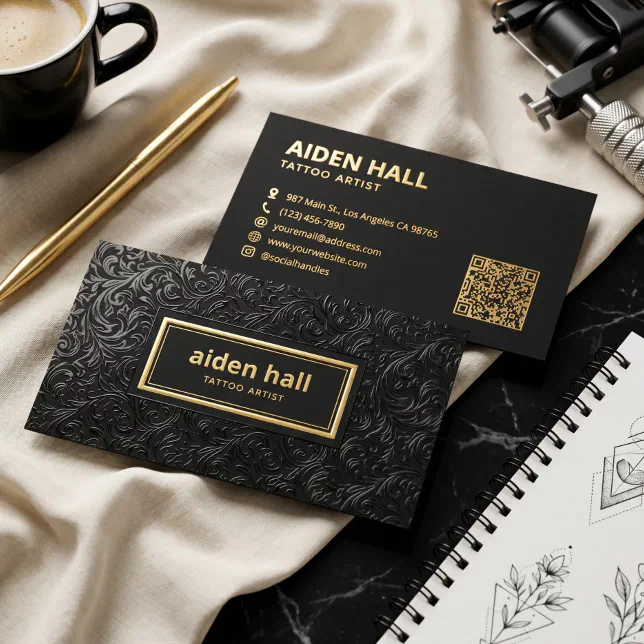
Compared to foil print business cards, which add a metallic layer atop the standard CMYK-printed card, spot UV is a subtler approach. A clear varnish is first applied to any area of the design you want to highlight. The coated surface then passes under an ultraviolet lamp to instantly harden the gloss (hence ‘UV’). The technique causes these areas to rise slightly above the card, which can be satisfying for customers to run their thumbs over!
Essentially, the appeal of raised UV gloss is that it adds depth and dynamism to your business cards. Not only is there a “striking [visual] contrast between the matte and shiny surfaces,” as Adobe has noted, but the combination of flat and relief textures adds a tactile dimension. The gloss is also colorless, which means it won’t disrupt your color scheme. However, if you did want to pair it with silver, gold, or rose gold, you can have spot UV cards which include a CMYK layer and a foil layer.
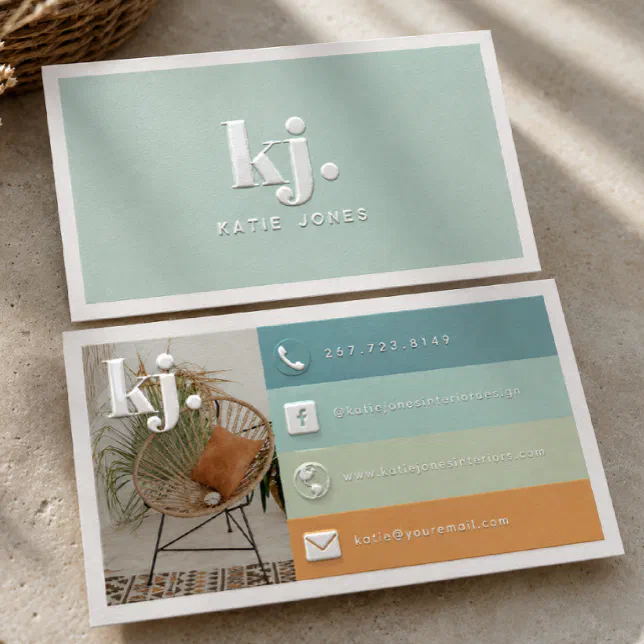
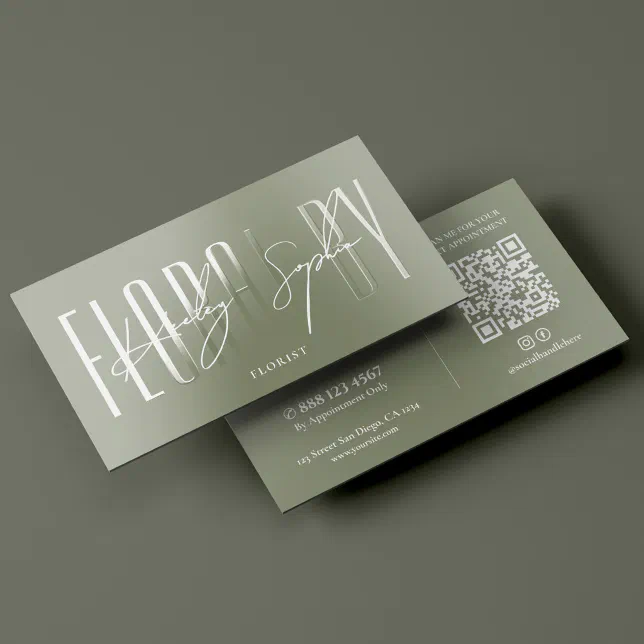
Choosing Your Spot UV Elements
Although it might be tempting to cover every name and number with spot gloss, the important word here is “spot.” In other words, the gloss is meant to be dotted around the card. Choose a single focal point or prominent element – such as your brand name or logo – and treat that as the centerpiece. Measured use of raised UV will ensure that the shiny details ‘pop’ against the rest. It also means the finished product won’t resemble a holographic trading card!
Another common mistake people make is that they use spot UV to foreground details written in a small typeface. When applied to tiny typography, “[y]our design will have a messy, less textured definition and lose the shiny effect.” If you want the reflective coating to be visible and palpable, it needs to be a certain size. Thankfully, when designing spot UV cards on Zazzle, you can work step-by-step with a template. This allows you to establish the UV layer first and arrange the other elements in relation to that.
Deciding on a Background and Color
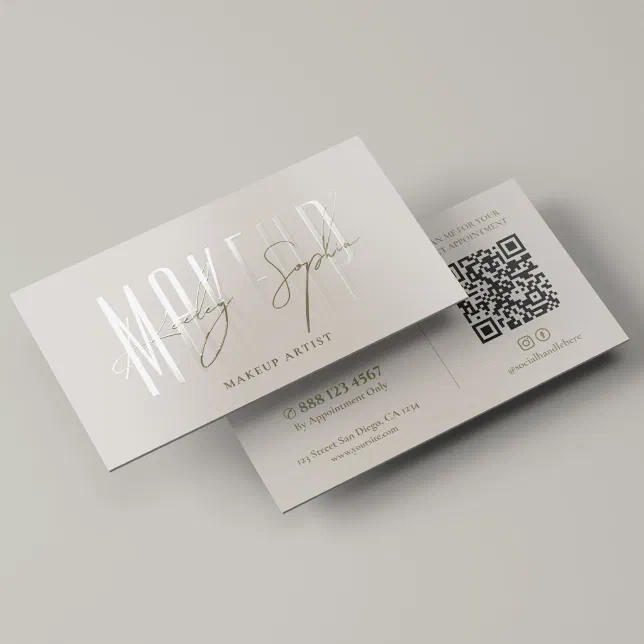
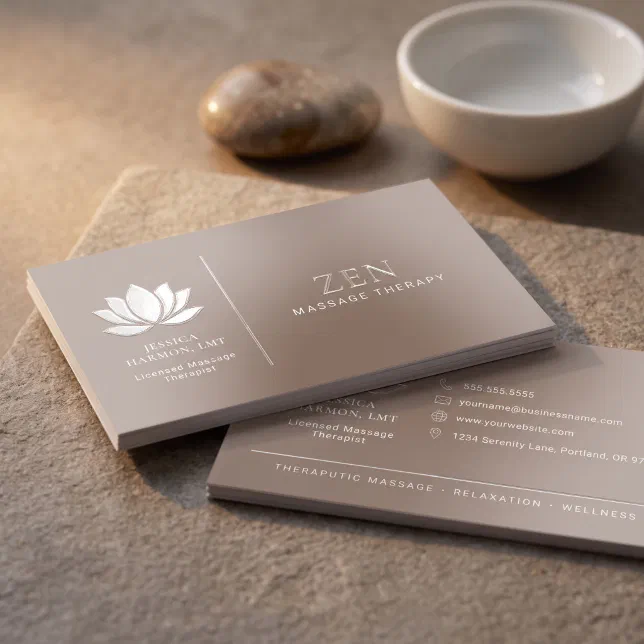
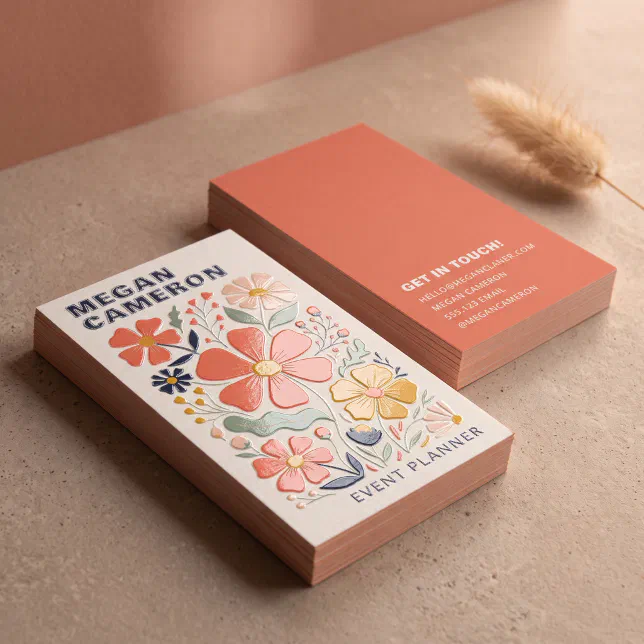
In terms of those “other elements,” then, contrast is highly effective. If your contact details are in a clean, sans-serif font, your name could be in a serif with UV gloss, accentuating the difference between them. Because the UV and CMYK layers are laid down separately, overlapping elements can also work. Many business card designers add their signature in UV once they’ve added everything else, as a final flourish. For best results, enhance the font size (using the ‘Edit’ menu, visible when you click on the text) and thickness (visible under the ‘Effects’ menu).
UV gloss is clear in color, so unlike foil, it can’t be considered part of your color scheme. It does reflect light, however, and so dark matte backgrounds in rich hues will help the glossy accents to stand out – Adobe recommends navy, black, or charcoal. Cluttered backgrounds or large amounts of text can also swallow up the spot effect.
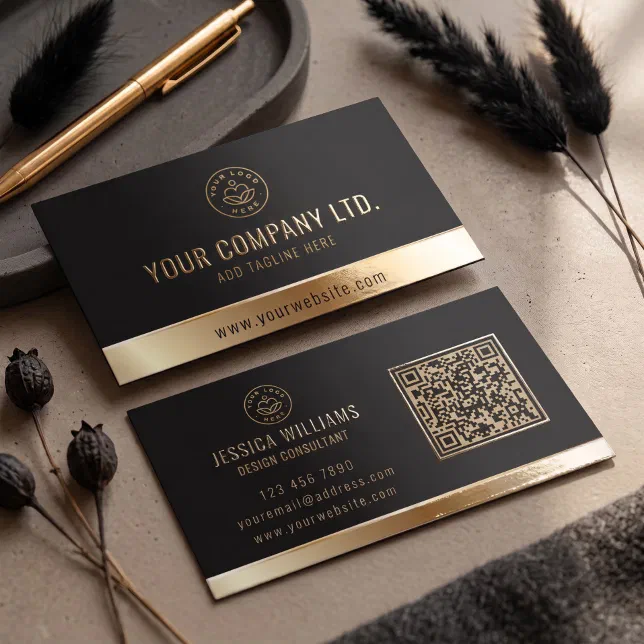
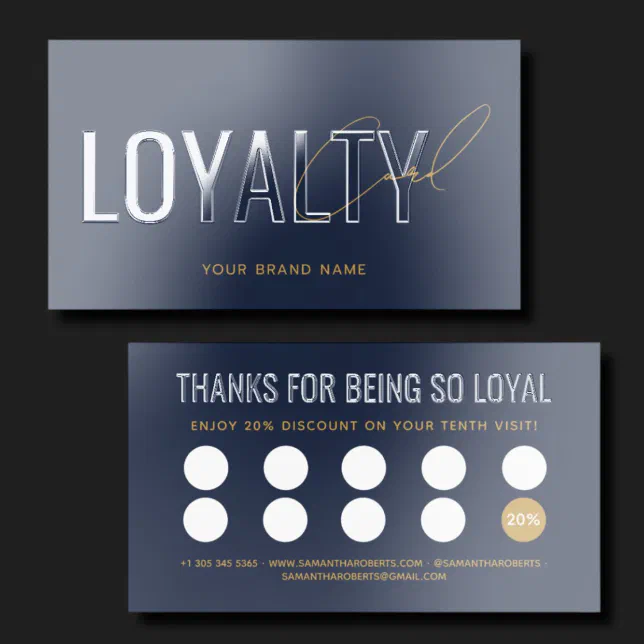
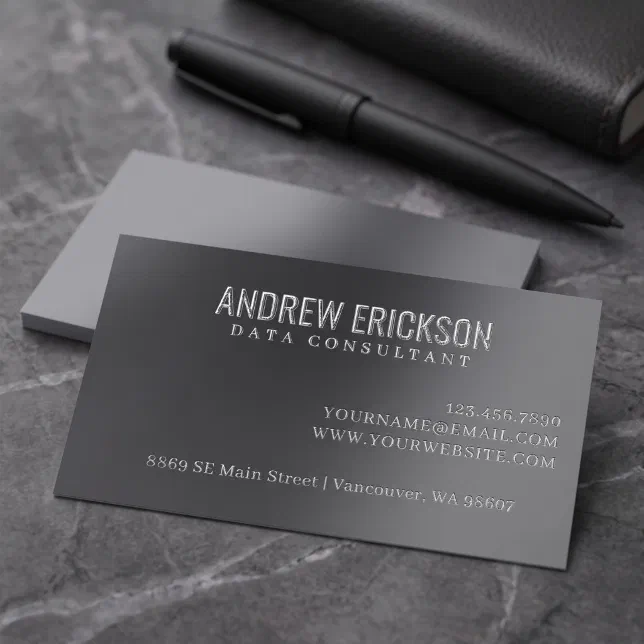
How to Design a Spot UV Business Card for Your Industry
Everyone from freelancers to CEOs can benefit from raised gloss business cards. If you work in a fashion-oriented field, the unique mix of textures can express your creativity and sense of style. For those in the cleaning services industry, that clear, bright gloss underscores the extra polish you bring to your work. Likewise, it makes sense that anyone working with state-of-the-art technology would have modern-looking business cards to match.
The type of work you do can also influence where you choose to apply the spot UV. If you’re someone whose name is the selling point – an independent hair stylist or photographer, say – illuminate your own name or initials. On the other hand, if it’s the company you represent that carries the most weight and trust, outline the logo or underline the slogan in UV. In some industries, speed of contact and in-person dealings are the priority, so you should underline your phone number or commercial address. Alternatively, put your website or LinkedIn profile in the spotlight if you conduct your business primarily online.
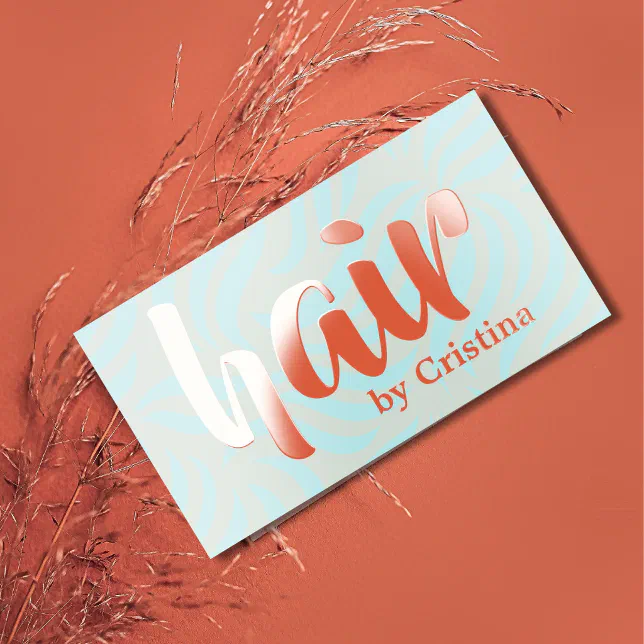
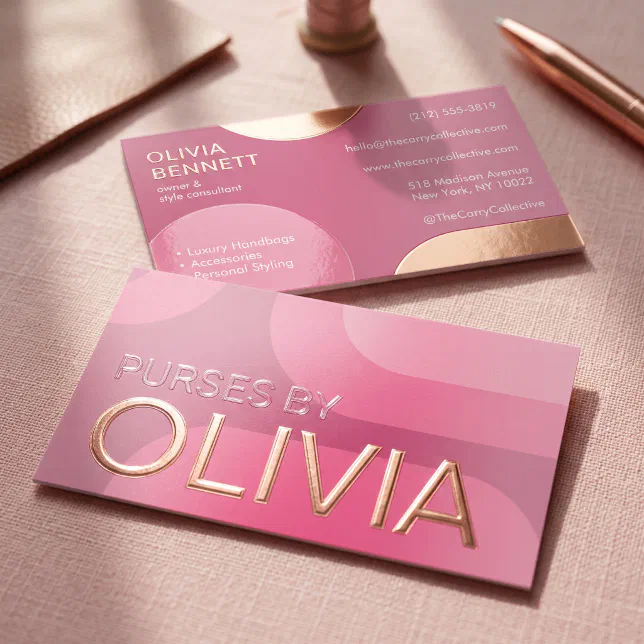
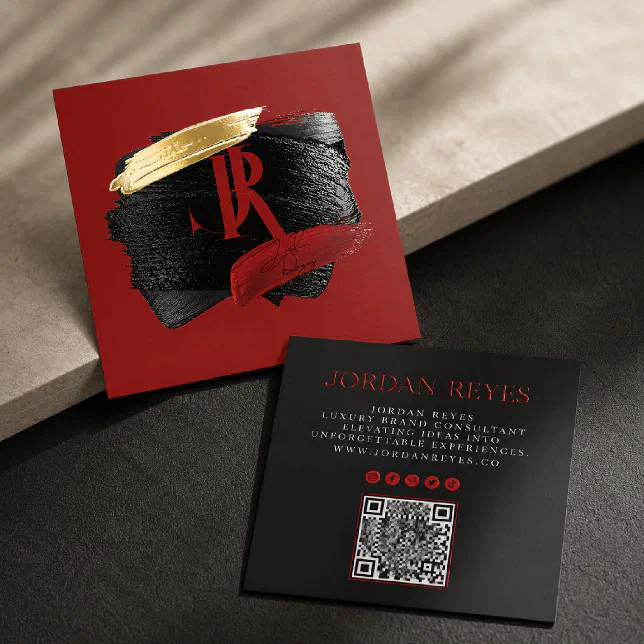
How to Design a Spot UV Business Card on Zazzle
While it’s possible to create your own spot UV card on Zazzle from a blank product template, we know there’s a lot to consider when aligning the different layers. Instead, why not use a template designed and uploaded by one of our Independent Creators? This provides a clear indication of how the UV is applied and ensures the background complements the gloss rather than masking it.
Step-by-Step
- Choose a card and click on ‘Personalize this Design’ to begin making edits.
- The ‘Details’ screen allows you to input all the typical information you’d include on a business card. Working on the design will feel a lot more natural when your own info is present, and it’ll be automatically reproduced each time you click on another business card design.
- Proceed to the ‘Design’ phase and ‘Front Gloss’ will appear as a separate, clickable layer. Spot UV elements tend to be a centerpiece, situated in the middle of the card, but the gloss also sharpens borders or the edges of QR frames. Notably, while some sites require you to upload a separate ‘mask file’ that instructs the printer where to drop the gloss, this isn’t required on Zazzle.
- Choose ‘Options’ to review the size, paper type, corner shape, and any other selections. For more details on business card sizes and shapes, check out our “Standard Business Card Size Comparisons.”
- Finally, choose ‘Review.’ Zazzle’s rigorous production process now incorporates a Worry-Free Design Review. This means a Zazzle design tool expert will hand-check your order and fix any outstanding issues before it prints.
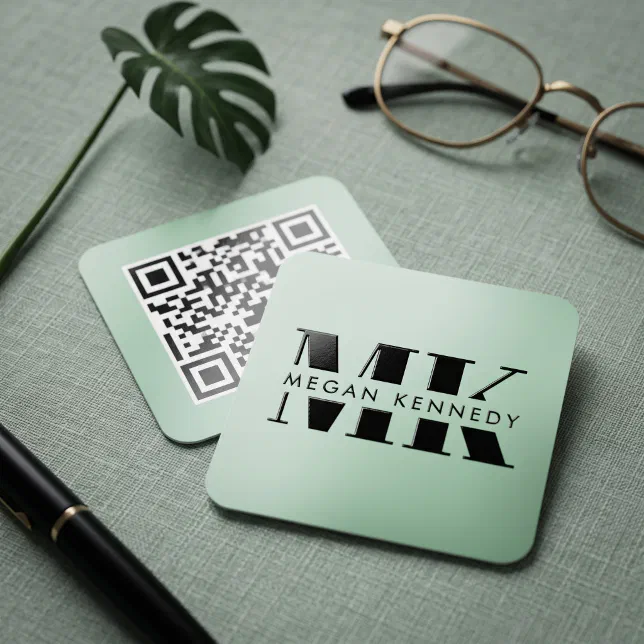
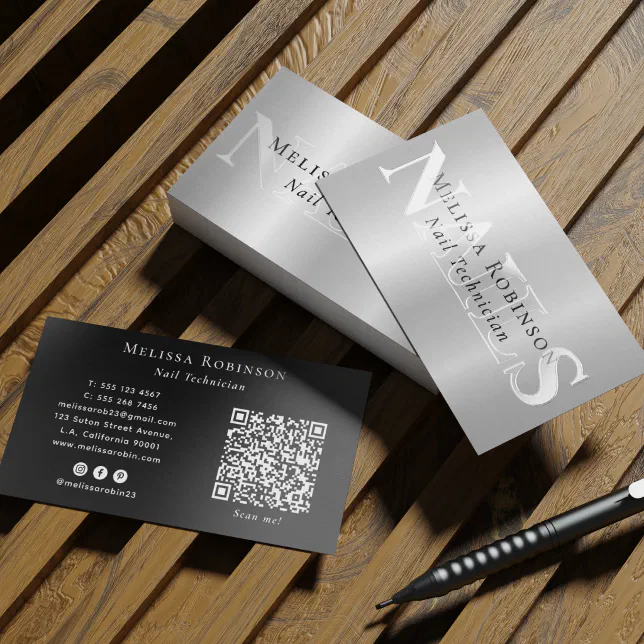
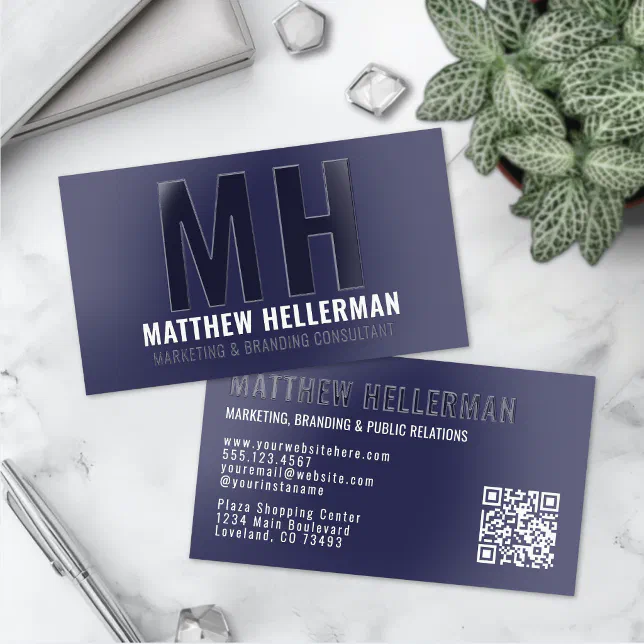
More important than spot UV specifically is distinguishing your cards from everybody else’s. Overall, a quality finish is one of the most common ways business owners differentiate their cards. If people are flicking through business cards like a handheld Rolodex, anything eye-catching will give you a valuable advantage. So, for the lowdown on our clear cards, read “Clear Business Cards and a Modern Alternative to Paper.” For our favorite foil cards, check out “10 Foil Business Cards That Make a Killer First Impression.” And if you’d like to do a spot of experimenting with some completely unconventional cards, use “15 Alternative Types of Business Cards” as a guide!

Eoin is a Content Specialist at Zazzle in Cork. He’s recently bought a house with his fiancée, and thus most of his time these days is spent trying to keep the walls from caving in and the wolves from the door. Still, he’s always open to book, game, and movie recommendations, so if you have some, let him know: he’ll add them to a very, very long list.