
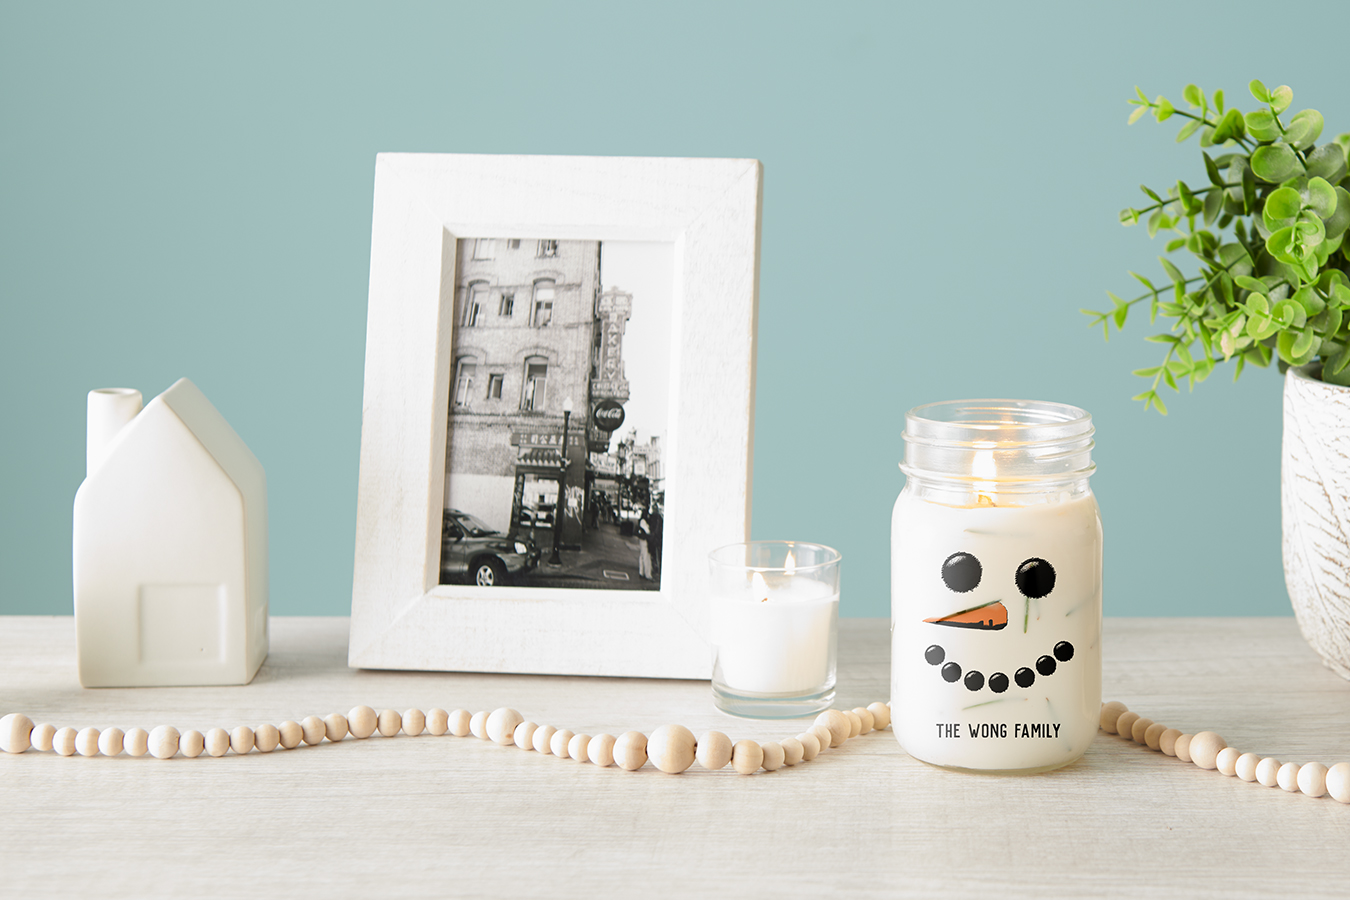
Candles bring warmth and relaxation to any space. In this DIY project, we’ll teach you how to create a rustic ambiance with soy wax, your favorite essential oils, and custom Mason jars. Let’s get started!
Here’s what you’ll need:

- Custom Mason Jars
- Soy Wax Chips
- Candle Wicks
- Wick Centering Tool
- Glass Bowl
- Spoon
- Essential Oils
- Herbs, Petals, or Needles (optional)
Here’s how you do it:
First, measure the wax chips. You will need twice the volume to fill each jar. Then, melt the wax by using either a double boiler or a microwave. The wax should dissolve into a liquid.
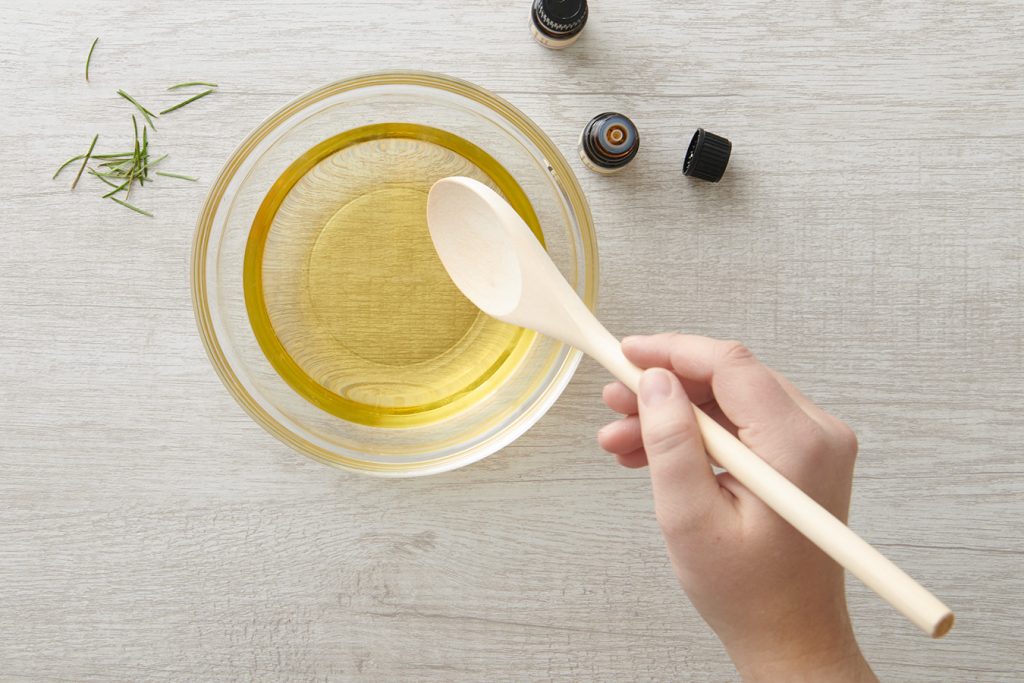
Allow the wax to cool slightly, then add essential oils to the melted wax. If you add them while it’s too hot, the scent may burn off and be less fragrant once solidified. We used added pine and rosemary to create a holiday scented candle.
Stir thoroughly.
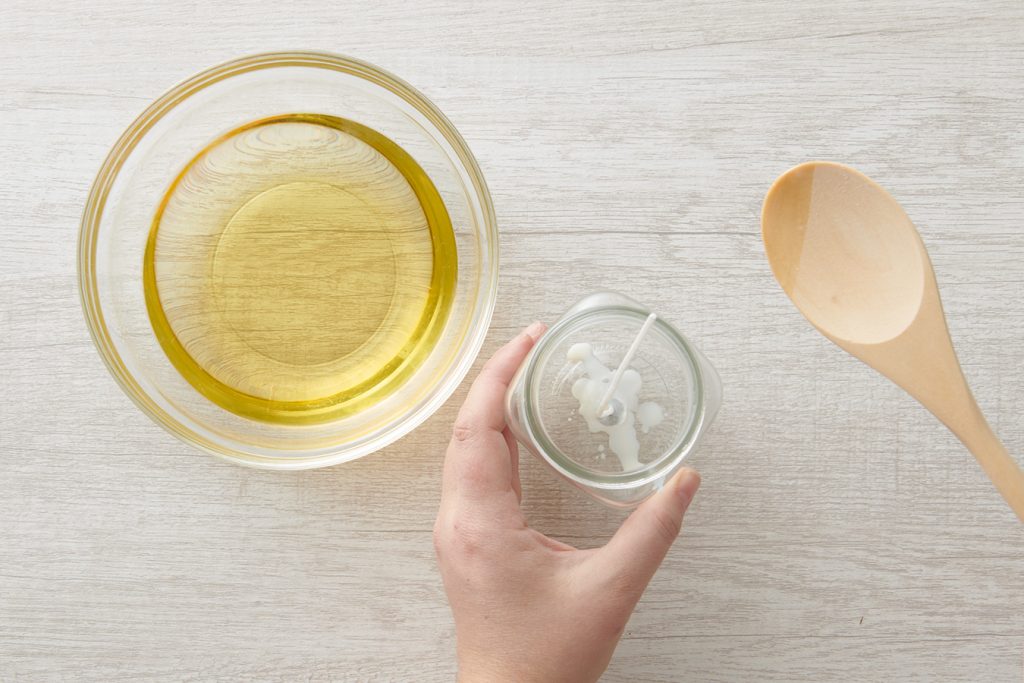
Next, place the base of a candle wick into the melted wax covering the metal part. Then, press it into the bottom of the Mason jar, making sure it is centered. With the spoon, drizzle extra wax around the base to secure the wick in place.

If you wish to include herbs, petals, or needles, add them like you did the wick base. Cover them in a small amount of wax and press them against the sides.
Lastly, pour the warm wax into each jar using the wick centering tool. This will make sure the wick stays in place while the wax cools.
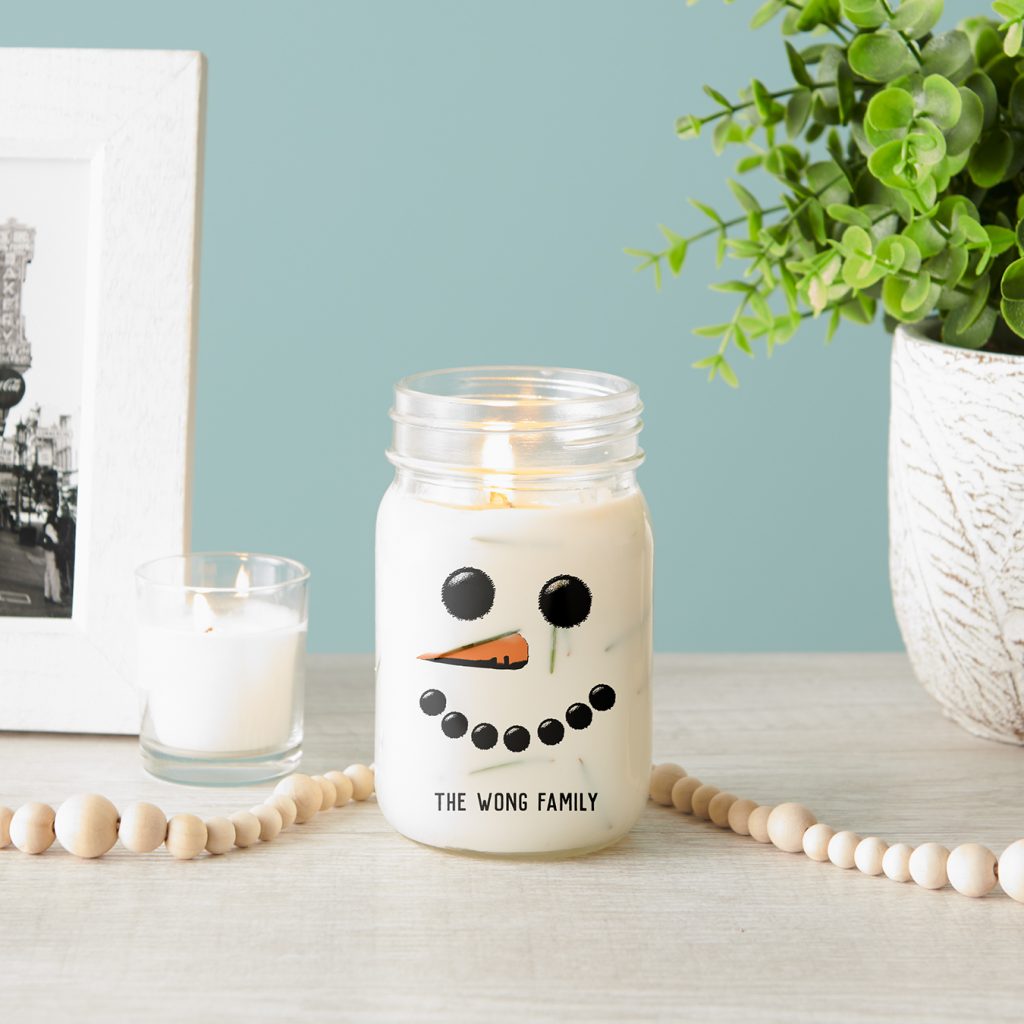
Once solid, snip the wick and light ‘em up! Enjoy the cozy ambiance you created!
These Mason jar candles are so much fun to craft and they make great custom gifts. Create a unique scent blend for everyone on your list.
If you try this project at home, please share it with us by using the hashtag #zazzlemade on Facebook, Instagram, or Twitter. We love seeing your creativity come to life.
All Photos: Zazzle.com
Jenny is Zazzle’s Associate Art Director. She loves DIY projects and making things with her hands. When she’s not getting crafty, you can find her hosting dinner parties, reading books, or cuddling her cat, Luna.

I really love this article! This is an absolutely adorable gift idea and everyone loves candles. Thank you for sharing.
How do you know how much oil or how to mix the oils you out in the wax?