
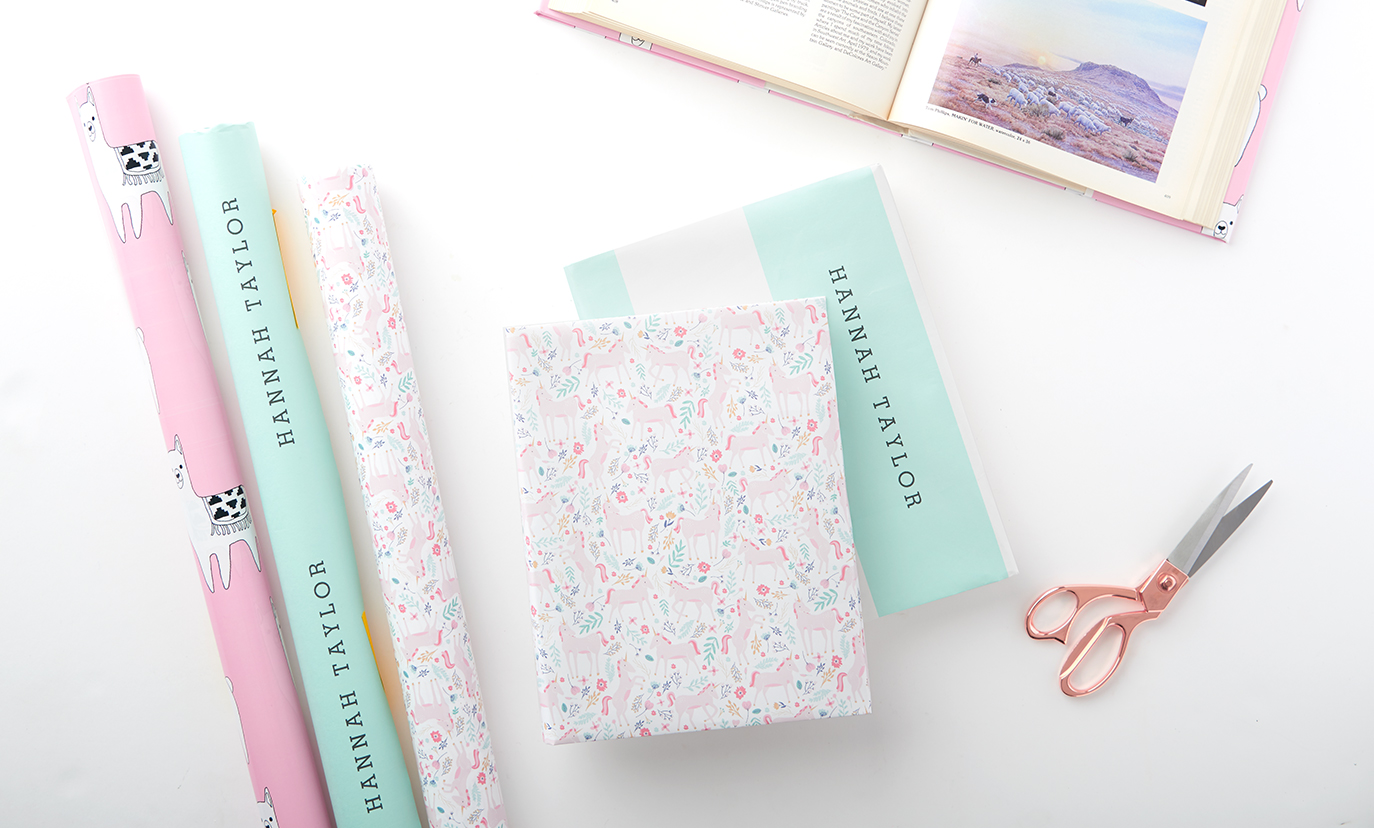
The school year is in full swing, you’ve received the required reading, and now you’ve been tasked with covering the books. Fear not! With custom wrapping paper, your books will be well-protected and vibrantly beautiful all year long.
Want to give it a try?
Here’s what you’ll need:
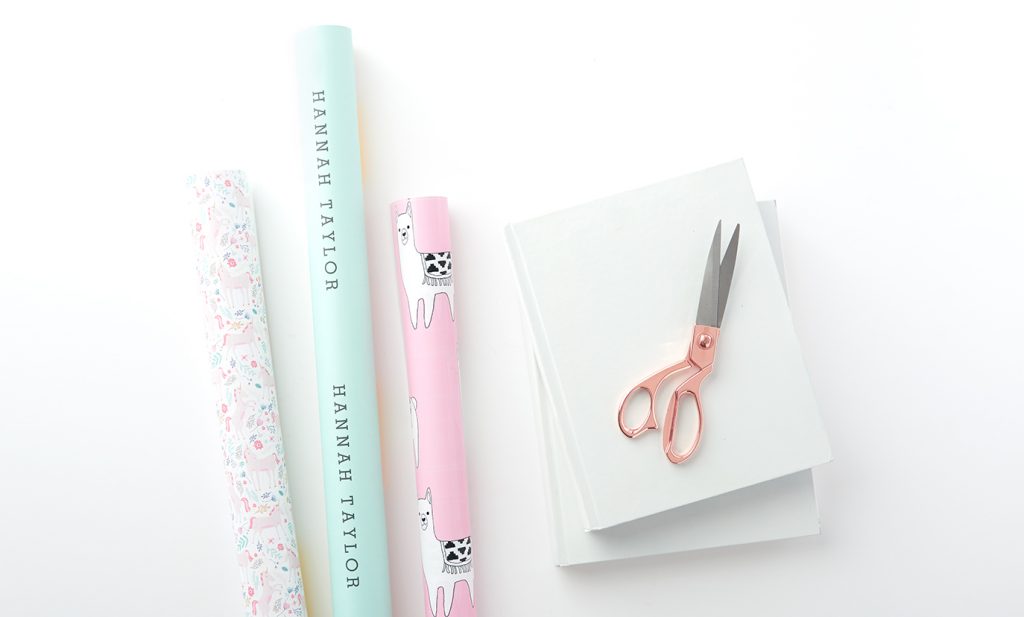
- Zazzle Custom Wrapping Paper
- Books
- Scissors
Here’s how you do it:

1. Place the open textbook on the back side of the wrapping paper and cut around it creating a rectangle larger than the book. There should be roughly 3 inches of excess paper on all sides. Fold the top and bottom edges toward the book and create a slight crease on each side.

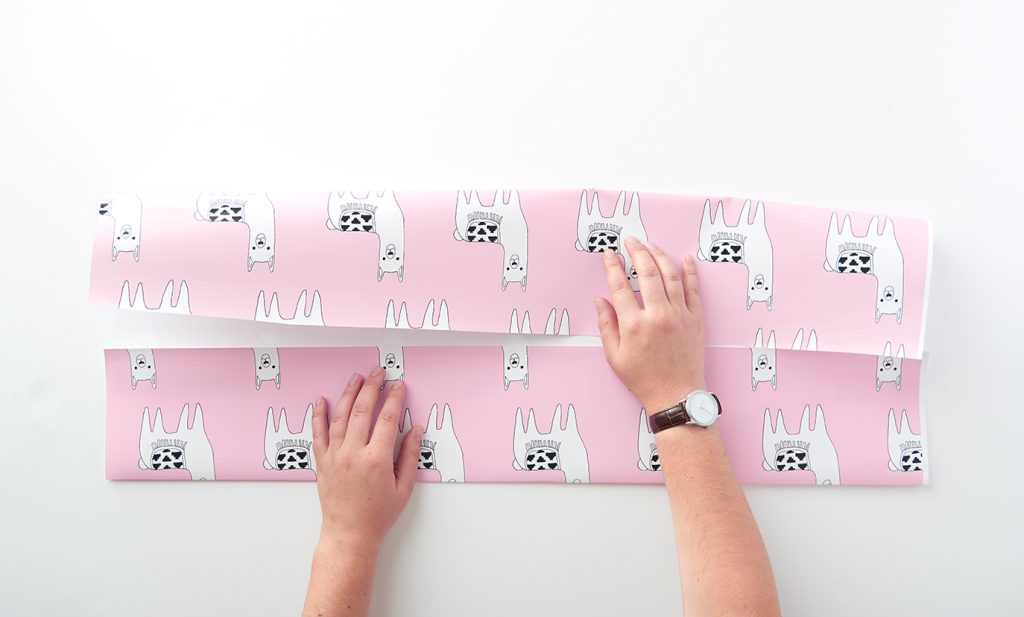
2. Next, remove the book and fold the top and bottom edges inward on the crease you made earlier.
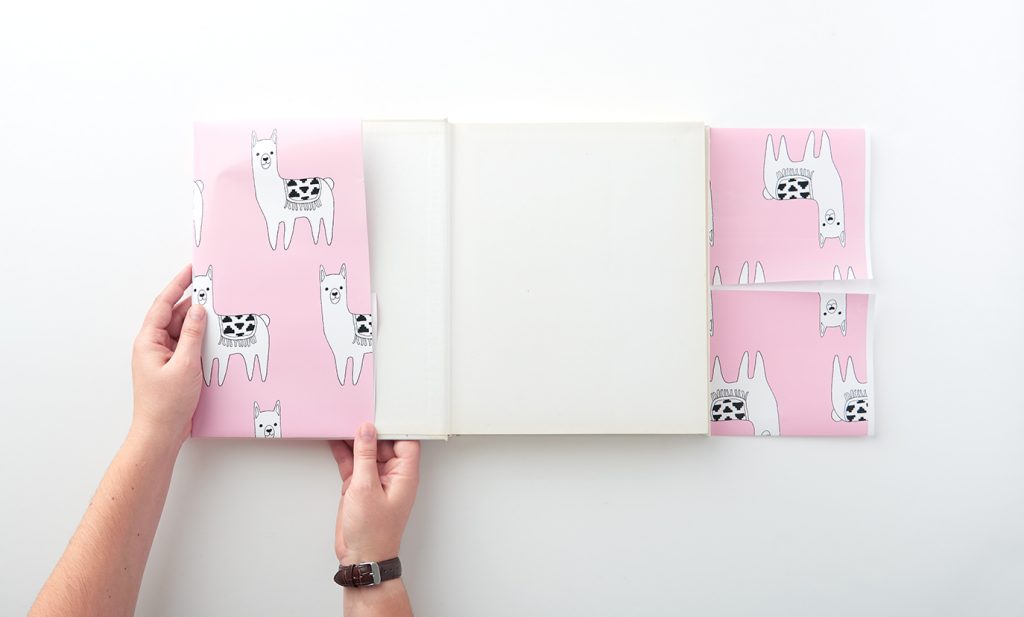
3. Place the open book in the center of the folded paper so that there is an equal amount of excess paper on each side. Fold each side of excess paper around its respective cover and create creases on each side. Then, remove the book and firmly fold on the crease lines inward, creating a pocket for the cover.
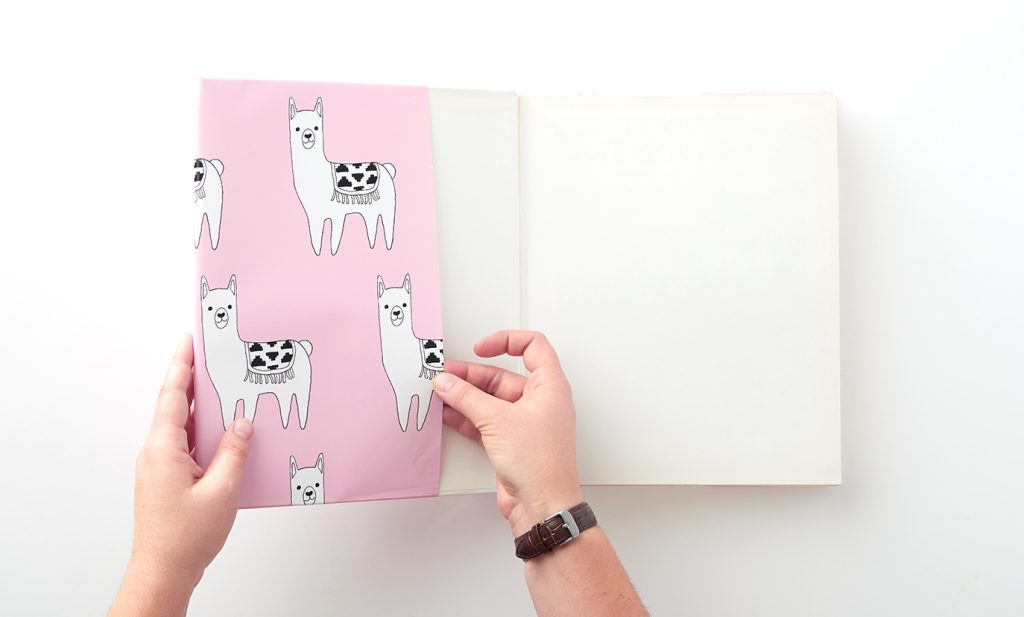
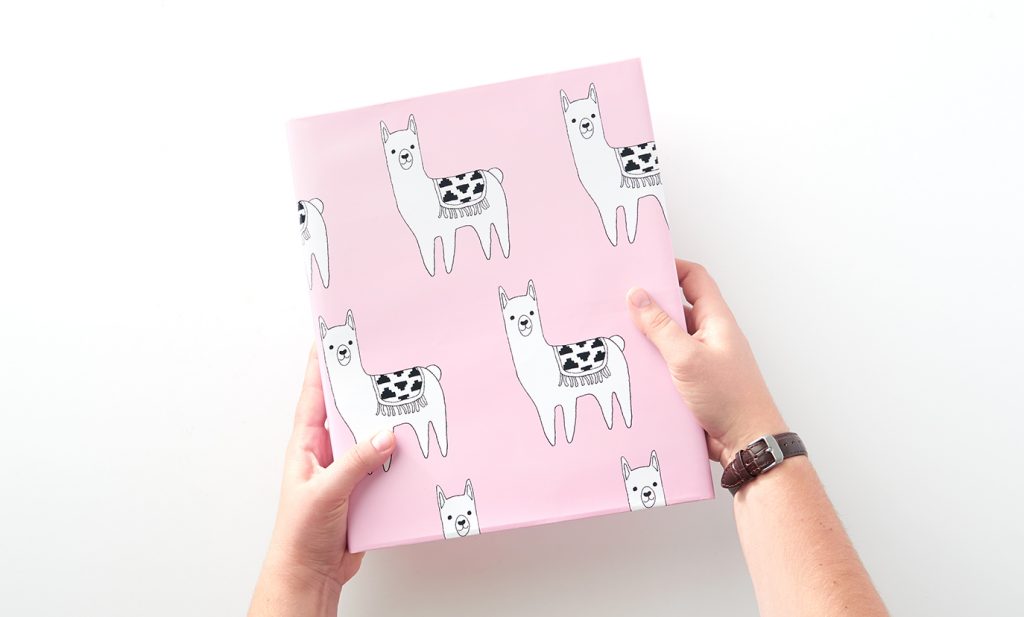
4. Slip the front and back covers into each folded pock and you’re done! How cute are those llamas!?
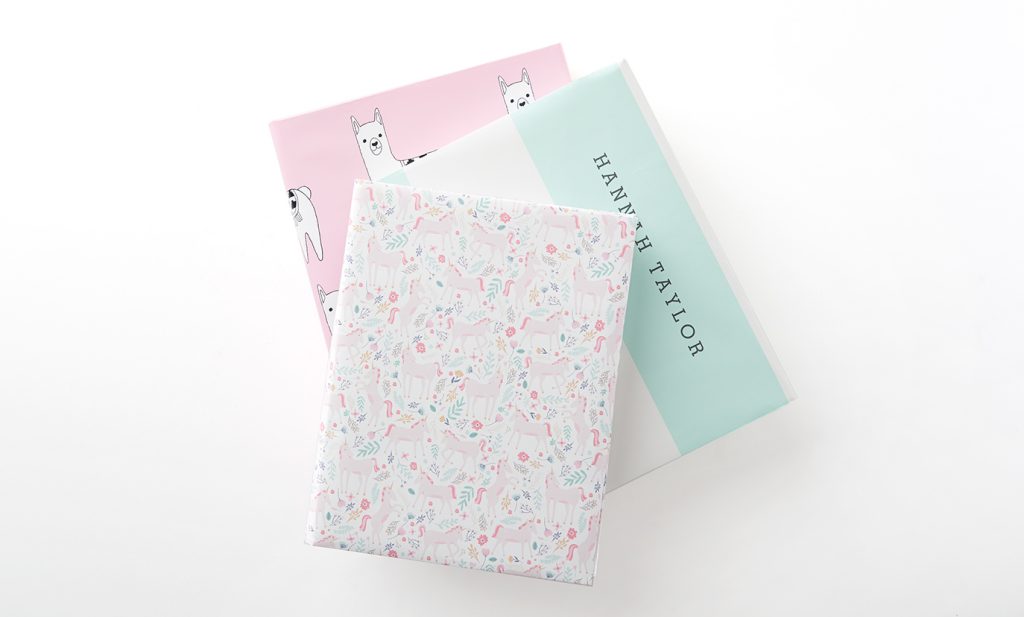
So, whether you’re protecting your textbooks or styling your home with matching, literary décor, this simple project will put the ole brown paper bag to shame.
What unique ways do you decorate books? Let us know in the comments below!
If you try this DIY please share it with us by using the hashtag #zazzlemade on Facebook, Instagram, or Twitter. We love seeing new ways you use Zazzle products.
Until next time, bookworms!
All Photos: Zazzle.com
Jenny is Zazzle’s Associate Art Director. She loves DIY projects and making things with her hands. When she’s not getting crafty, you can find her hosting dinner parties, reading books, or cuddling her cat, Luna.

This brings back memories of my young school days in Sweden!! Going to the mall with my mother to pick up “the perfect” wrapping paper to wrap all my borrowed school books with, but also something matching to wrap the inside of my school desk with.
This was a really special DIY project for a lot of us 70’s/80’s kids, so thank you for bring it up to light again!