
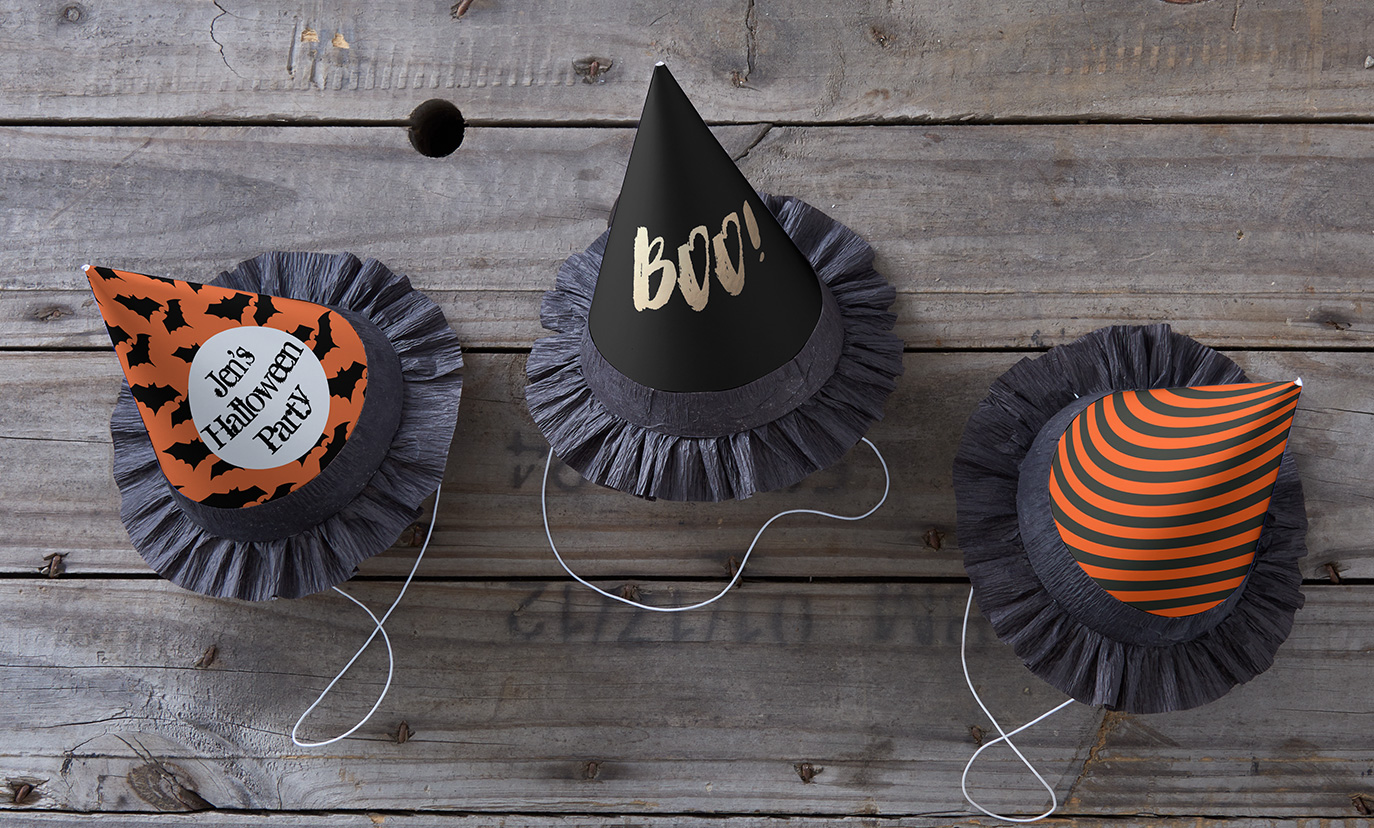
If you’re dressing up as a witch this year or are planning to throw a Halloween party, these DIY Halloween witch paper party hats are so much fun to make and are the perfect addition to any witch (or wizard)!
Here’s what you’ll need:
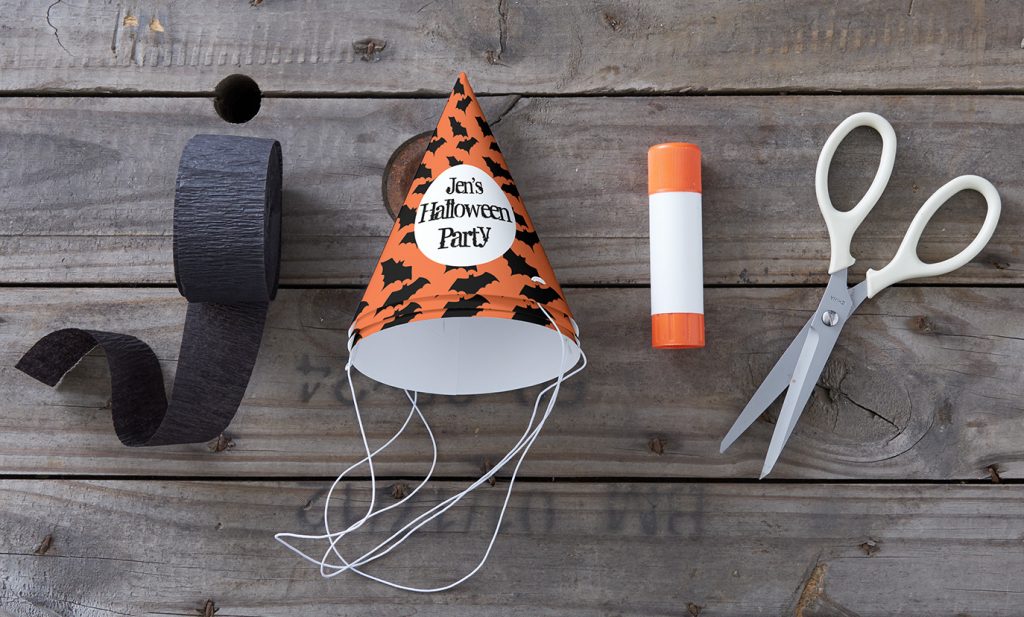
- Zazzle Custom Party Hats
- Black Streamers
- Glue Stick
- Scissors
Here’s how you do it:
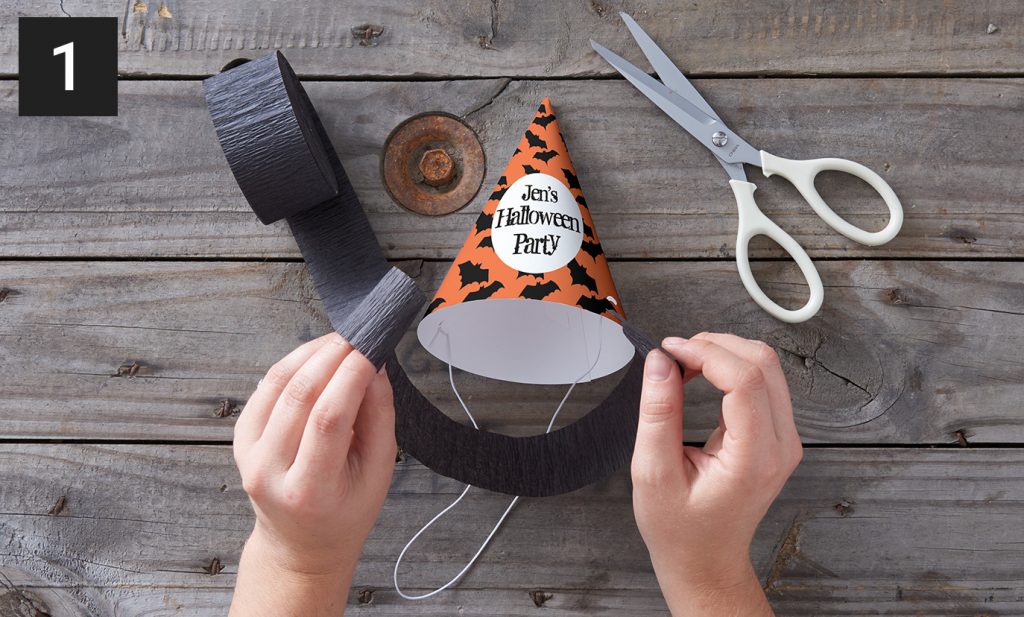
Step 1: Create the black brims by roughly measuring the circumference around the paper hats using the streamer end, then cut. Each strip will give you two brims, so repeat this step as many times as you need to account for the number of hats as you are making.
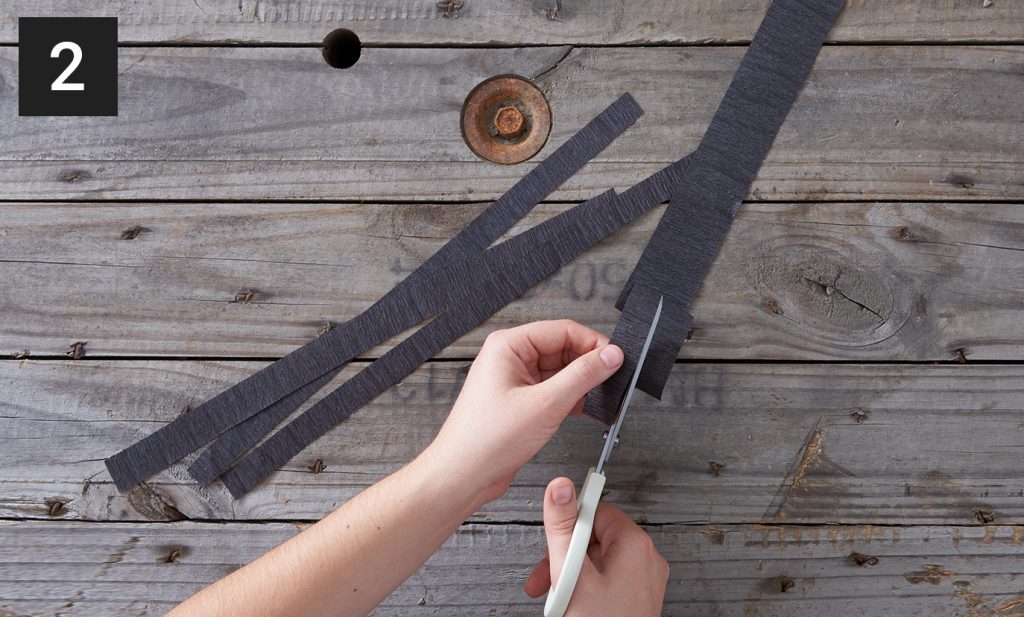
Step 2: Grab your scissors and cut down the middle of the long side of each strip, creating two thin pieces.
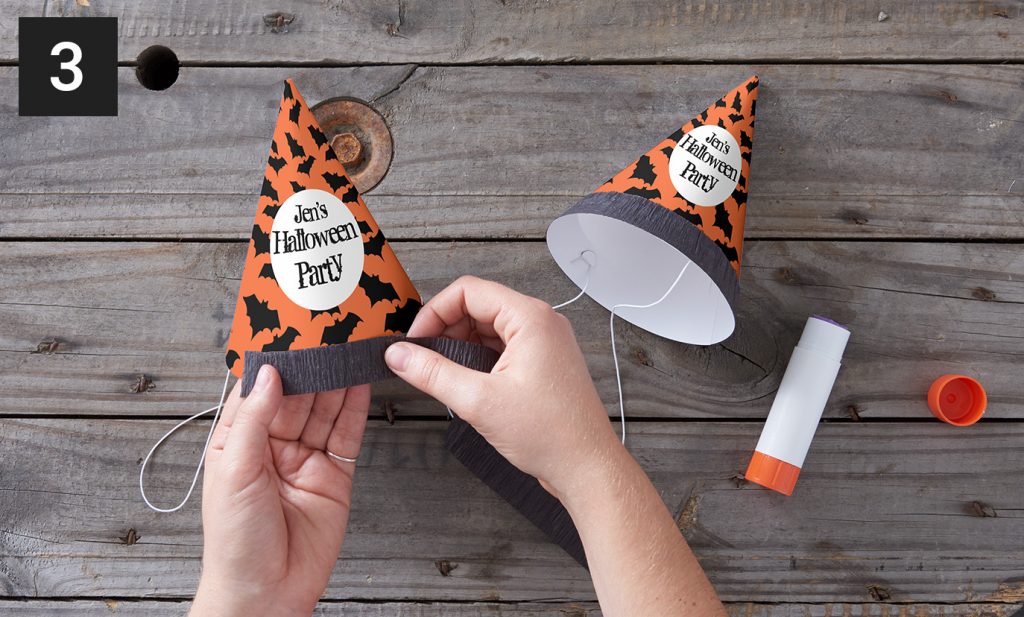
Step 3: Using your glue stick, adhere each piece of thin streamer to the bottom of the hat, creating the brim.
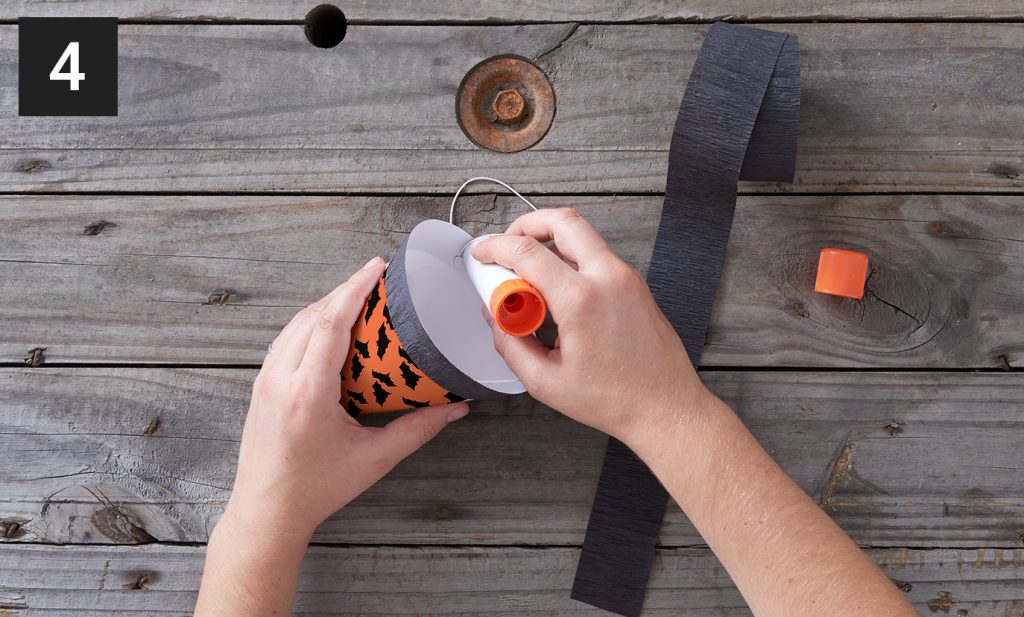
Step 4: Flip your hat upside down and place the glue stick on the bottom ½ inch of the hat. Apply the adhesive to the entire circumference.

Step 5: The next part looks tricky but is very easy once you get the hang of it. Using the black streamer roll, place the end of the roll to the edge of the hat where you just applied the glue. To create the rippled effect, press firmly on the glued streamer and move it away from you, folding and bunching the material.
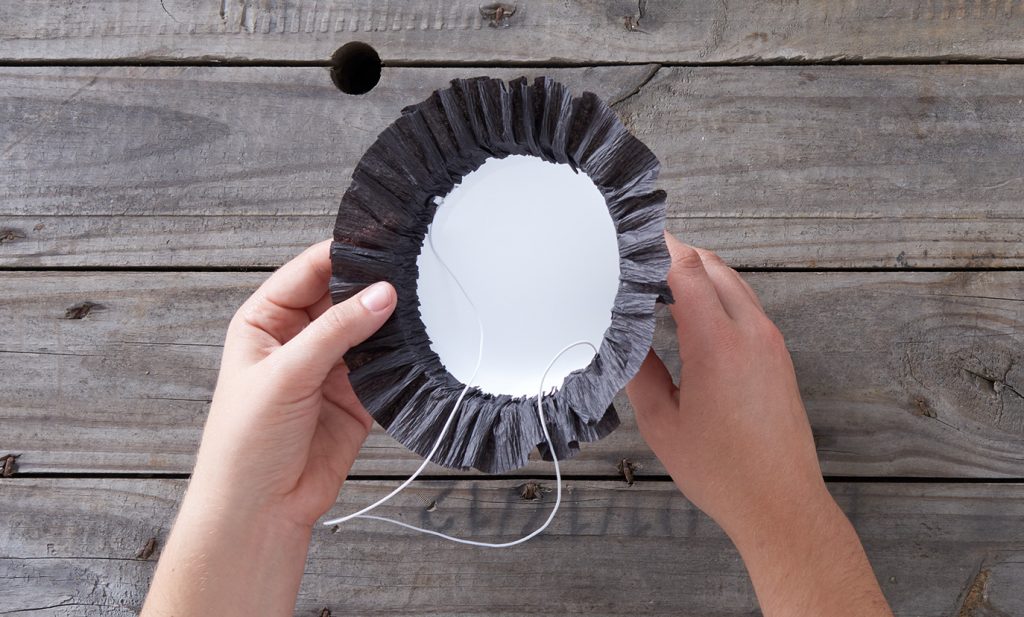
Step 6: Continue this until you’ve gone around the entire edge of the hat.

Tada! Now you’re a cute, little witch!
Hope you enjoyed this witch inspired DIY. Have a magical Halloween!
All Photos: Zazzle.com
Jenny is Zazzle’s Associate Art Director. She loves DIY projects and making things with her hands. When she’s not getting crafty, you can find her hosting dinner parties, reading books, or cuddling her cat, Luna.