
If you’re ready to take your photography skills to a level beyond “I do the best I can with my iPhone,” then it’s time to start thinking about light.
Why? Because light is fundamental to photography. Not only is it the key to the science of taking photos (it’s what the camera uses to capture the image), but it’s also the guiding force behind the art of photography, influencing the quality, mood, and style of the images you capture.
If you’re ready to see the light, here’s what you need to know.
Types of Light for Photography
There are essentially two sources of light for photography. Artificial light, which comes photography equipment (or just flipping the light switch), and natural light, which comes from — you guessed it — the sun.
You might expect that natural light is the easier light to work with (it doesn’t require equipment, after all), but natural light photography is actually pretty tricky business. Unlike artificial light, which you can create anywhere and will remain the same indefinitely, natural light isn’t constant. Instead, it shifts throughout the day, changing with both the weather and the sun’s position in the sky.
That variability creates a wealth of creative options, but it also means that you’ll need to experiment to understand how to get the most from natural light photography.
A Day in the Life of Natural Light: How to Use Natural Light in Your Photos
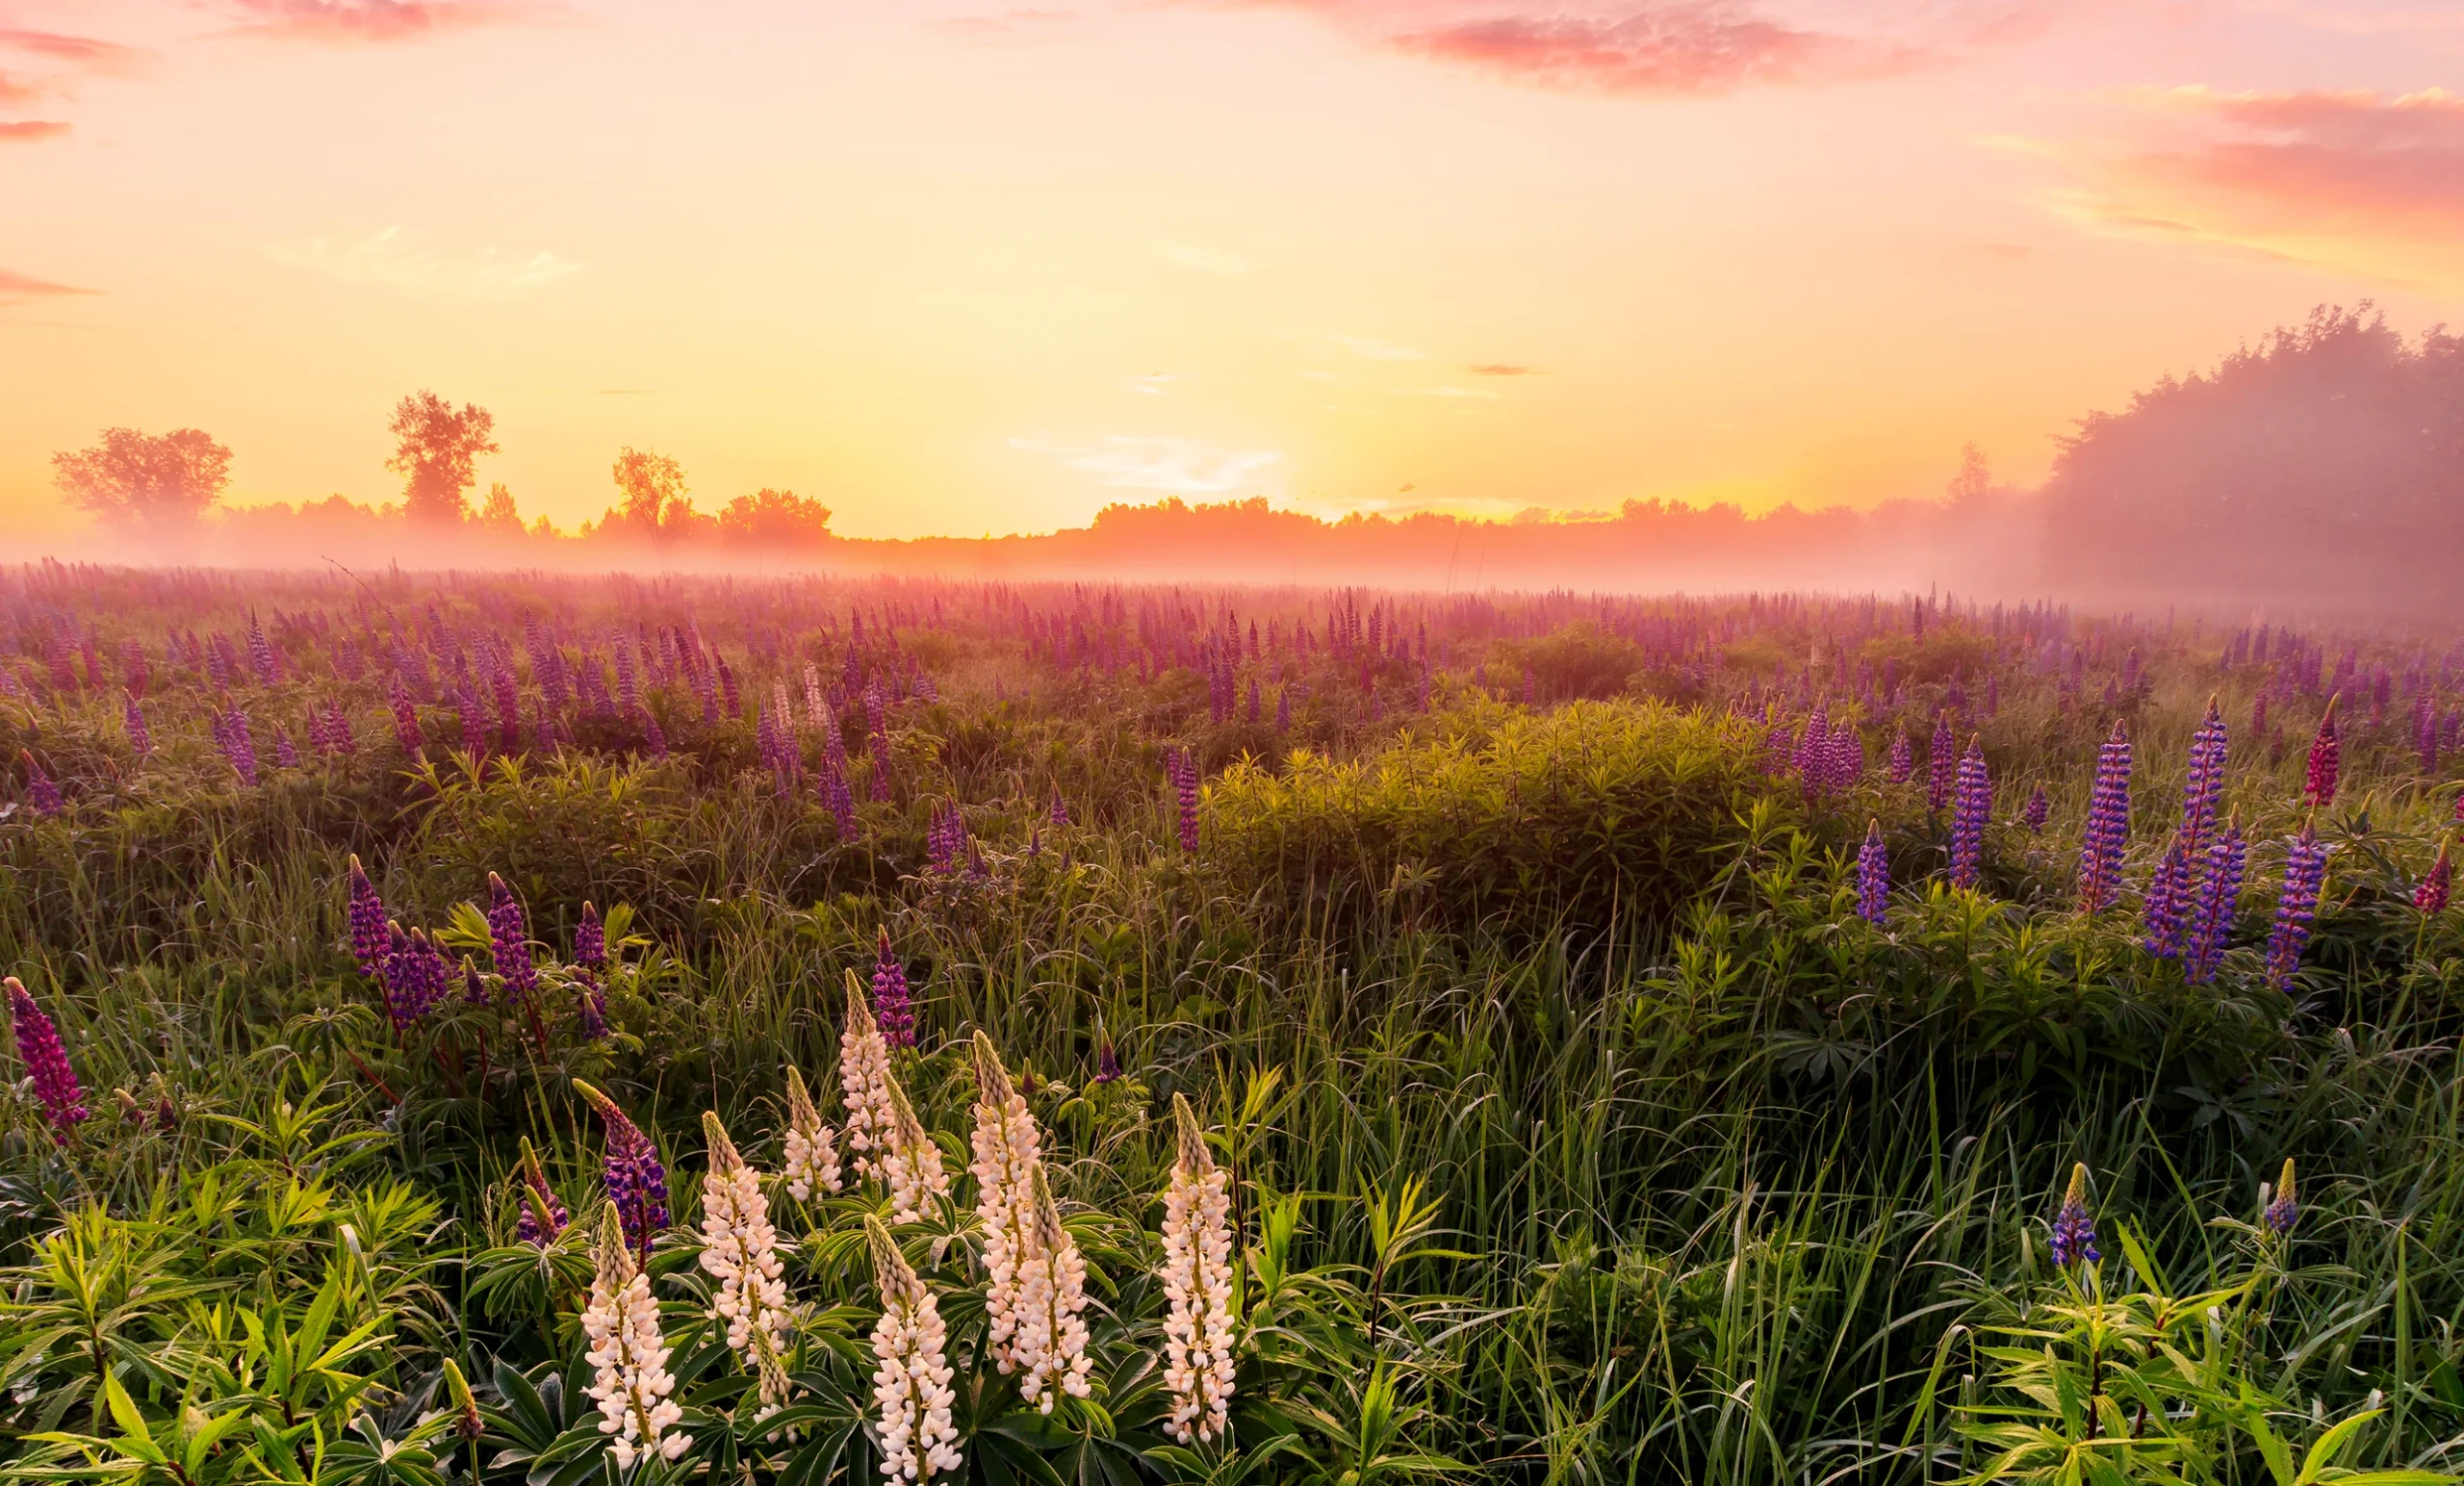
As dawn breaks, natural light has a mellow (aka diffuse) quality that becomes gradually sharper and clearer as the sun rises. Dawn’s diffuse light results in soft images in which the shadows and the distinctions between objects appear gentler — sometimes almost hazy — creating a softer mood for your images.
Morning sunlight also tends to appear cooler — with more blue undertones than gold. Photographers call this its color temperature, but you can also think of it as color personality: Cooler light very often creates a cooler vibe in photos; warmer light, a warmer mood.
When the sun moves toward its highest point at noon, its light gets more intense. The powerful light of midday creates bright clarity: Sharp contrast with a clear distinction between objects, along with concentrated bright spots and deep, well-defined shadows.
Toward late afternoon, sunlight begins to become more diffuse again, with a warmer color and personality than earlier in the day. In fact, there’s an hour late in the afternoon, just before the sun descends toward twilight and dusk, that photographers call the “golden hour:” Photos have the clarity of sufficient lighting with a rich, golden glow that is almost impossible to replicate.
Twilight brings light back to where it was at dawn — with a softer/more diffuse glow and cooler/more blue undertones. The major difference between dawn and dusk is the direction of the light, which will, of course, depend on where you are and which way you’re facing.
Playing With Light: Three Ways to Use Natural Light in Your Photos
The best way to master natural light photography is to experiment. Start with these three ways to explore how natural light impacts the pictures you take:
- Go inside: Taking photographs in a room with windows is a great way to capture the brilliance and warmth of the midday sun while muting the sharp contrast and shadows you get outdoors. Play with locations like doorways and windows, where light and dark mingle, or shoot next to reflective objects (e.g., stark white walls, mirrors) to increase your options.
- Play in the shadows: Stay outside, but head under a covering like a porch or a tree to explore using the bright power of the sun while still creating a softer, deeper look.
- Move: Changing the direction you’re facing in relation to the light makes a massive difference in your photos. Try walking all the way around your subject, taking images from all 12 hours on the clock, to see just how different an object looks when the light is coming from a different direction.

Zazzle’s Lifestyle Expert is here to help create life’s best & most important moments. Discover unique ideas and endless inspiration to create meaningful memories with family, friends and your community.