Whether you’re planning a Thanksgiving meal for two or a considerably larger group, there’s one step you’ll likely need to master before the big foodie holiday arrives: how to carve a turkey like a pro. If you’ve never done it before, you might feel a little twinge of uncertainty at the prospect of carving a turkey. And if you have done it before, there’s no harm in brushing up on your skills!
After all, there’s a fine art to carving the meat in such a way that leaves the dish looking clean and attractive. If there’s ever a day when you want to impress your friends and family with your exceptional cooking and carving know-how, it’s Thanksgiving. Here’s how to accomplish turkey-carving with expertise.
Gather Your Supplies
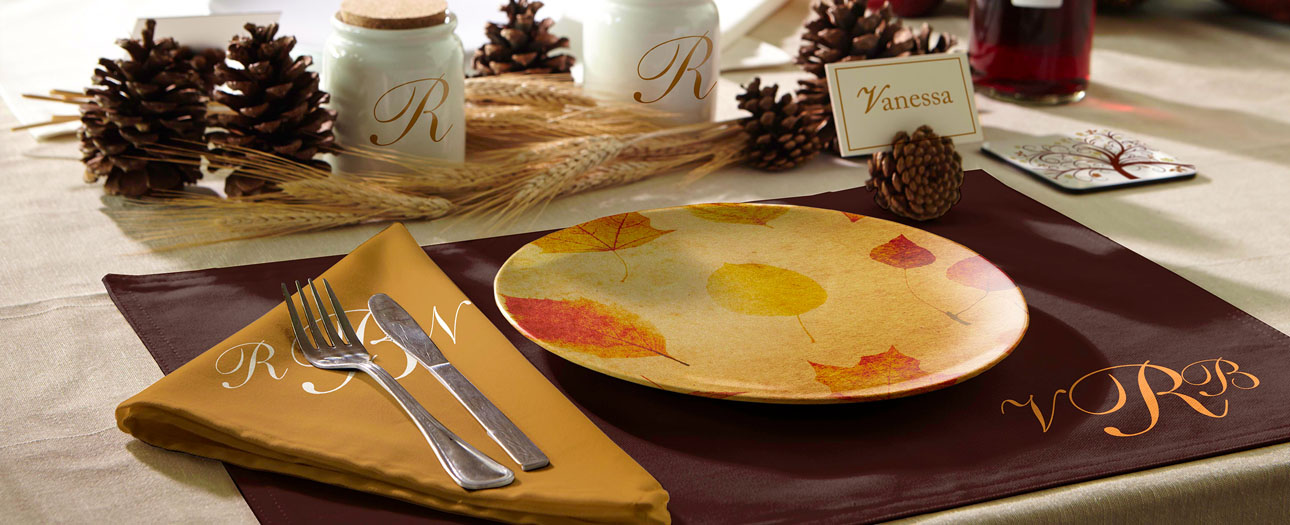
Make sure you’re prepared with everything you need well in advance of the actual holiday. Among the essentials are a warmed-up serving platter, a sturdy and sharp knife to slice the meat, carving fork, long spoon, and kitchen scissors. If you’re hosting a Thanksgiving dinner party, don’t hesitate to go all out and make this an occasion they won’t forget! Send beautiful invitations to set the tone.

Prepare the Turkey
Never carve the turkey as soon as it’s done cooking. Instead, allow it to rest uncovered for about 30 minutes while the juices soak into the meat. This will help it stay crisp and also tenderize the texture so that it is easier to handle. At that point, move the turkey from the pan to a carving board. It’s best to grip the turkey with your hands (or your festive Thanksgiving kitchen towels!) instead of a utensil, as that will simply tear into the flesh and cause visible damage to the finish. Then use the scissors to cut away the trussing and eliminate the string.
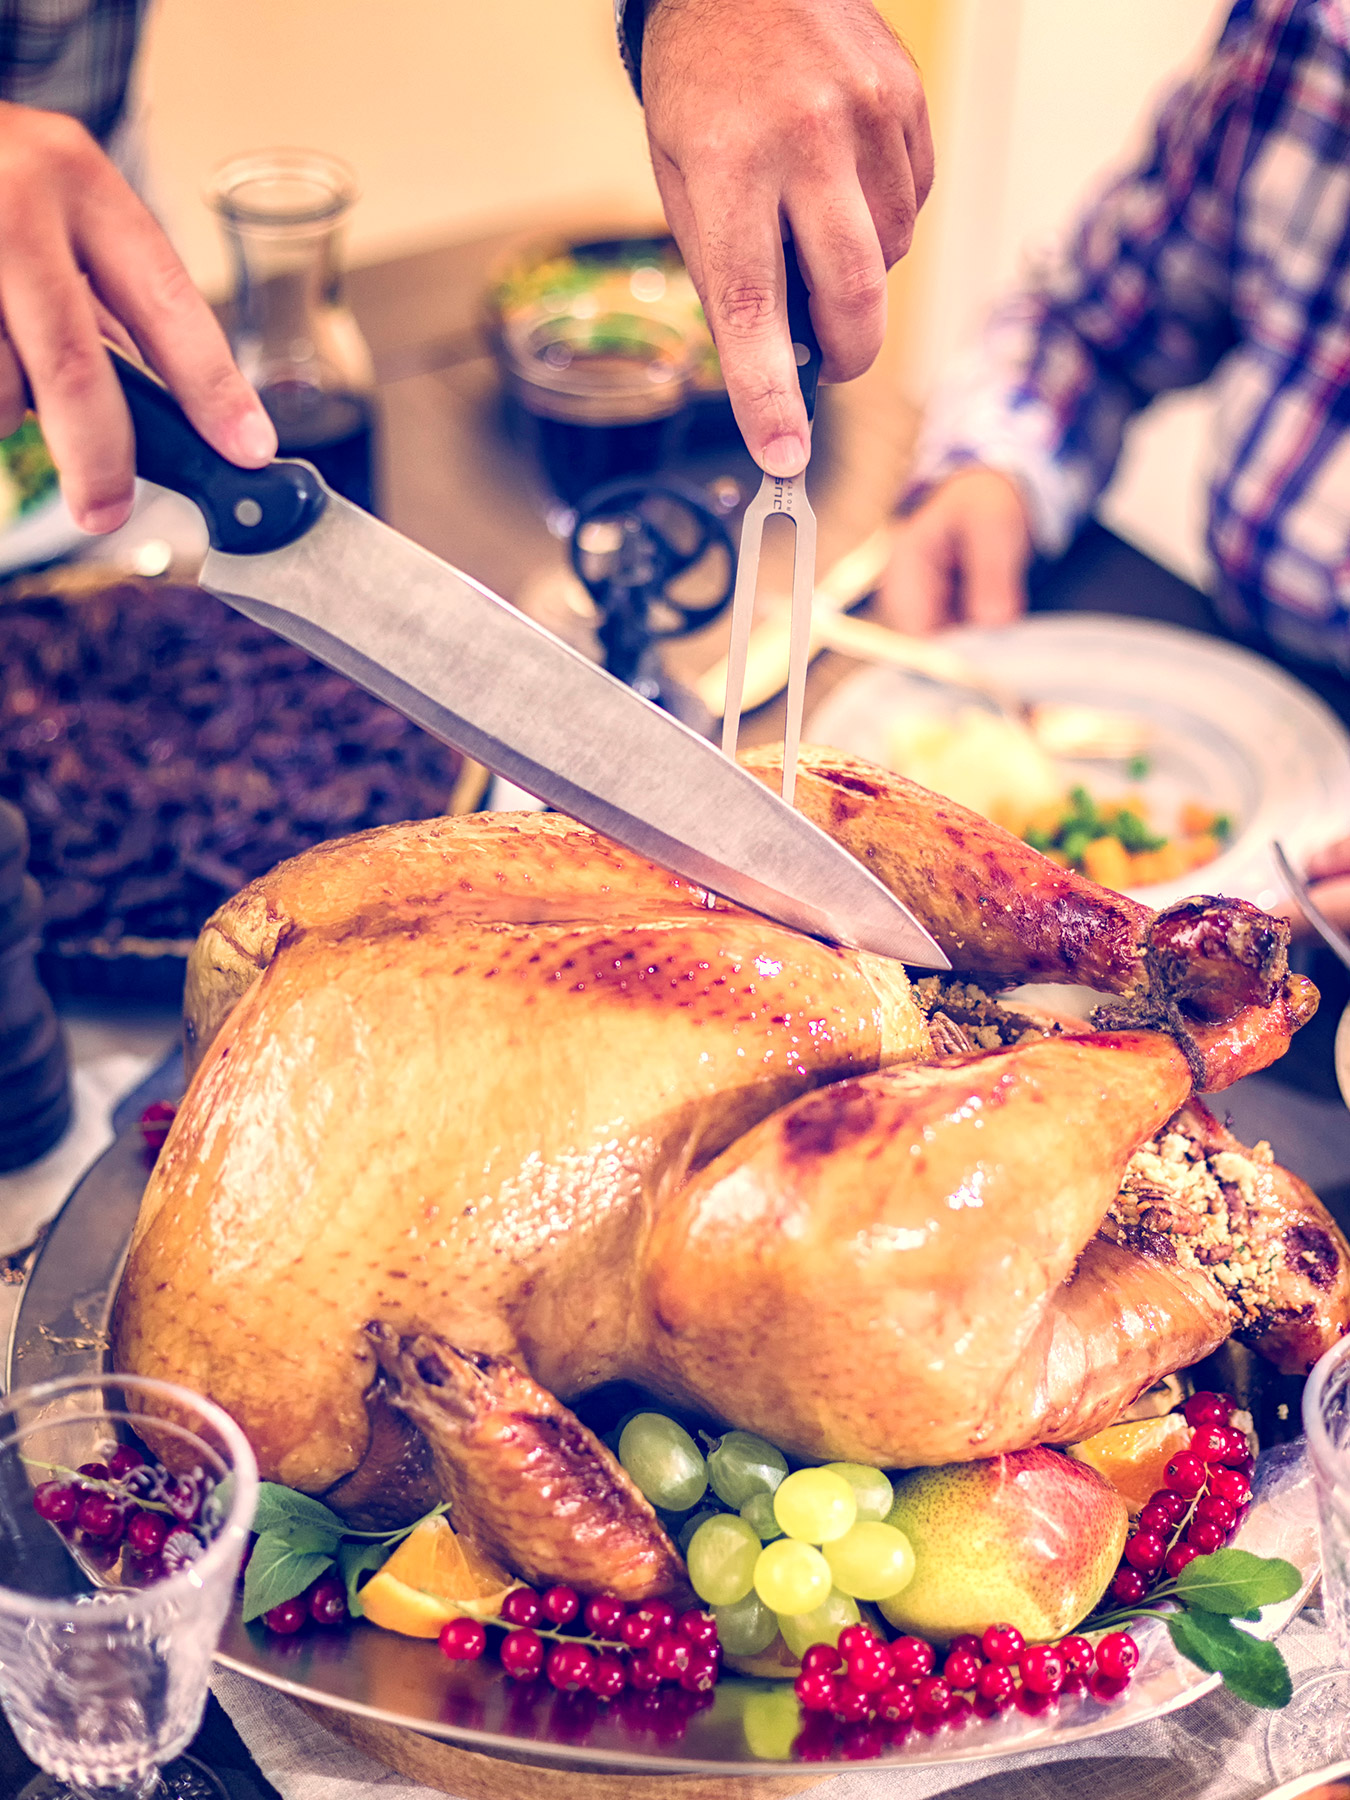
Disjoin Select Areas
Now it’s time to cut! Begin by cutting off the drumsticks on each side of the turkey. Remember that you want to use the sharpest possible knife, as dull cuts will skid along the meat and create an imperfect finish that takes away from your presentation. Hold the knife steady against the meat, then push steadily down to create a neat slice. Use the tip of the knife to hold pressure to the joint, then twist and cut to remove the drumstick on both sides. Next, remove the neck cavity by dissecting an oval just large enough for you to scoop away the stuffing. Then use your long spoon to spoon the stuffing into a separate bowl.
Slicing Begins Now
Once you’ve removed those portions, you can get to work on carving the turkey with precision. Use a steady hand to start at the thigh, which will feel juicy if it’s marinated for enough time. Position the knife in a horizontal line at the base of the breast, and slice in the direction of the rib cage and then downward along the rib cage. The idea is to think of the breastbone as your guide while you cut. As you make that first slice, pull the meat away from that portion. Slice through the rest of the meat at an angle, going across its fibers to preserve the juices. After it’s cut, gently transfer your carved turkey to a platter.
Remember that practice makes perfect, and that with some time and patience, even your first time can be a complete turkey-carving success. When in doubt, tap into the genius of a friend or family member — together, you can carve a beautiful turkey that everyone will enjoy.
Editor’s Note: This post was originally published in October 2019 and has been updated for accuracy and comprehensiveness.
Shop our Thanksgiving T-Shirts


Nicole is our Content Strategist. She enjoys long walks to Taco Bell, rollerblading into the sunset, and eating Reese’s Cups for breakfast, lunch, and dinner. Find her writing about iPhone cases, holiday card messaging and even music festival tips!