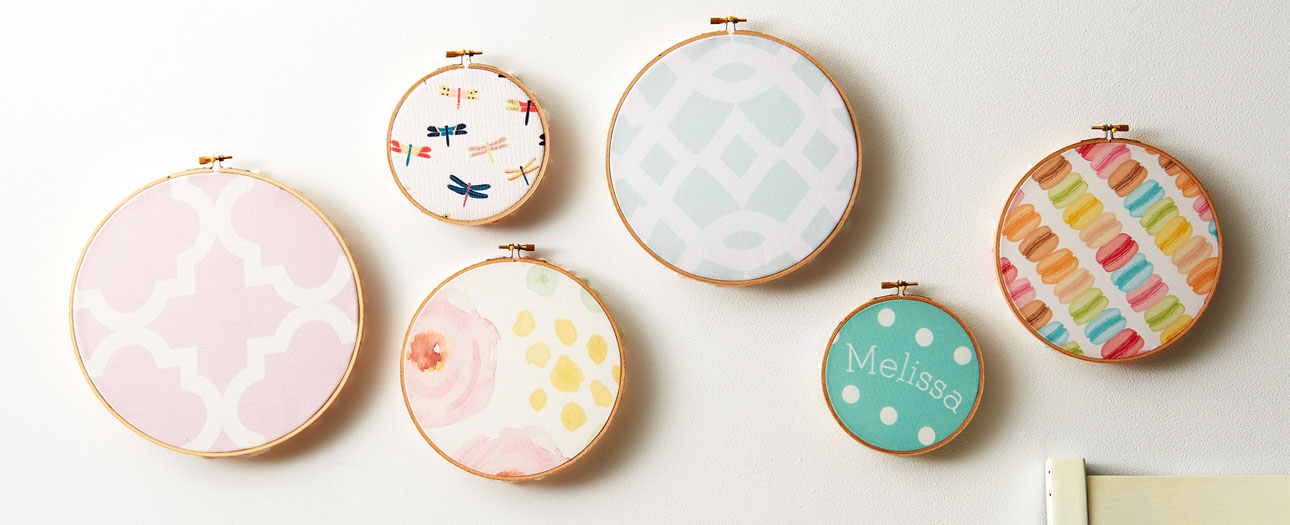
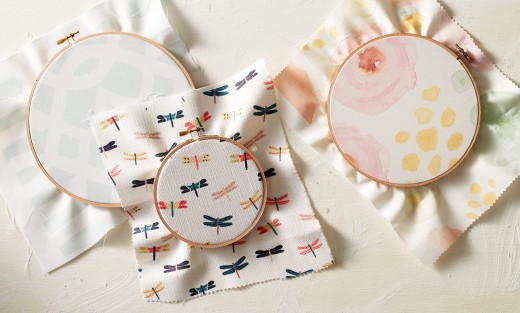
After the holidays, my apartment looked barren. Without the wreaths and lights and stockings, my space was…depressing. To start the year fresh, I decided to give my living room a makeover with one of the easiest DIY wall treatments ever. Using Zazzle’s new custom fabric and a few inexpensive supplies, I spruced up my walls in a fun and kitschy way, in less than an hour.

If you’re still struggling with the post-holiday blues, this project may be the solution to a happy, creative space.
Here’s what you’ll need:
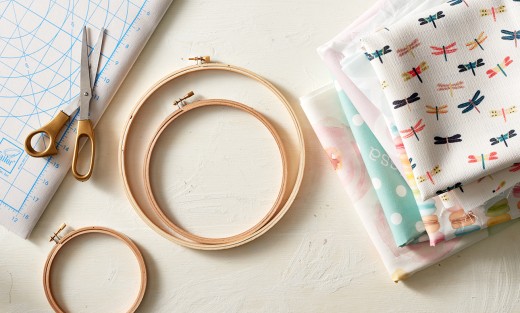
- Fabric
- Embroidery hoops of all sizes
- Fabric scissors
Here’s how you do it:
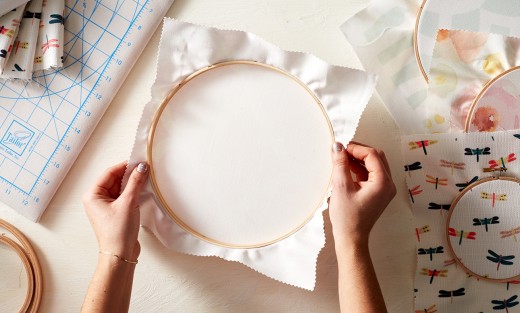
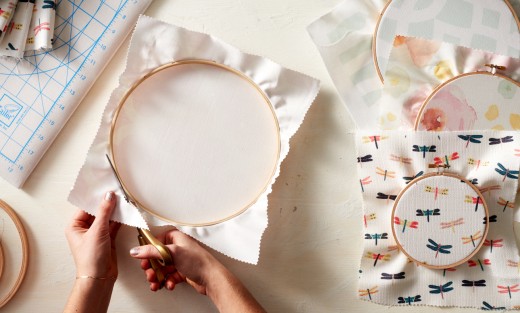
Step 1: Cut a swatch of fabric about 2-3 inches larger than the diameter of the hoop you’ve chosen to start with.
Step 2: Separate the hoop into two pieces. You will notice there is a larger, exterior hoop with a tightening screw and a smaller, interior hoop. Rotate the tightening screw so that the larger hoop at it’s loosest setting.
Step 3: Place the larger hoop on a clear surface. Then, place the fabric swatch print-side down on top of the larger hoop, centering the fabric. Once centered, take the smaller hoop and press it on top of the fabric, stretching the fabric and securing it between the two hoops. At this point you should begin to tighten the screw on the larger hoop while intermediately stretching the excess fabric on the ends of the hoop with your hands. Do this until you’ve tightened to screw as much as you can and the fabric is taut.
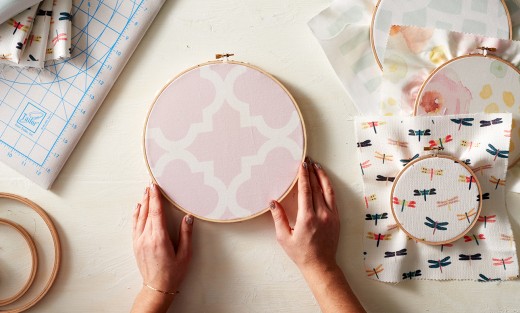
Step 4: Cut the excess fabric on the sides of hoop about 1/4 inch from the surface.
Step 5: Marvel in your completed hoop!
Step 6: Hang them up! Simple hooks, tacks, or adhesives work just fine as these hoops are very light.
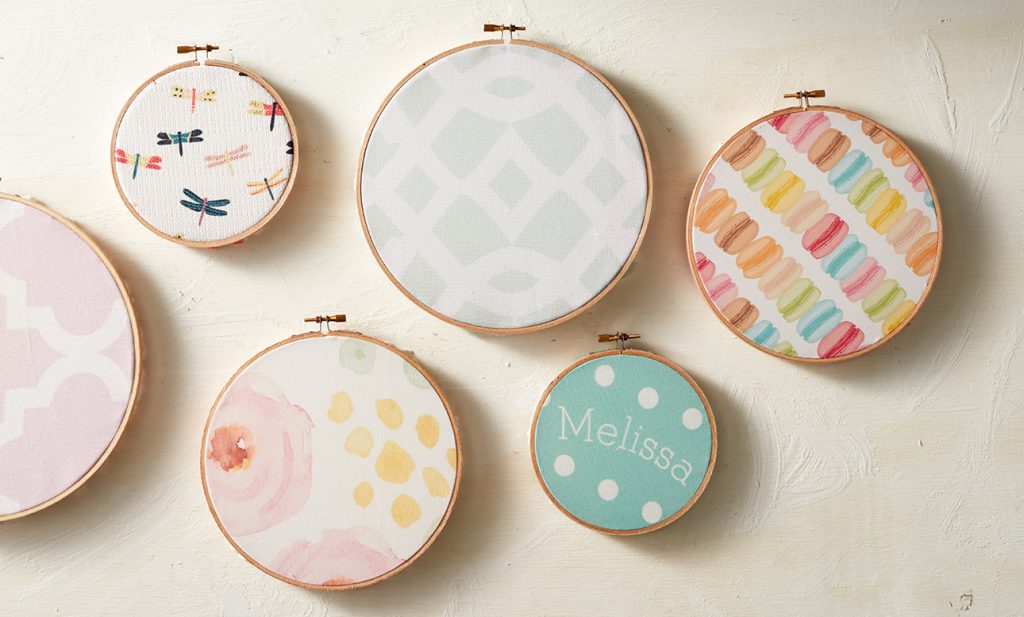
Hope you enjoyed this super simple fabric project! If you’ve followed this DIY project, share your photos by tagging @Zazzle on Instagram!
All Photos: Zazzle.com
Jenny is Zazzle’s Associate Art Director. She loves DIY projects and making things with her hands. When she’s not getting crafty, you can find her hosting dinner parties, reading books, or cuddling her cat, Luna.