Have you ever wanted to bring your artwork to life? Your masterpieces deserve to be seen! Whether you’re an artist or someone who just wants their smaller creations to light up their home, you can create custom art on Zazzle.
We’ll take you through a simple tutorial on how to design your own custom artwork using Zazzle’s free-to-use design tool.
As a bonus, we’ll also show you how to sell your unique art on Zazzle! It’s completely free to create an account and sell designs for a sweet, sweet royalty.
How to Create Custom Artwork using Zazzle
1. Create a free account – this will make your creating process easier as you’ll be able to upload your designs to your account where they can be saved and used at your convenience. Also, this will allow you to easily sell your artwork on Zazzle if that’s something you’re interested in as well!
2. Navigate to Custom Art – this is our blank product hub for all things custom art!
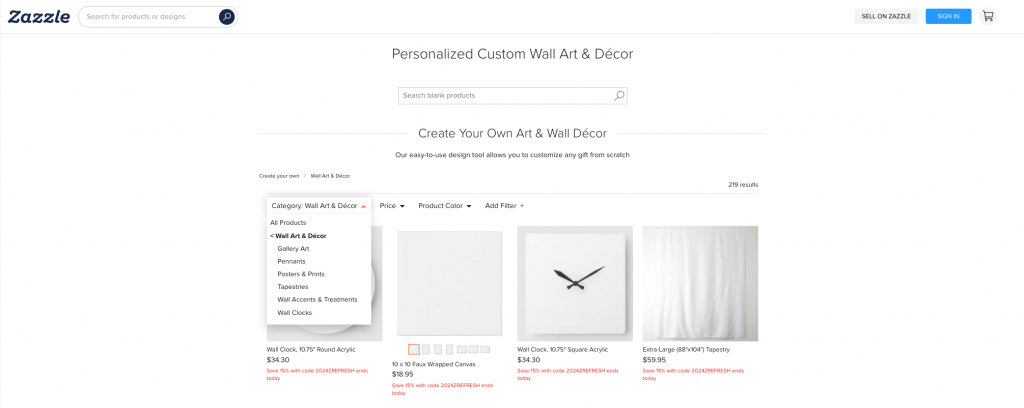
3. Select a product you’d like to showcase your artwork on – we offer a wide range of art mediums from posters to wrapped canvases to even tapestries.
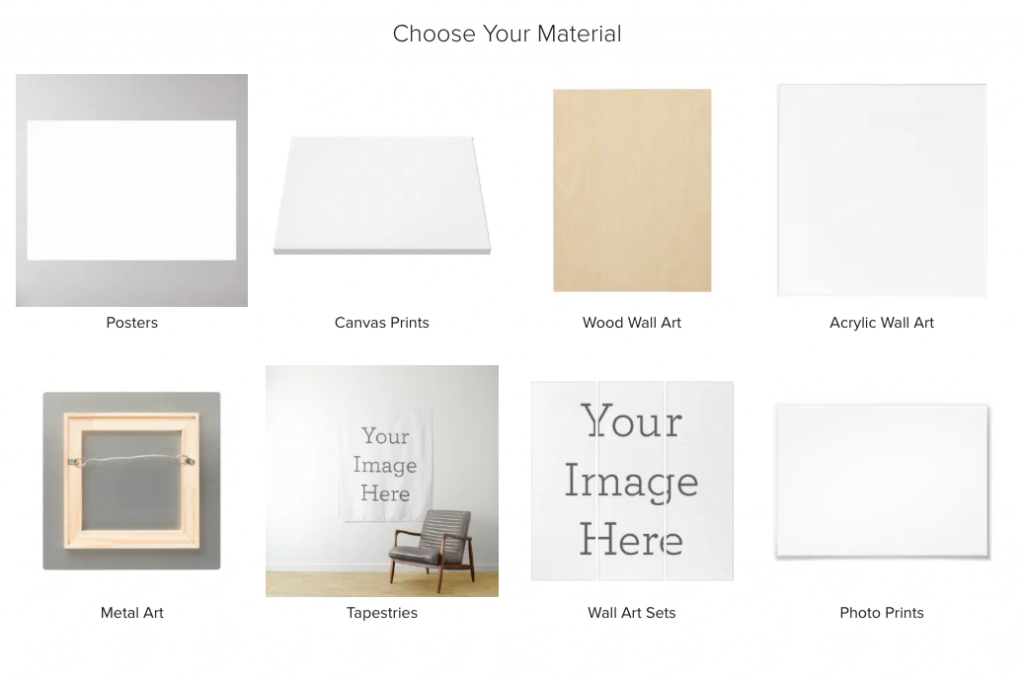
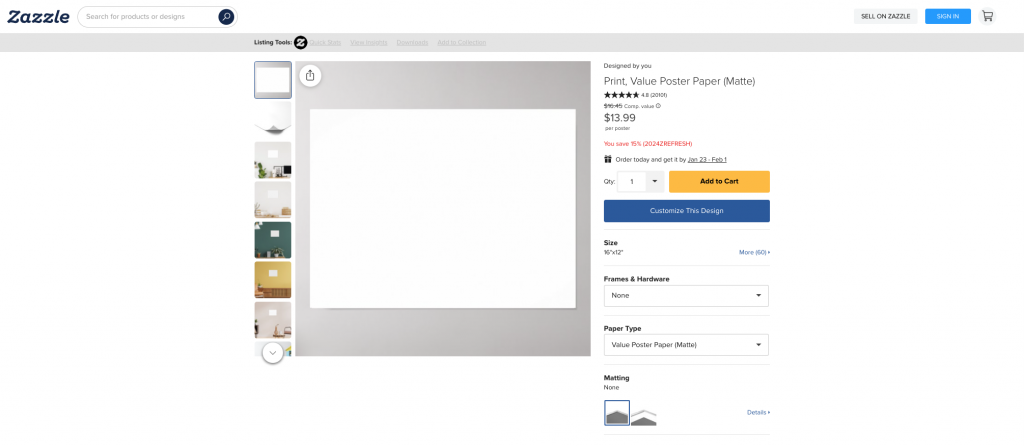
4. Choose product options – use this step to choose what size and material you’re wanting to create. To note, these options can be adjusted at any time.
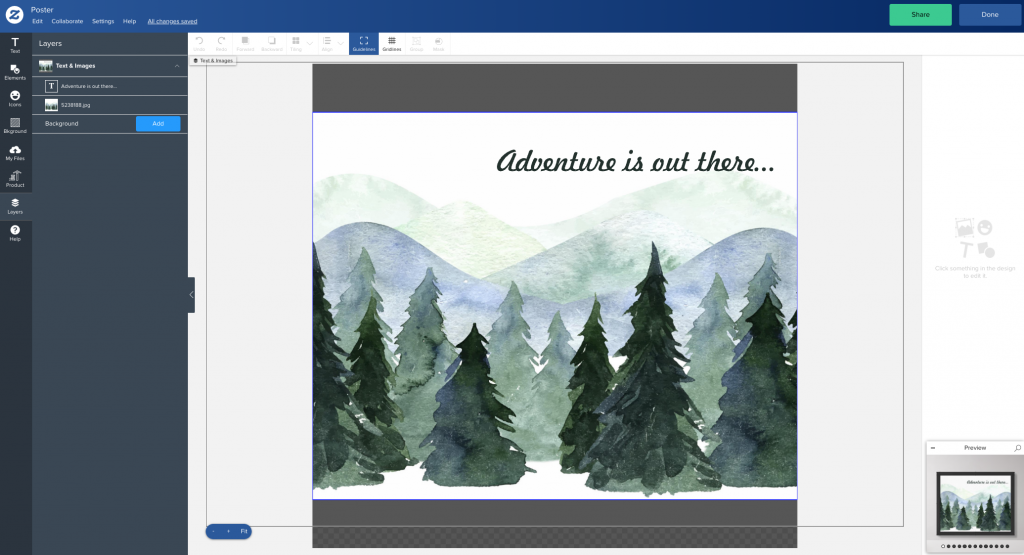
5. Enter the design tool – welcome to Zazzle’s free-to-use design tool where you’ll be able to upload your artwork, add text, icons, elements, colors and more!
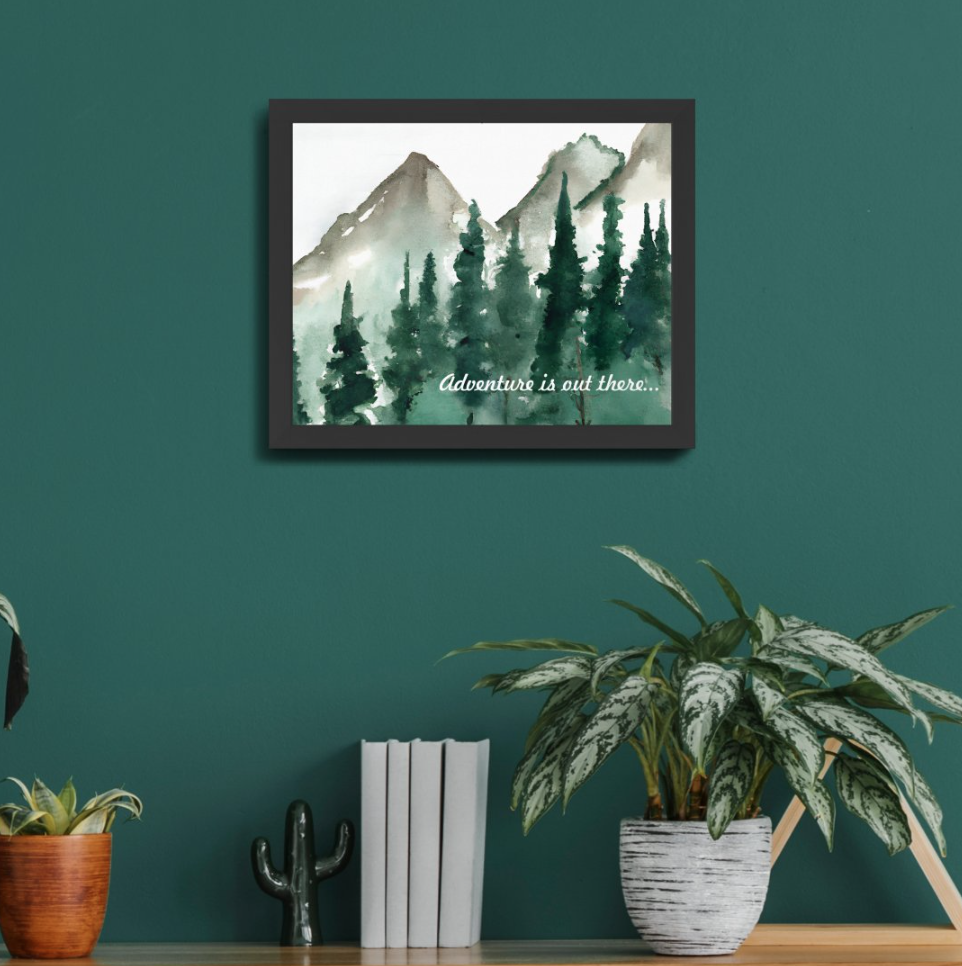
6. Finalize your design – once you’re done creating your own custom art in the design tool, click ‘Done’ to see it on the product!
7. Make any adjustments – whether these are adjustments to your design or the product options we mentioned above, use this step to perfect your artwork and product.
You just created your very own custom art on Zazzle! Congratulations!
From here, there are 2 routes you can go using the Zazzle platform:
- Buy for yourself, a friend, a loved one, etc.
- Sell on Zazzle (it’s free to sell on Zazzle, by the way!) & earn royalties on any purchases.
If you’re buying for yourself or someone else, you’ll simply ‘Add to Cart’ and begin to go through the checkout process.
If you’re interested in selling your product(s) on Zazzle, we can take you through that process!
How to Sell Your Own Custom Art on Zazzle
- After completing the steps above for ‘How to Create Custom Artwork using Zazzle’, you should see a ‘Sell It’ button on the product page
- Once you click ‘Sell It’, you’ll be directed to the product listing process
- Add an enticing, descriptive title
- Choose the best department for this product to live in
- Write a fun, eye-catching description to help sell your design
- Do product merchandising – this is how your product will appear in the Zazzle Marketplace
- Categorize your product
- Add keywords to tags so people can find your design
- Choose your royalty – this is how you’ll make money
- Post it! Your product will be evaluated and submitted for final approval
When your product is approved, you’ll be notified that your product is live on Zazzle. From here, you can share it with friends and family or on social media to draw more eyes onto your amazing design!
Continue this process for all your unique art and become a dedicated Creator on Zazzle!
Now that you have the steps for how to create your own custom artwork and how to sell that custom artwork on Zazzle, what are you waiting for?!
Start on our custom art page, get those creative juices flowing and we hope to see your designs in the Zazzle Marketplace very soon!
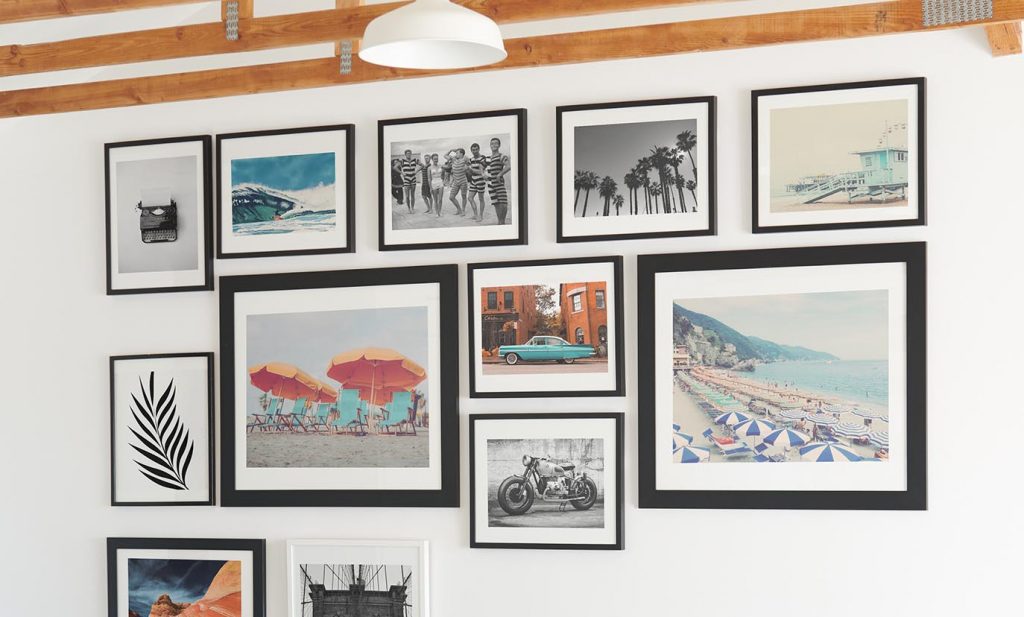
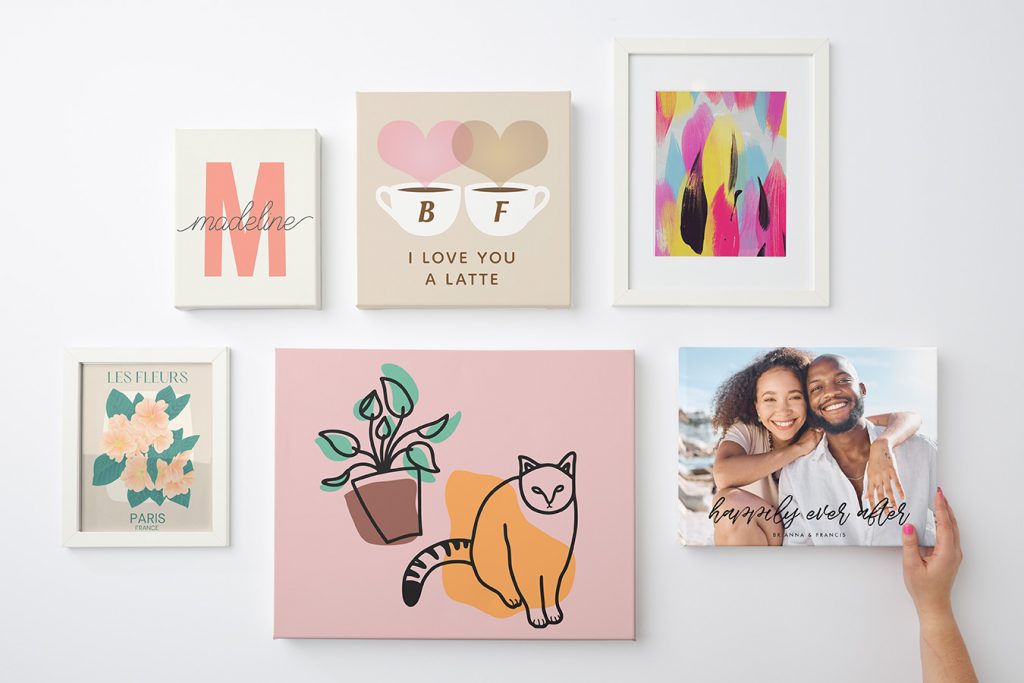
Be Inspired by Wall Art Ideas
More to Learn – How to Design Your Own Unique Business Card on Zazzle

Nicole is our Content Strategist. She enjoys long walks to Taco Bell, rollerblading into the sunset, and eating Reese’s Cups for breakfast, lunch, and dinner. Find her writing about iPhone cases, holiday card messaging and even music festival tips!