
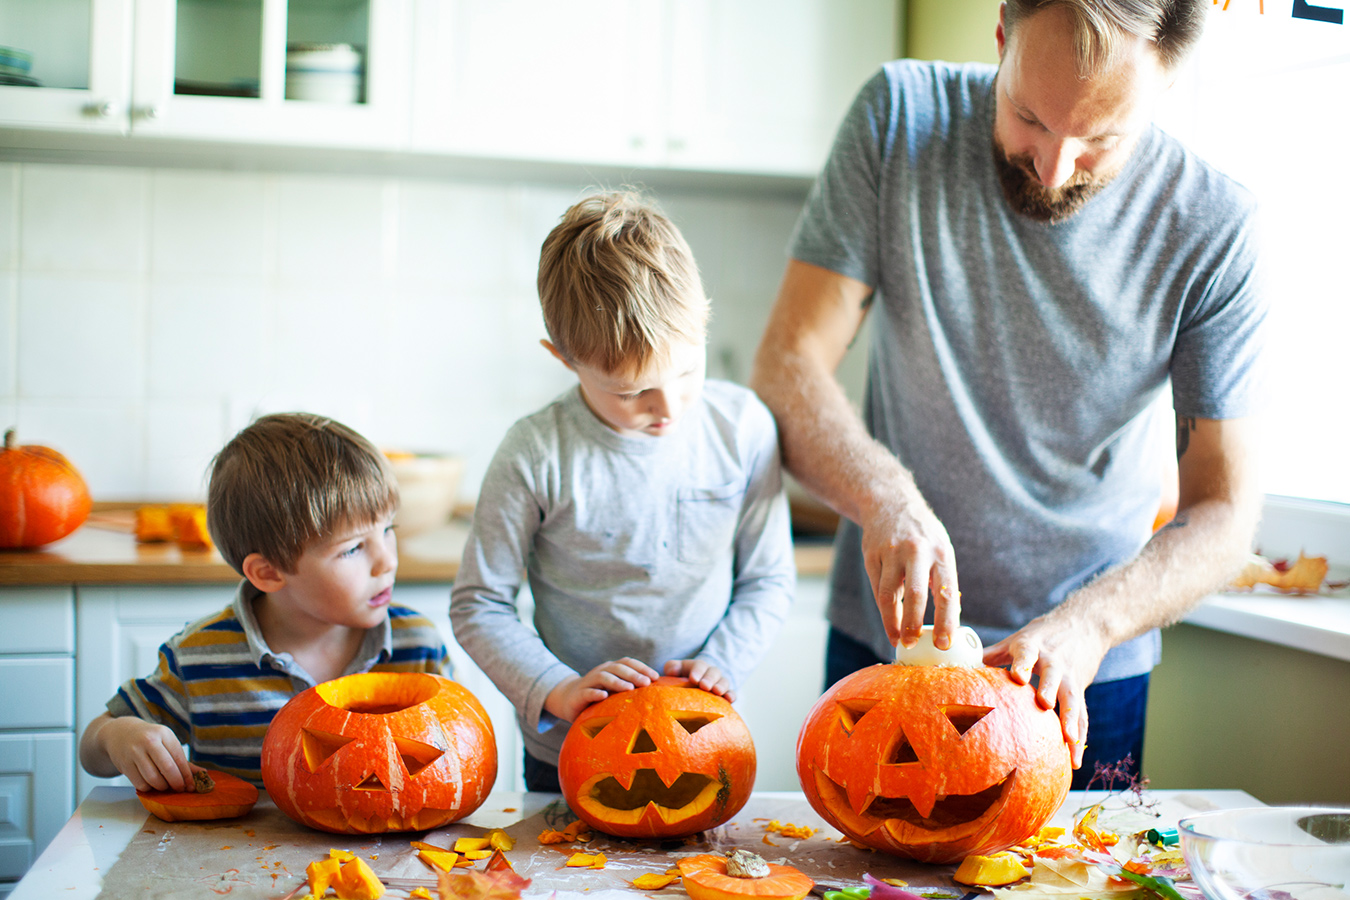
This is Halloween, Halloween… Everyone hail to the pumpkin song…! Now, here’s a song to everyone in the spooky spirit! And what better way to embrace the vibe than by decorating your home, office or classroom with creepy faces? Pumpkin carving is a wholesome tradition, but the mess of it all can turn the fun into a sticky chore.
Whether you’re a first-timer or a seasoned pumpkin carving pro, this guide is packed with easy pumpkin carving ideas for everyone, with a focus on safety, creativity, and making a memorable jack o’lantern that will be the talk of the neighborhood. We’ll explore everything from carving without a knife to creating unique designs and classic pumpkin faces!
No-Knife Carving & Safe Alternatives for All Ages
Worried about little hands and sharp tools? No problem! Some of the most creative pumpkin carving ideas don’t involve a single knife. These techniques are ideal for a classroom activity or for very young children.
Pumpkin Painting
This is a classic, mess-free alternative. Use acrylic paint to create vibrant designs, from spooky ghosts to silly monsters. It’s a great way to let kids’ imaginations run wild and put together a funny or cute jack o’lantern.
Cookie Cutters & Mallets
For a simple and safe way to ‘carve,’ grab some sturdy metal cookie cutters. Choose fun shapes like stars, bats, or moons. Position the cutter on the pumpkin and gently tap it with a rubber mallet until the shape is indented. An adult can then use a thin saw from a pumpkin carving kit to cut out the shape.
Glue, Glitter & Googly Eyes
Transform your pumpkin into a character without any cutting. Use Halloween stickers as googly eyes, yarn for hair, buttons for a nose, and glitter for a sparkling, magical finish.
Classic & Easy Pumpkin Faces
For many, the quintessential jack o’lantern is all about the face. These classic pumpkin faces are surprisingly simple to create, especially with carving tools.
The Goofy Grin
This goofy design is a crowd-pleaser and one of the easiest pumpkin carving ideas to master on your first try. Simply draw a wide, toothy grin and two large, triangle eyes. A smaller triangle for the nose completes the look.
The Spooky Stare
To create a more menacing vibe, carve out two narrow, pointed eyes and an angular, zigzag mouth. Add triangular eyebrows for an extra touch of scary!
The Happy Face
A simple, oval-shaped mouth and circular eyes make for a friendly and welcoming jack o’lantern. This is a great design to let kids draw on with a marker before an adult carves the rest.
Unique Pumpkin Carving Ideas & Stencils
Ready to take your skills to the next level? Get inspired by these creative and unique designs.
Pumpkin Carving Stencils
This is the secret to professional-looking designs. You can find countless free pumpkin carving stencils online. Simply print the template, tape the stencil to your pumpkin, and use a push pin or a small poker tool to transfer the design. Then, connect the dots with a carving saw to create a flawless image.
Creative Themes
Think beyond traditional spooky themes. Carve your family’s last name, a favorite cartoon character, or a beautiful floral pattern. You can even create an entire scene by using multiple pumpkins.
Etching
Instead of carving all the way through, use a small tool to carefully scrape away the top layer of the pumpkin’s skin. This creates a two-tone effect and allows for incredible detail, like hair, shadows, or even a detailed pumpkin drawing. The light from within will glow through the thinned-out skin, creating a beautiful effect.
Decorating After the Carving
Your pumpkin’s journey doesn’t end when the carving is done! Here are some tips for using your Halloween pumpkin as a decoration, both indoors and out.
Inside: Place a battery-operated candle or LED light inside your finished jack o’lantern for a safe glow. Arrange pumpkins of various sizes on a mantelpiece or a side table.
Outside: Welcome trick-or-treaters by placing your carved pumpkins on your porch or steps. To make them last longer, apply a thin layer of petroleum jelly to all the carved edges to lock in moisture and prevent drying. You can also spray them with a mixture of water and bleach to prevent mold.

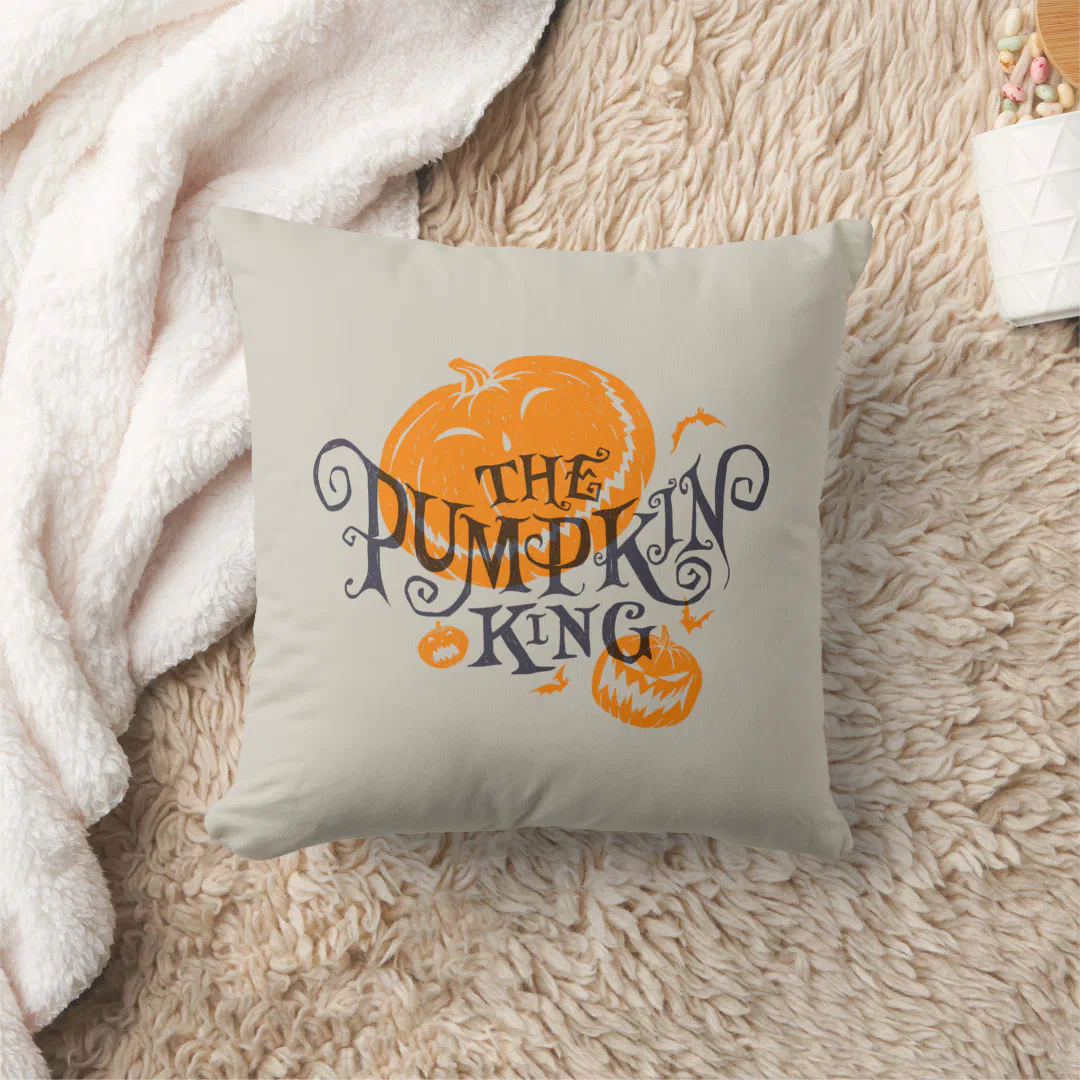
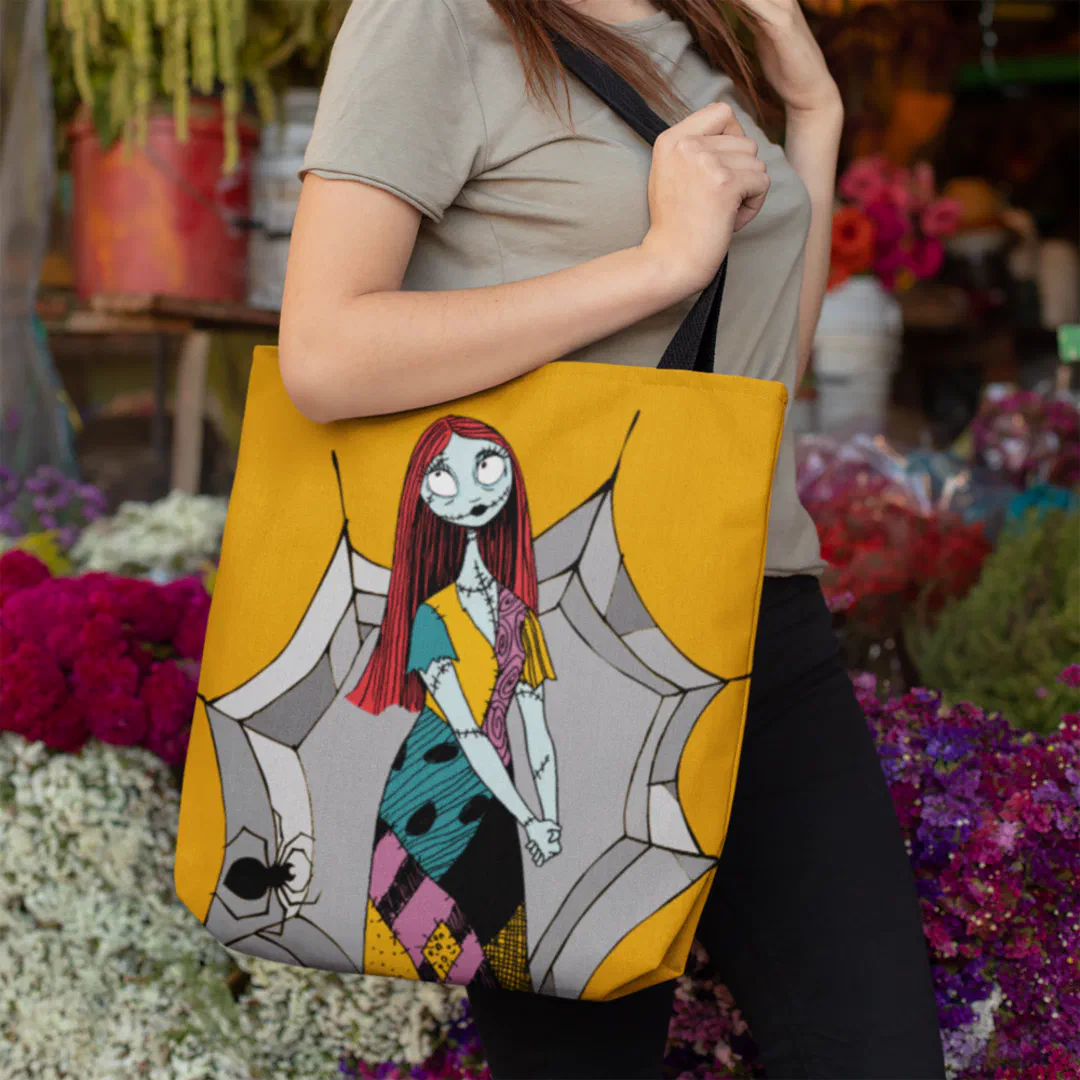
Happy carving! We hope these pumpkin carving ideas inspire you to create great pumpkin faces this year. Maybe even a jack’o lantern that Jack Skellington himself would be proud of (he is the pumpkin king after all), and maybe even one that would make Sally smile!

Hazel is a content specialist that reigns from the amazing land of Cork, Ireland. If her natural red hair doesn’t showcase her Irish roots, her love of humor and spontaneous outbursts would be a clear indicator. When she’s not looking out for her amazing team mates, she’s usually re-writing song lyrics – tirelessly trying to incorporate them into her writing pieces. She has a quirky, lively, and caring personality and her little dog Eddie makes her the happiest overall.


Thanks Matilda. This information is very helpful and I’m going to try waiting a few days before carving this year. In the past, everyone around here gets so anxious a week before spook time and starts to do the carve and we end up with a pitiful pumpkin before Halloween night.
I loved carving pumpkins as a kid but now if I even tried the deer would have a feast. So if you have a lot of wildlife you might have to go with faux pumpkins only. But one trick for real ones is to rub vasoline or Olive oil all around the cut edges to keep it fresh a little longer.
Keeping it cool and using flameless candles have definitely helped me in the past! Those methods definitely work!
And remember pumpkin carving isn’t just for kids! My boyfriend and I are both in our forties and enjoy our annual pumpkin carving tradition. His always tend to be extra scary looking while I opt for cute. We’re a bit set in our ways!