Planning a wedding means juggling countless details, from choosing a venue and photographer to managing budgets and updating your wedding website. Today, we’re focusing on wedding stationery, which is typically sourced in one of three ways: commissioned from a professional designer; ordered and printed from a retailer like Zazzle; or created from scratch, DIY-style.
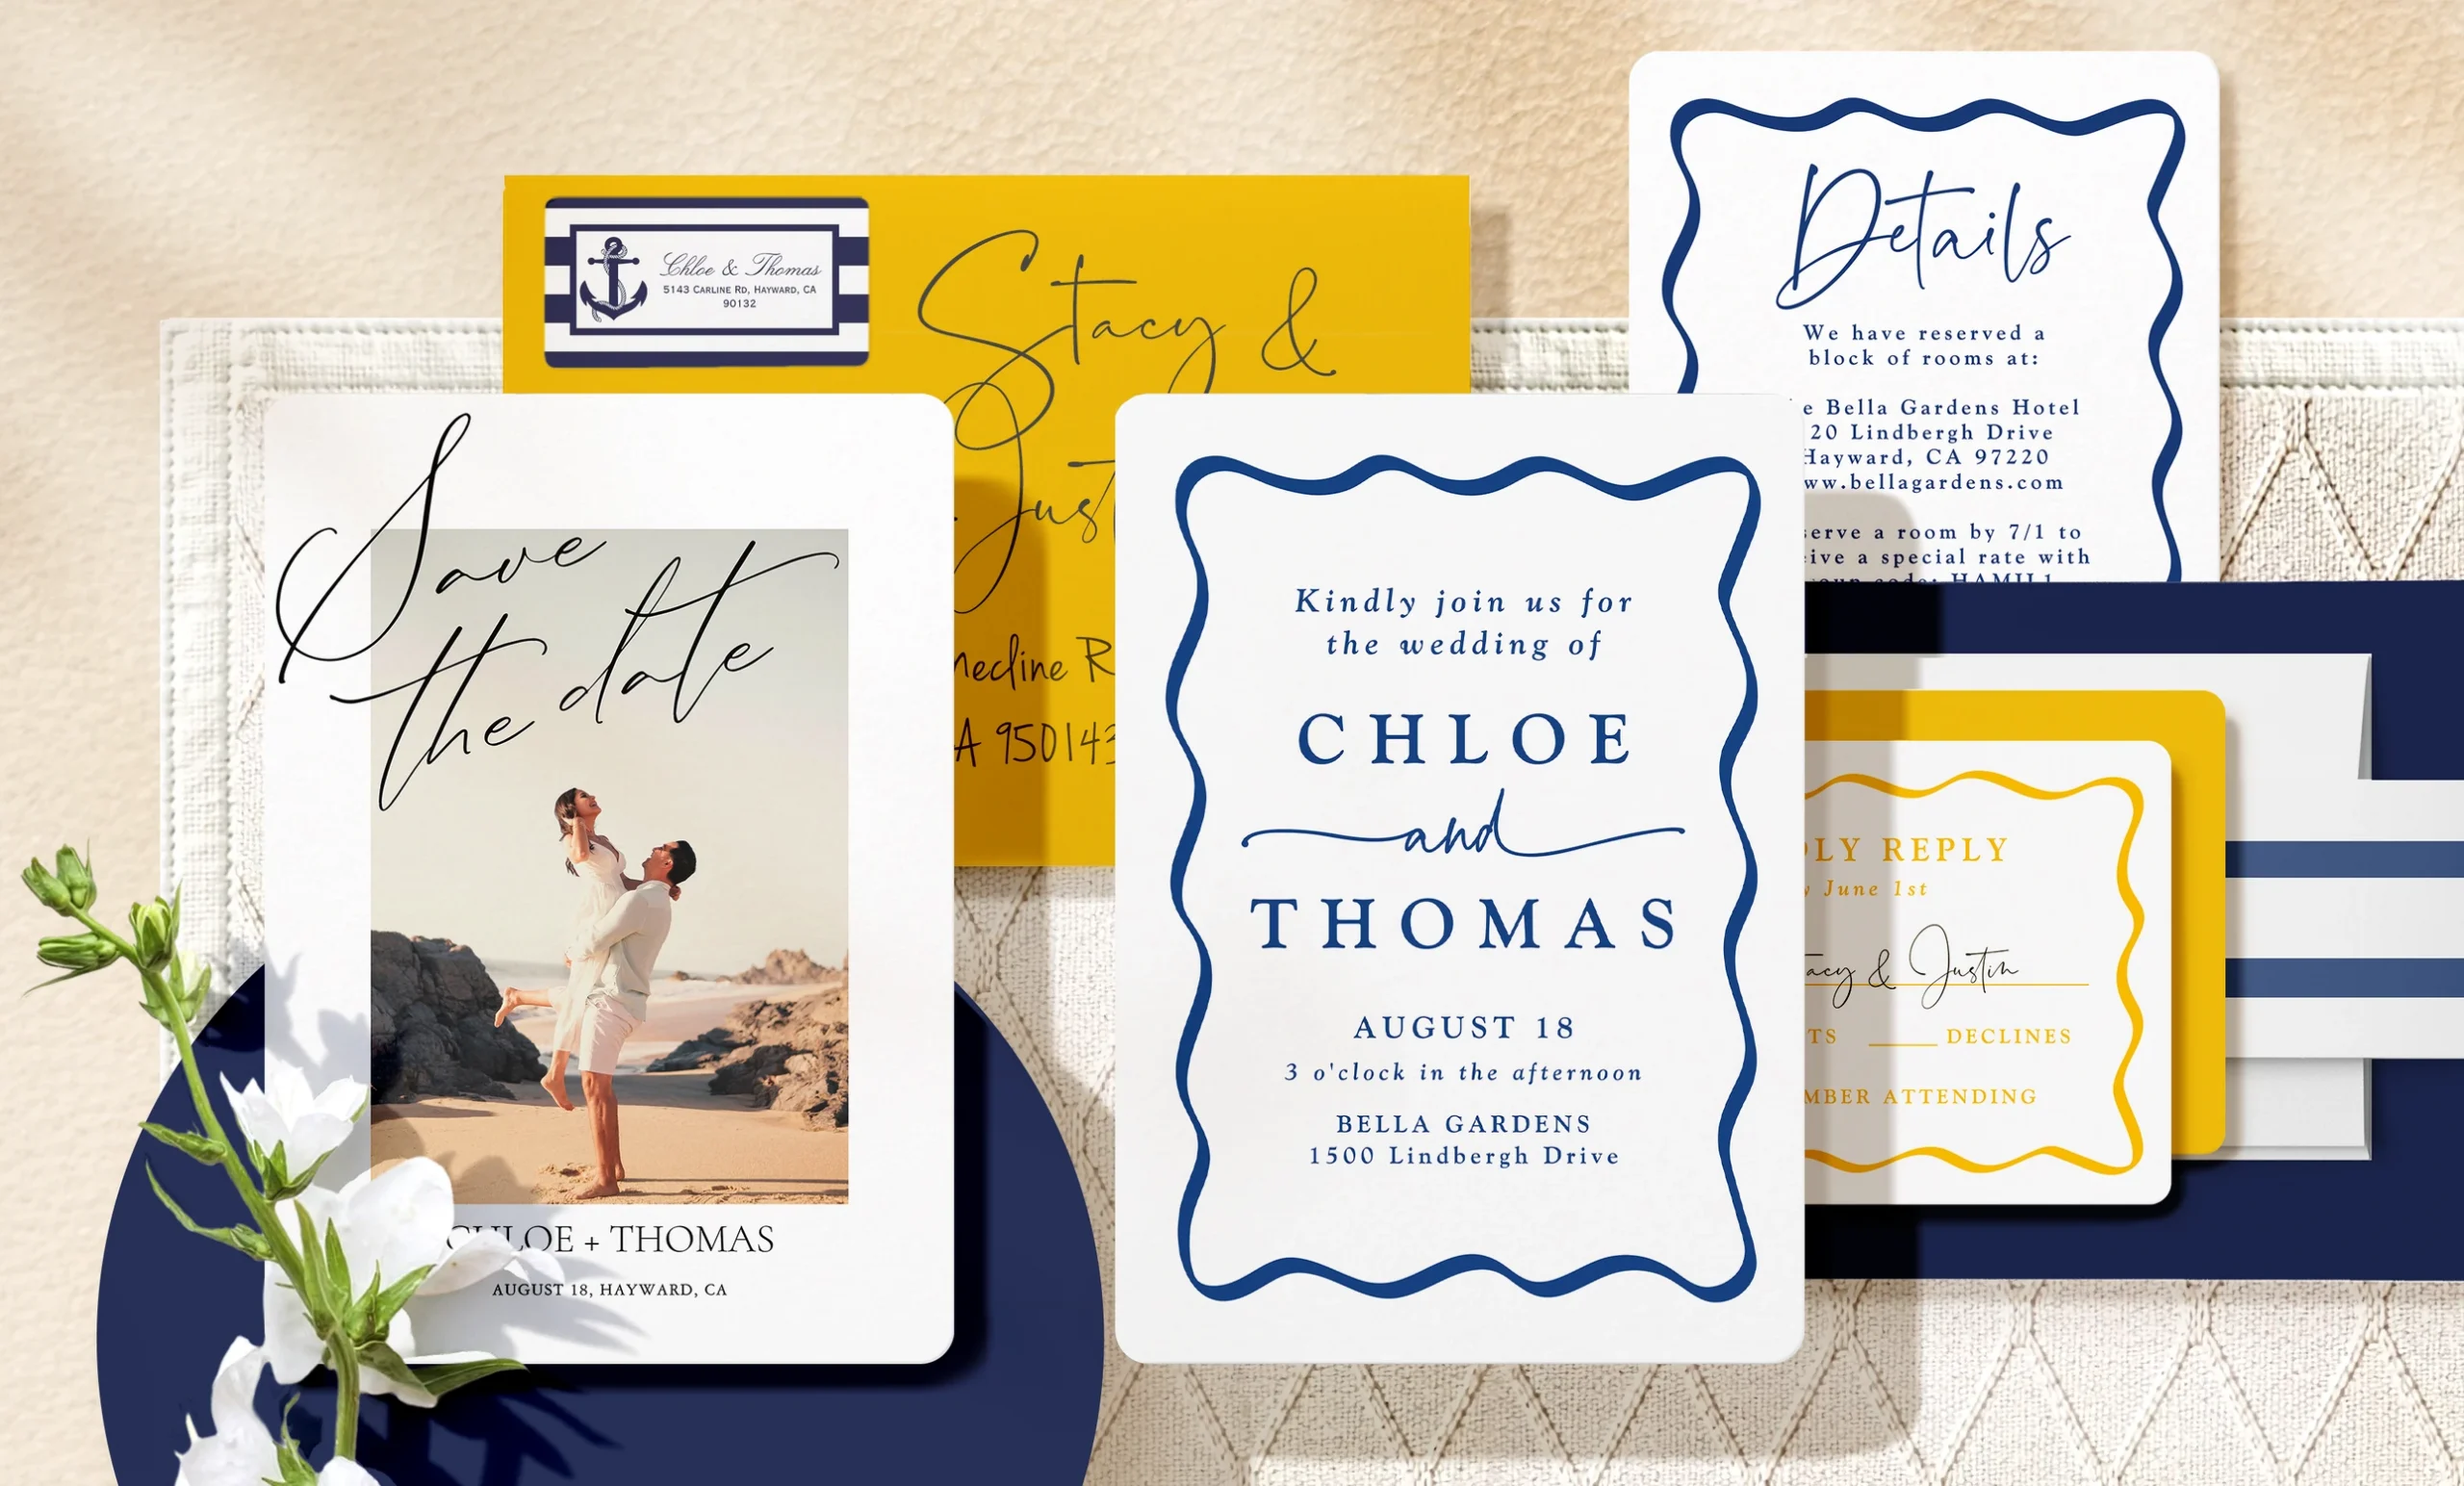
In the following article, we explain how to design your own wedding stationery through a combination of the latter two approaches, and by showcasing templates and collections you can then personalize with homemade elements. We’ll also introduce our new letterpress printing, which pairs a centuries-old technique with our Independent Creators’ cutting-edge designs.
What Is a Wedding Stationery Suite?
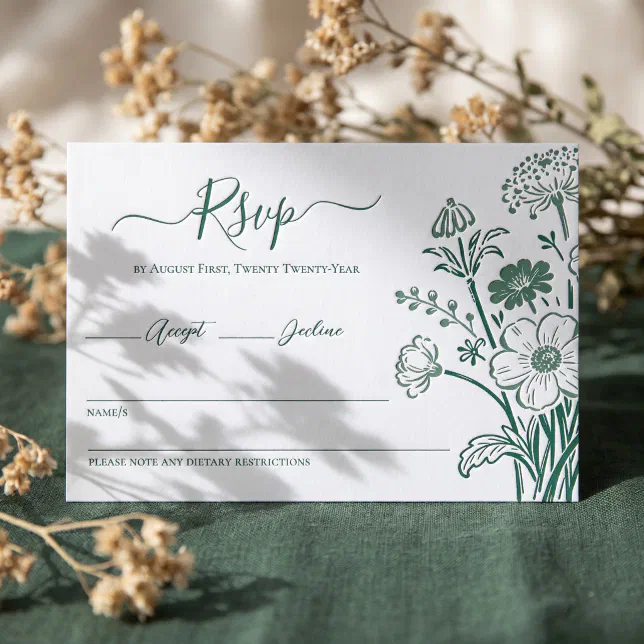
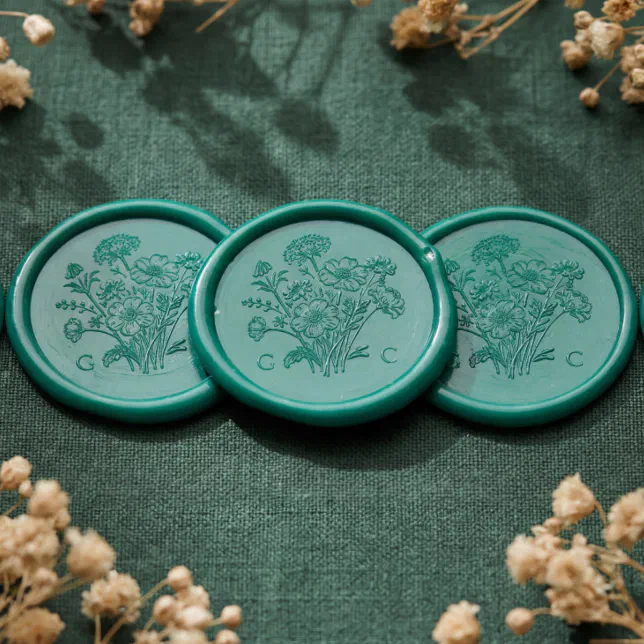
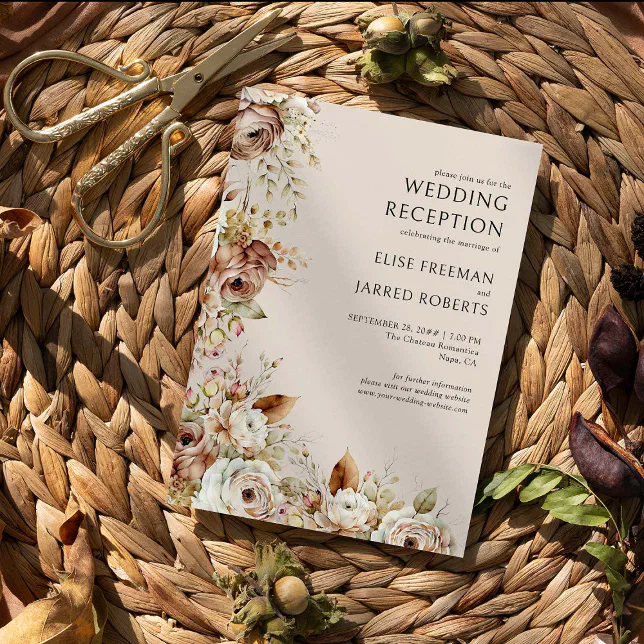
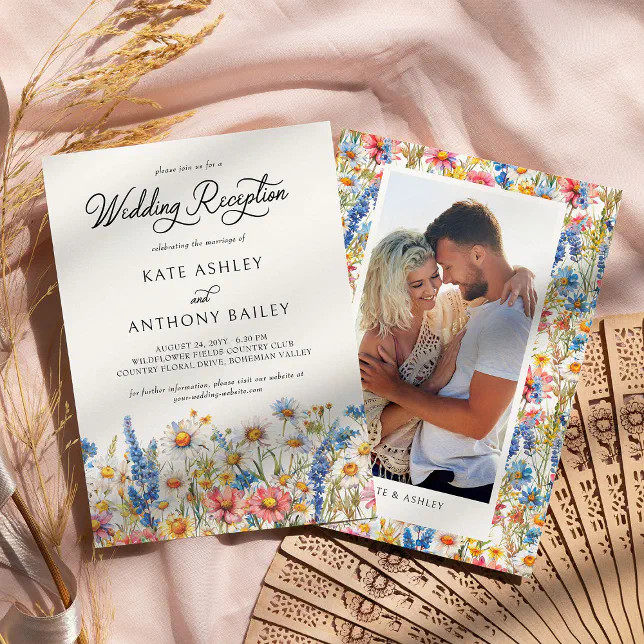
A wedding invitation suite is the cornerstone of your correspondence and comprises both the invite and any accompanying enclosure cards, such as attire, detail, and accommodation cards. Foremost among these is your RSVP card – without it, recipients will be able to do little more than admire your handiwork. Also included are any ancillary items used to enhance the presentation of the envelope, such as belly bands, wax seals, and return address labels.
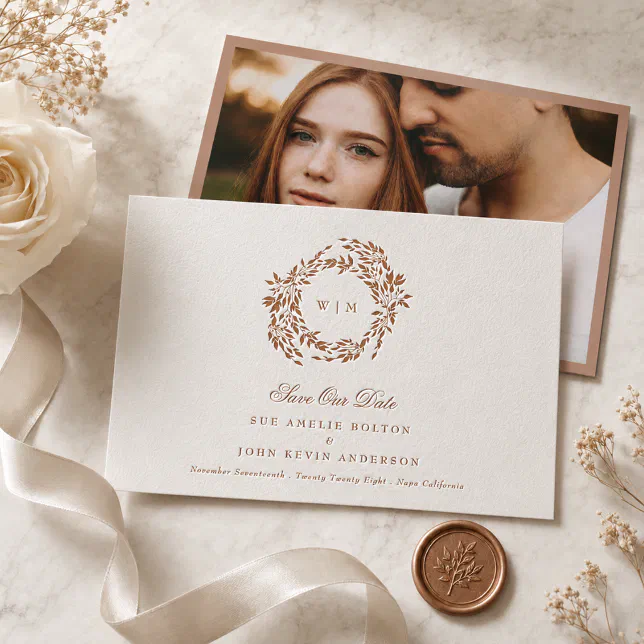
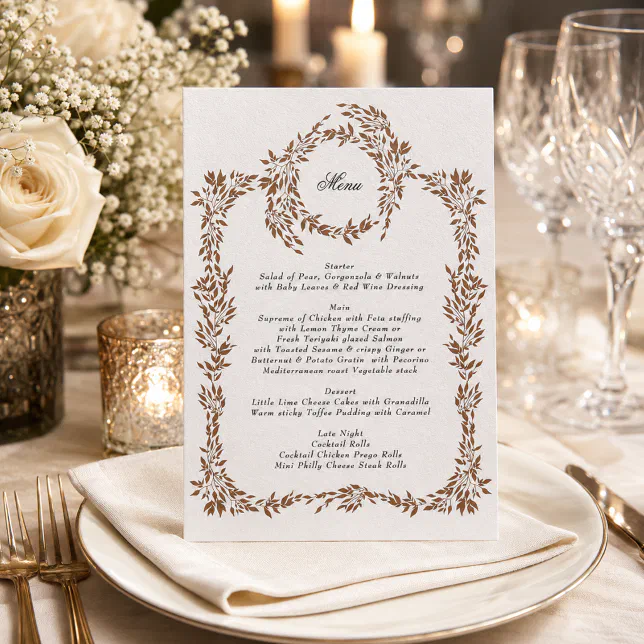
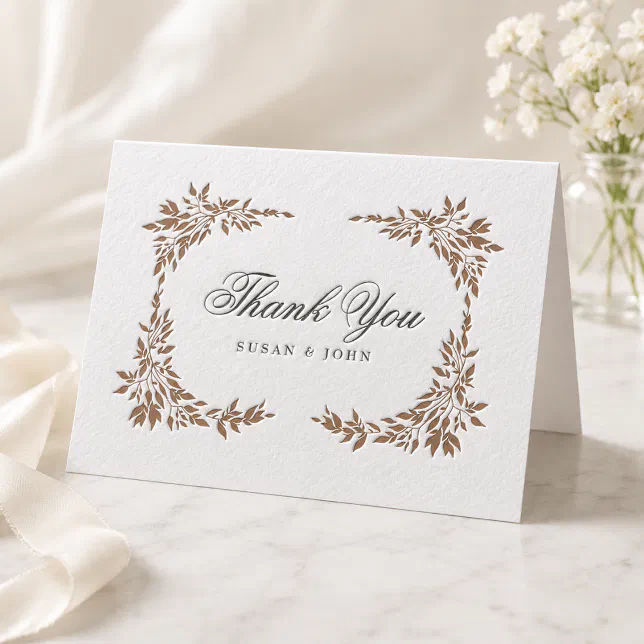
On the other hand, a wedding stationery suite is a catch-all term that encompasses everything mailed to your guests prior to the wedding (e.g. Save the Dates), materials distributed at the wedding (e.g. wedding programs), and even post-wedding communication (e.g. wedding thank you cards). The stationery suite is a bigger undertaking, and ensuring a high level of consistency and quality across every element is a full-time job. That’s why we’ve kept the scope of this article broad, and you can apply the tips below to multiple wedding stationery items!
How Do I Design My Own Wedding Stationery?
There’s a lot to bear in mind when you design your own wedding stationery, whether you’re customizing our Independent Creators’ templates or going solo with a pair of scissors and your trusty inkjet printer.
Choose Your Wedding Theme
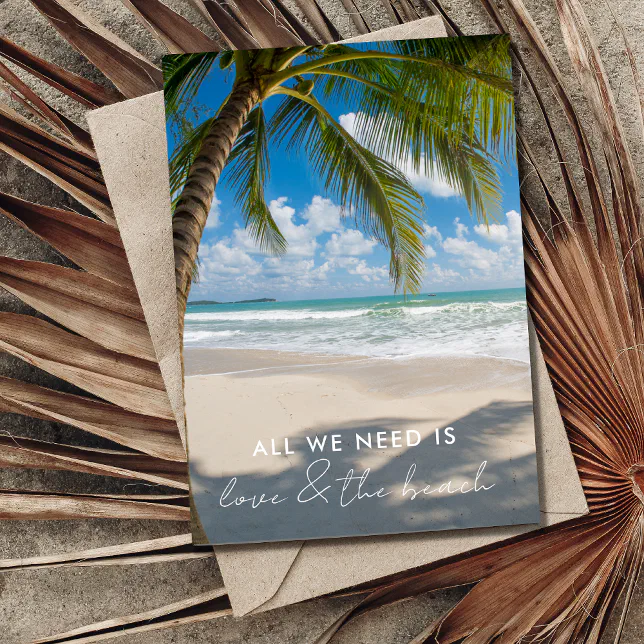
Before you design anything, “take a step back and envision your wedding day as a whole,” perhaps “creat[ing] a moodboard to […] visualize the look and feel of your day,” according to Berries and Blooms. Will you be exchanging vows at a formal garden party in a country manor, or dancing with your partner at golden hour before a dip on the beachfront? From there, the theme and atmosphere of your wedding can often be narrowed down to a single adjective or keyword – ‘botanical,’ or ‘coastal,’ for example – which you can then let influence your color and design choices.
Decide Which Stationery You Need
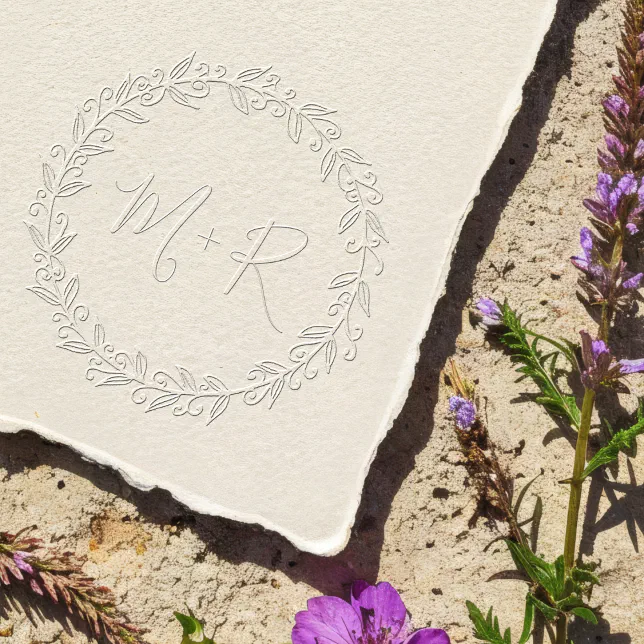
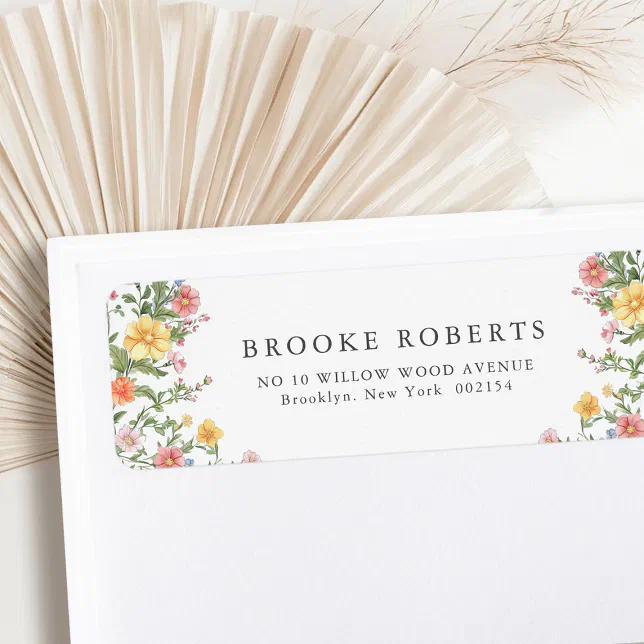
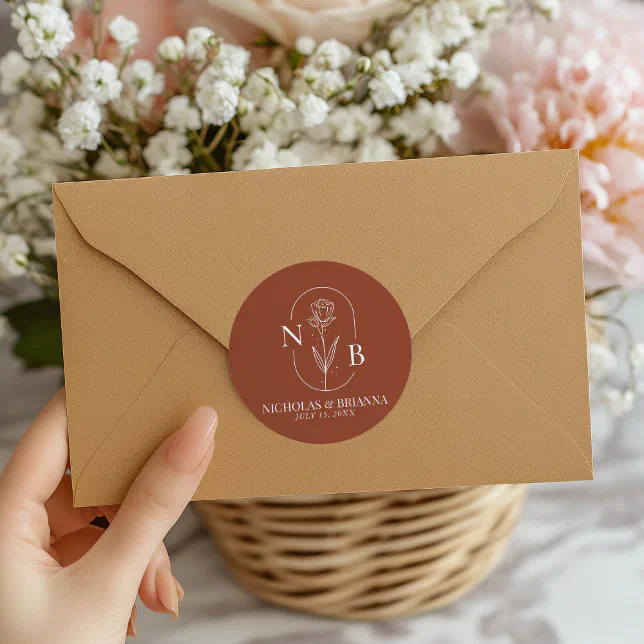
Several stationery items are optional. Even the most extravagant wedding doesn’t necessitate the use of embossers, stickers, labels, wax seals, singing telegrams, barbershop quartets, and bugle-blowing heralds… Not only will your budget start to groan under the inflated cost, but it can have an adverse effect on your wedding, making it seem overblown. Consult a wedding stationery checklist – like that in “Your Wedding Stationery Timeline” – and opt for a couple of thoughtfully chosen items: it’ll be much more impactful.
Proofread Everything
Proofreading is a valuable skill, and it’s worth sharpening your blue pencil before you print out a huge batch of Save the Date invitations. Accidents can obviously happen, but cordially inviting your soon-to-be in-laws to a ‘WEEDING’ won’t make the best impression! Avoid such a scenario by getting a second pair of eyes – and a third, and a fourth – to review everything. For a list of common slip-ups, take a look at The Knot’s “Most Common Wedding Invitation Mistakes and How to Avoid Them” before you design your own wedding stationery.
Consider the Tone
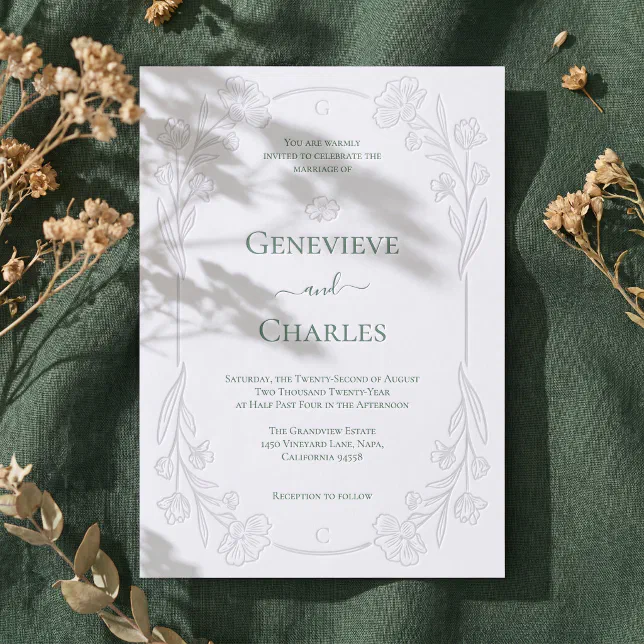
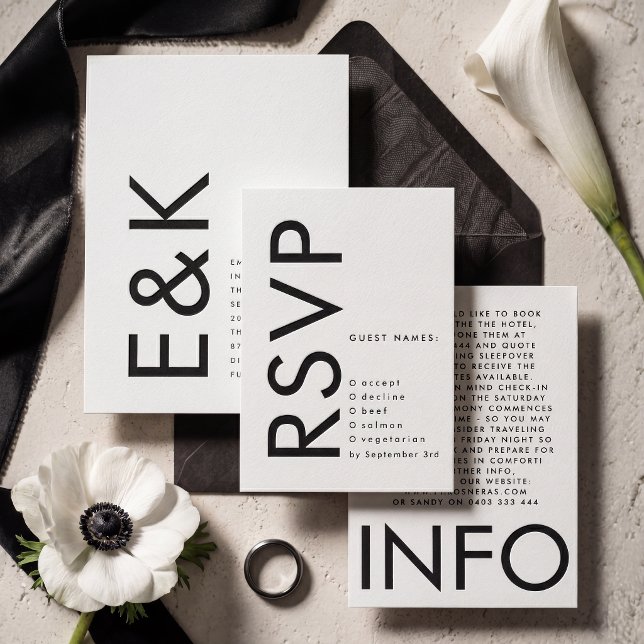
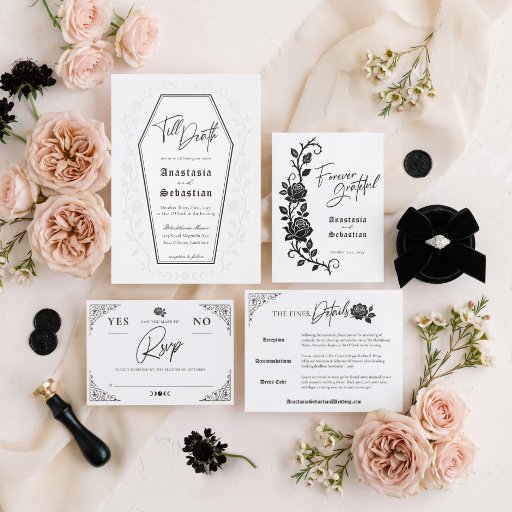
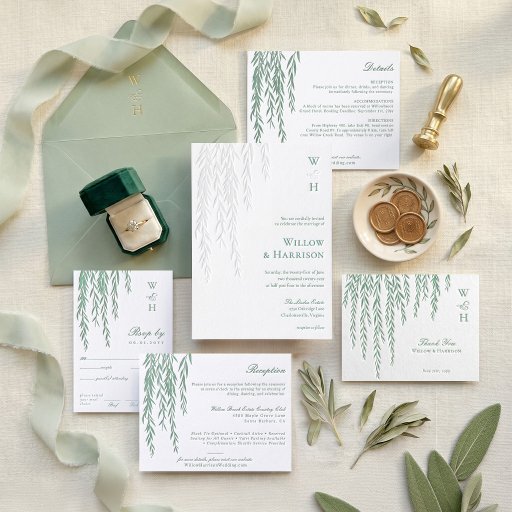
The tone of your wedding can also help dictate the look and composition of your stationery suite. Letterpress, for example, is a time-honored printing method sometimes used for wedding invitations: here, an antique press imprints lettering or line art onto thick cotton paper (see “What Is Letterpress?” for more). Because of that detailed process, letterpress is better suited to a grand, stately affair than a casual micro wedding (see “What Are Micro Weddings?“). This way, the print will complement the vibe of the wedding rather than clashing with it or detracting from it.
How Can I Make My Wedding Stationery Stand Out?
There are countless ways to make your wedding stationery stand out, from reimagining the layout and experimenting with unique printing methods to elevating your envelopes with decorative mailing accessories. Even small touches can be transformative!
Envelope Accessories
When you do post your Save the Dates, invites, or even your thank you cards, they should feel like an event. Dress up the outside of the envelope with a pattern or monogram, or invest in some collectible stamps to add class and intrigue. Use a wedding envelope liner to improve the presentation further, and complete the package with a wax seal, belly band, or other mailing accessories. Unless they’re expecting an acceptance letter from Hogwarts, this will be the most dynamic piece of mail your guests receive this year!
Vellum and Acrylic
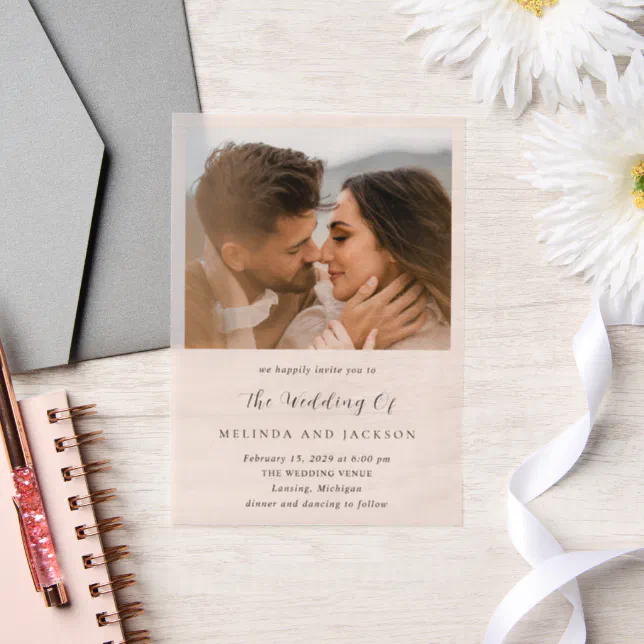
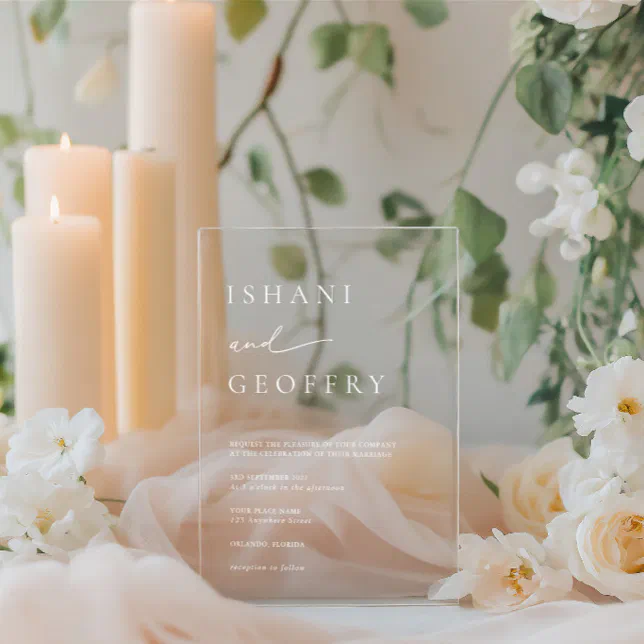
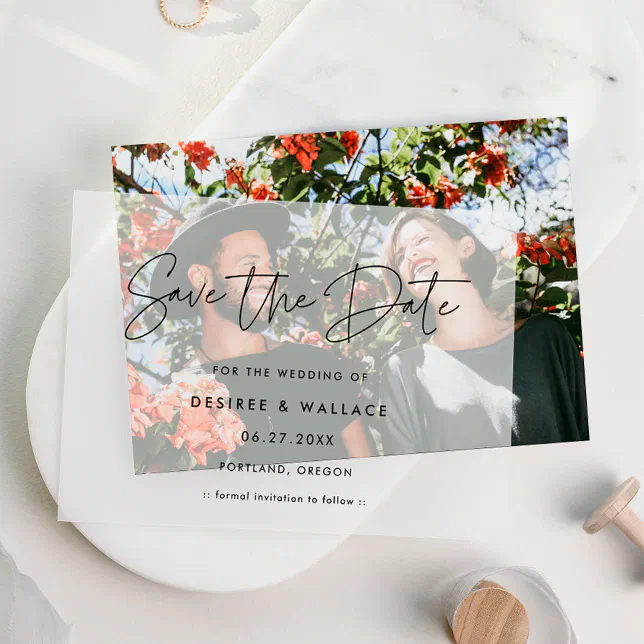
A lot can be achieved with paper alone, but there are alternatives when designing your own wedding stationery. Vellum is a delicate, semi-translucent sheet typically placed over the centerpiece of the design: think of it as a ‘veil’ that recipients can dramatically ‘lift’ to reveal the details beneath! Acrylic is similarly transparent, composed of a sleek frosted plastic that helps the invite or Save the Date to double as a keepsake. Textured materials “create visual depth” and convey “a nontraditional approach,” according to Lively House and Home. And, at the very least, they’re fun to admire!
Foil Printing
If you’re worried about any aspect of your stationery suite lacking, well, luster, then opting for foil printing could be one way to ensure that ‘WOW’ factor. Personalize a card or invite with the ‘REAL FOIL’ tag and your design will be produced with a shimmering rose gold, silver, or gold foil – ideal when you want to evoke the Regency era, Gatsby-esque glamor, or a literal Gilded Age. For a full FAQ on our foil options, check out “Everything to Know about Zazzle’s Foil Invitations & Cards.”
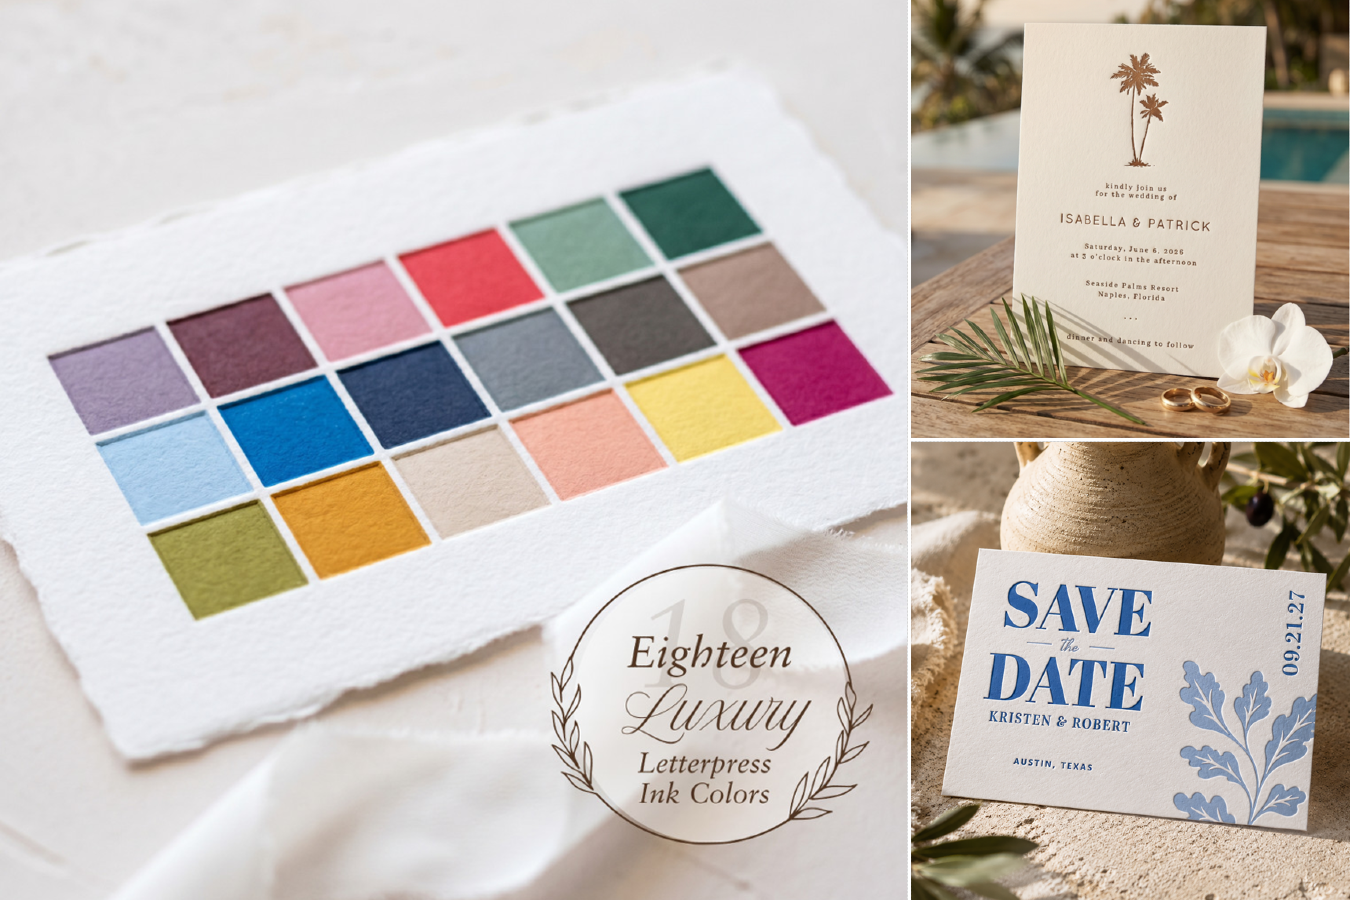
Letterpress Printing
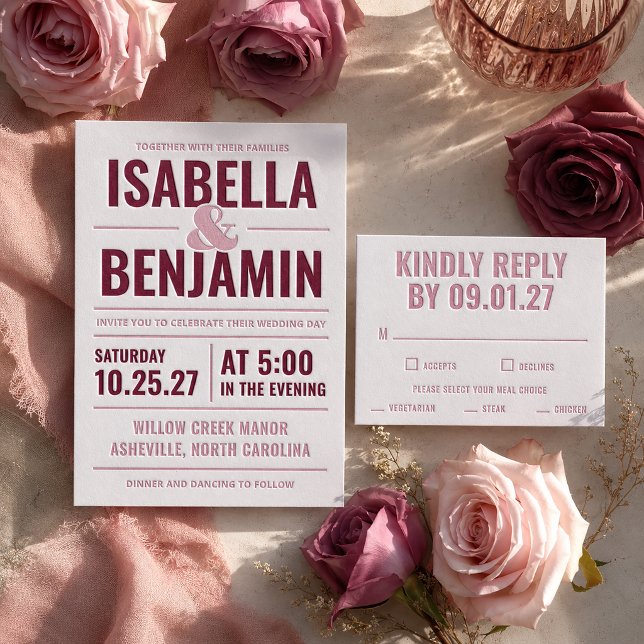
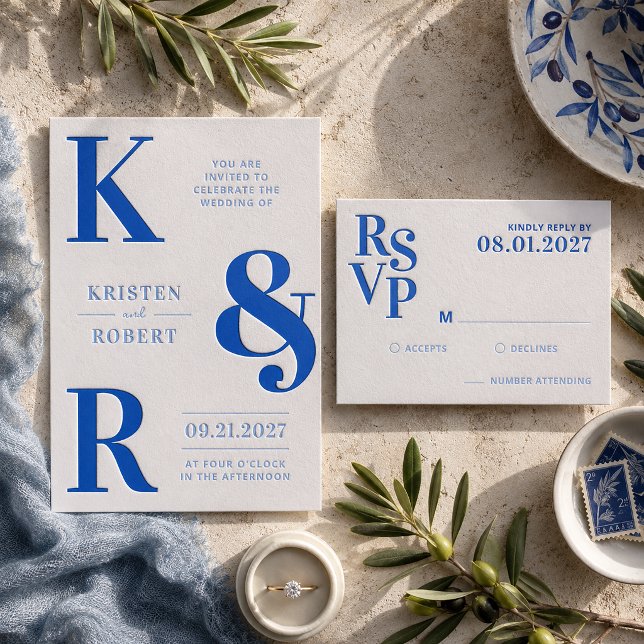
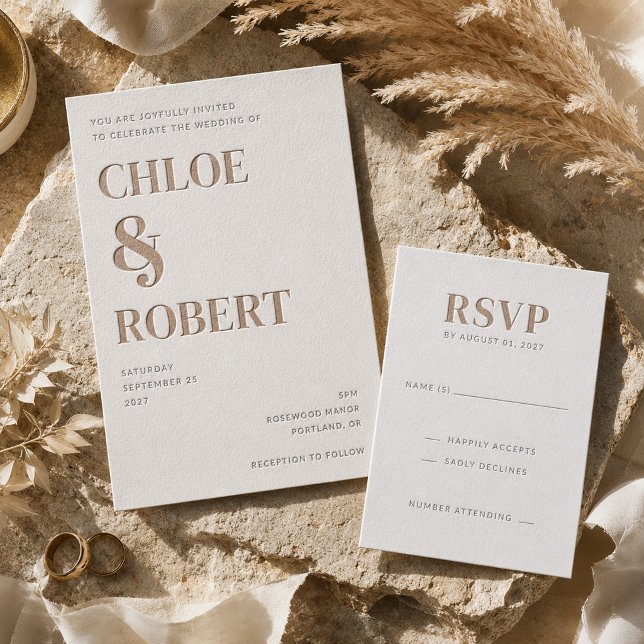
Given that letterpressing is the modern-day equivalent of a technique from the 1400s, it’s probably the most specialized upgrade you can give your wedding invitations. Unlike the effect of an embosser, which it resembles, letterpressed details sink inwards; embossed details protrude outwards. The durability of that indented imprint means it’s likely to withstand the test of time, but for best results, we recommend thick outlines in measured use. For more impressions, read our “Letterpress vs Foil Printing” article.
What Are the Pros and Cons of DIY Wedding Invitations?
There are a couple of ways to DIY your wedding stationery. You can use Zazzle’s design tool to create printable invitations, or you can make your own at home, with naught but a paintbrush and scissors in hand. Before we begin, we’d be remiss not to weigh up the pros and cons, because like any DIY project, it can be time-consuming and rewarding!
Pro: They Are Unique and Personal
Even the most sophisticated technology can’t compete with the personality of something that’s been carefully assembled by hand. Slight variations or imperfections, far from spoiling the presentation, can in fact add charm and authenticity.
Pro: They Are Cheaper
This isn’t always the case – Hitched.co.uk points out that, “[b]y the time you have bought all the materials, tools, and supplies you need […] it may work out the same [as buying them].” Cardstock and stationery supplies are generally going to be cheaper than hiring a professional or purchasing expensive design software, however.
Pro: They Make Great Keepsakes
Years from now, the invitations you personally painted or inscribed will serve as cherished reminders of the lead-up to your wedding. The extra hours spent sourcing just the right paper thickness or the time your inkwell ran dry on the very last envelope – that’s the stuff great anecdotes are made of!
Pro: They Suit Smaller Weddings
If you’re having an epic wedding with a 300-strong guest list, then DIYing your reception invitations could be a colossal assignment. But, for an intimate ceremony with a small number of attendees, it’ll be a genuine labor of love, and you’ll have the time and resources to perfect each piece.
Con: They Are Time Consuming
Make no mistake: DIY invitations are a commitment, and largely because you’ll be trying to make no mistakes. Brides.com advises its readers to “give [themselves] time, grace, and patience when printing at home, because it can get a little complicated.” In other words, plan ahead and allow for setbacks!
Con: They Require Skill
Rather than relying on Independent Creators and industrial machinery to produce your invites, you’ll be trusting your own abilities here, together with a laser printer – a mercurial object at the best of times. Try searching for YouTube tutorials to get you started!
Con: They Might Not Travel Well
Turning your invite into an event can also turn it into a headache to post, incurring additional charges or requiring oversized envelopes. Your dried flowers and watercolor paintings could also deteriorate in transit, dulling the spectacle somewhat!
Con: They Can Be Less Accurate
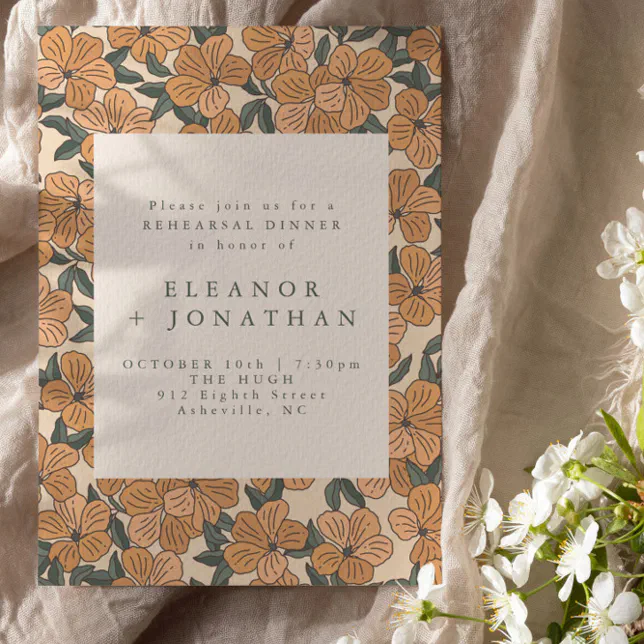
Another disadvantage of making stationery yourself is that it’s hard to maintain consistency. Minor variations between each person’s rehearsal dinner invitation can indeed be part of the charm, but for the perfectionists among us, such discrepancies can also be frustrating.
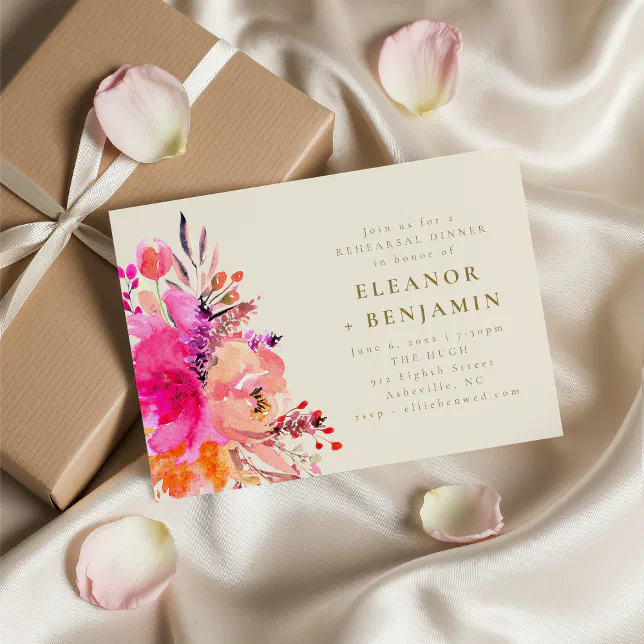
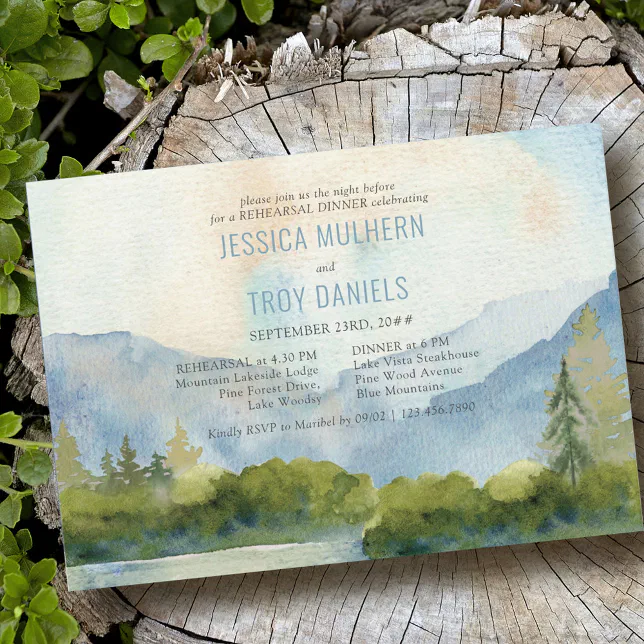
What Are Some DIY Ideas for Wedding Stationery?
Now you’re ready to make an informed decision about DIY wedding stationery: are you interested in becoming your own designer and stationer? If you’re not totally convinced by your crafting skills, consider a half-step: have the suite commercially printed by a website like Zazzle and add your own embellishments at the end.
Calligraphy Script
Calligraphy – basically ‘writing-as-art’– is an ancient practice, said to have originated in China around 200 BCE. In the modern era, you can hire a calligrapher to inscribe your wedding announcement cards, or you can read some tutorials to familiarize yourself with the techniques and terminology. The ornamentation and precise artistry involved will highlight the attention to detail you’ve shown to every aspect of your wedding.


Watercolor Paints
Look for ‘watercolors’ on Zazzle and your search query will yield millions of results. But what if you could imbue stationery with your own one-of-a-kind painterly strokes and Impressionistic touches? Order some watercolor paper or card – heavier and more textured than normal paper – and experiment with a slim paintbrush or set of watercolor pencils. With sustained practice and Pinterest for inspiration, you could be the next Monet – a Monet that specializes in wedding stationery, of course.
Ribbon and Twine
Adding a DIY element to your stationery could be as simple as bundling the package in ribbon or, for the rustic and eco-friendly look, tying it together with twine and a kraft paper tag, according to One Fab Day. Much like the bow on a carefully wrapped gift, ribbon or twine on an envelope can ‘complete’ the look and ensure that nothing slips out of the packet in transit. What better way to enhance the presentation than by making it look like a present?


Perfume and Flowers
Before you send out your Save the Dates or thank you cards, spray the envelope with your favorite perfume (maybe even a bespoke fragrance, which it’s possible to organize with brands like Jo Malone). Alternatively, drop a dried flower in the envelope “as a way to tease your color scheme or [the] actual flowers you’re planning to use on your wedding day.” As soon as your recipients get a whiff of these scents, everything will be coming up roses.
Congratulations: you’re now well on your way to becoming a wedding stationery expert, ready to design or personalize your own invitations or RSVP cards, and even capable of adding your own DIY touches, from watercolor paint to calligraphy. For more tips, take a look at our “Save the Dates vs. Invitations: Getting to Know Your Wedding Stationery” and “Choosing Wedding Invitation Sizes: The Best Fit for the Perfect Match.” Let us know in the comments below what DIY elements you plan to incorporate into your wedding!

Eoin is a Content Specialist at Zazzle in Cork. He’s recently bought a house with his fiancée, and thus most of his time these days is spent trying to keep the walls from caving in and the wolves from the door. Still, he’s always open to book, game, and movie recommendations, so if you have some, let him know: he’ll add them to a very, very long list.