
Add character to your kitchen this summer with this fun, fast, and fantastic utensil DIY project!
Here’s what you’ll need:
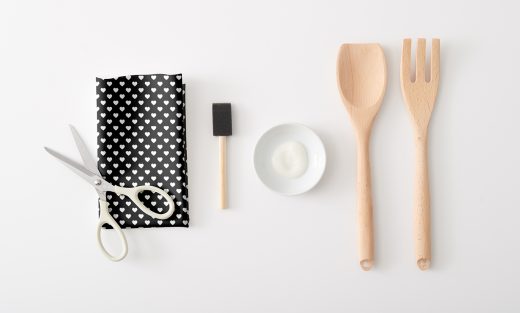
- Zazzle Custom Fabric
- Wooden Serving Utensils
- Scissors
- Mod Podge Fabric Finish
- Painting Sponge
Here’s how you do it:
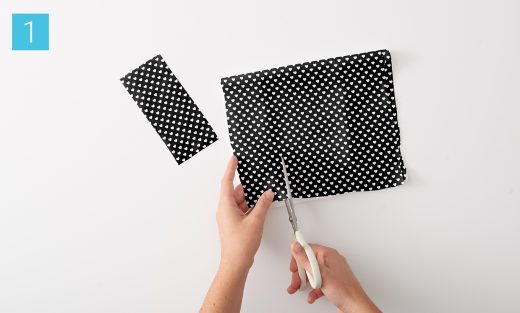
Step 1: Cut fabric into rectangular strips, large enough to wrap around the desired area. My strips were 6 in x 2 in.
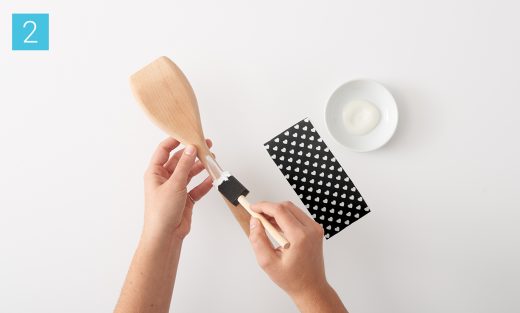
Step 2: Apply Mod Podge with sponge to the back of the wooden utensil. Place the long end of one fabric strip onto the adhesive. Press down firmly and smooth out any bubbles.
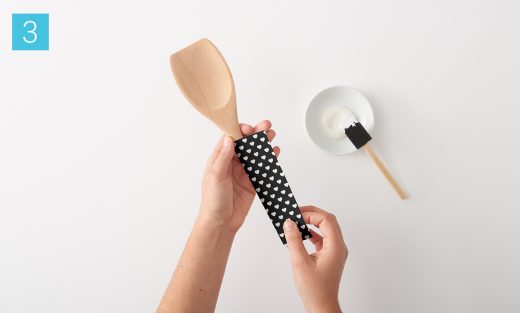
Step 3: Add more Mod Podge to the sides and front of the utensil and then wrap the fabric around it. Make sure the fabric is placed evenly and tightly. Secure the last bit of fabric to the back of the utensil adding extra Mod Podge if needed to create a seam. Let dry for 10-15 minutes.
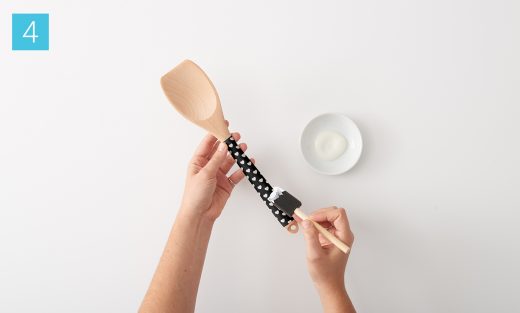
Step 4: Once dry, apply an even coat of Mod Podge to the outside of the fabric to seal. Allow 72 hours for the sealant to set. Hand wash cold.
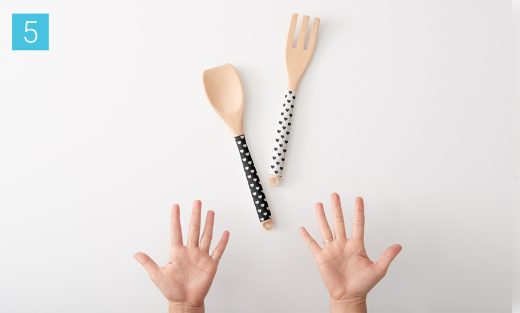
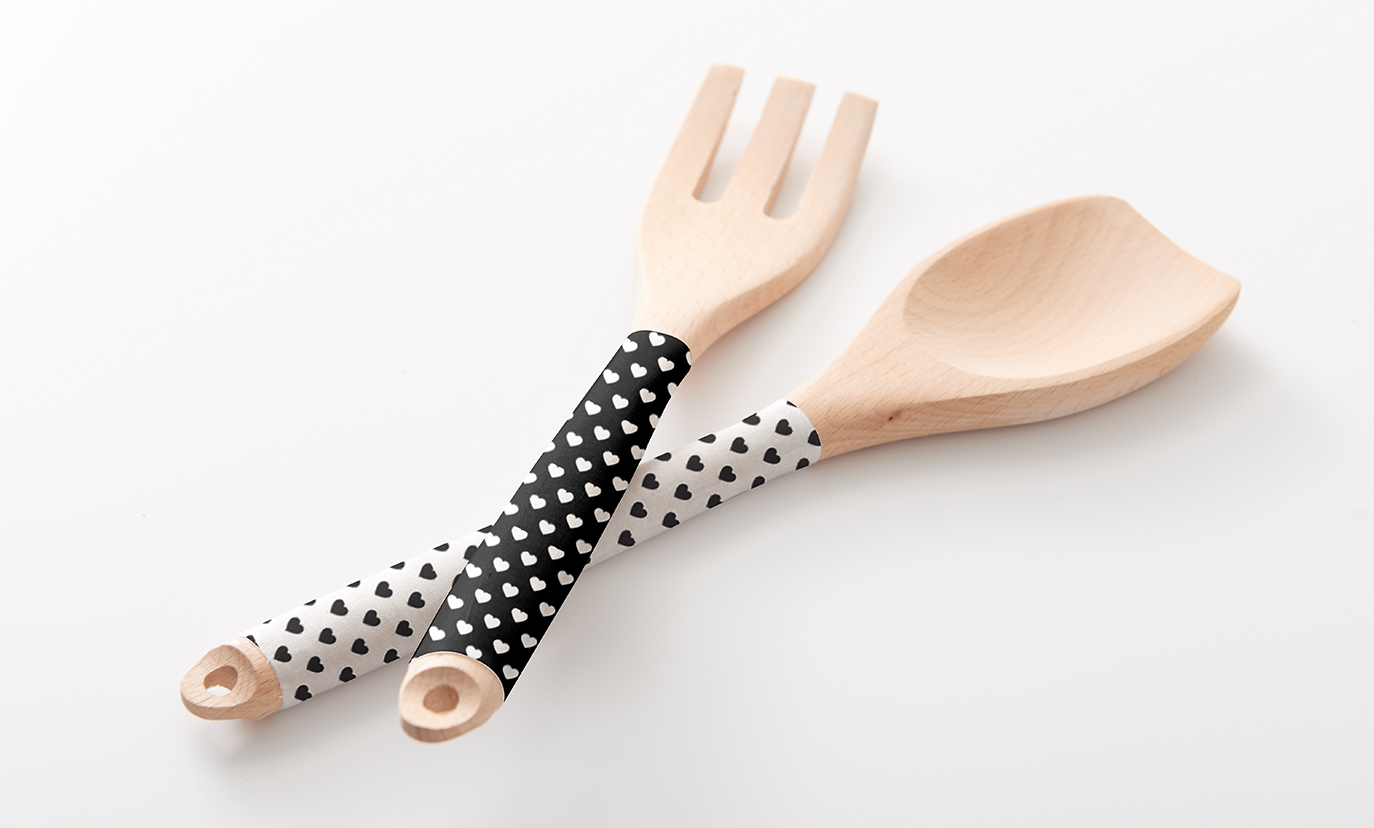
Step 5: Tada!
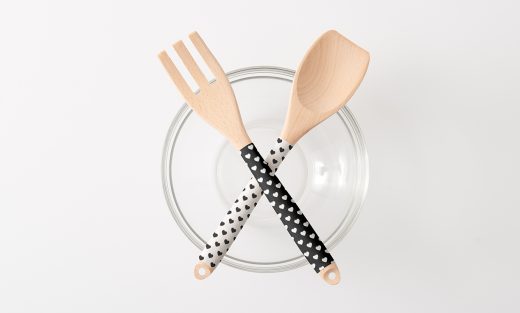
Now you’ve created custom serving utensils, perfect for family gatherings and other occasions — made with love.
All Photos: Zazzle.com
Jenny is Zazzle’s Associate Art Director. She loves DIY projects and making things with her hands. When she’s not getting crafty, you can find her hosting dinner parties, reading books, or cuddling her cat, Luna.


This is a really cute idea. Decoupage is my favorite way to give something a quick & fun make-over. I’d recommend applying the Mod Podge Fabric to the fabric (and letting it dry) before cutting it as it keeps it from fraying so you get cleaner edges. After you’ve applied the fabric to the utensils, I’d suggest applying at least one coat of Mod Podge Hard Coat because it’s designed for uses where the piece will be handled frequently so it’s more durable.
Thank you! ?