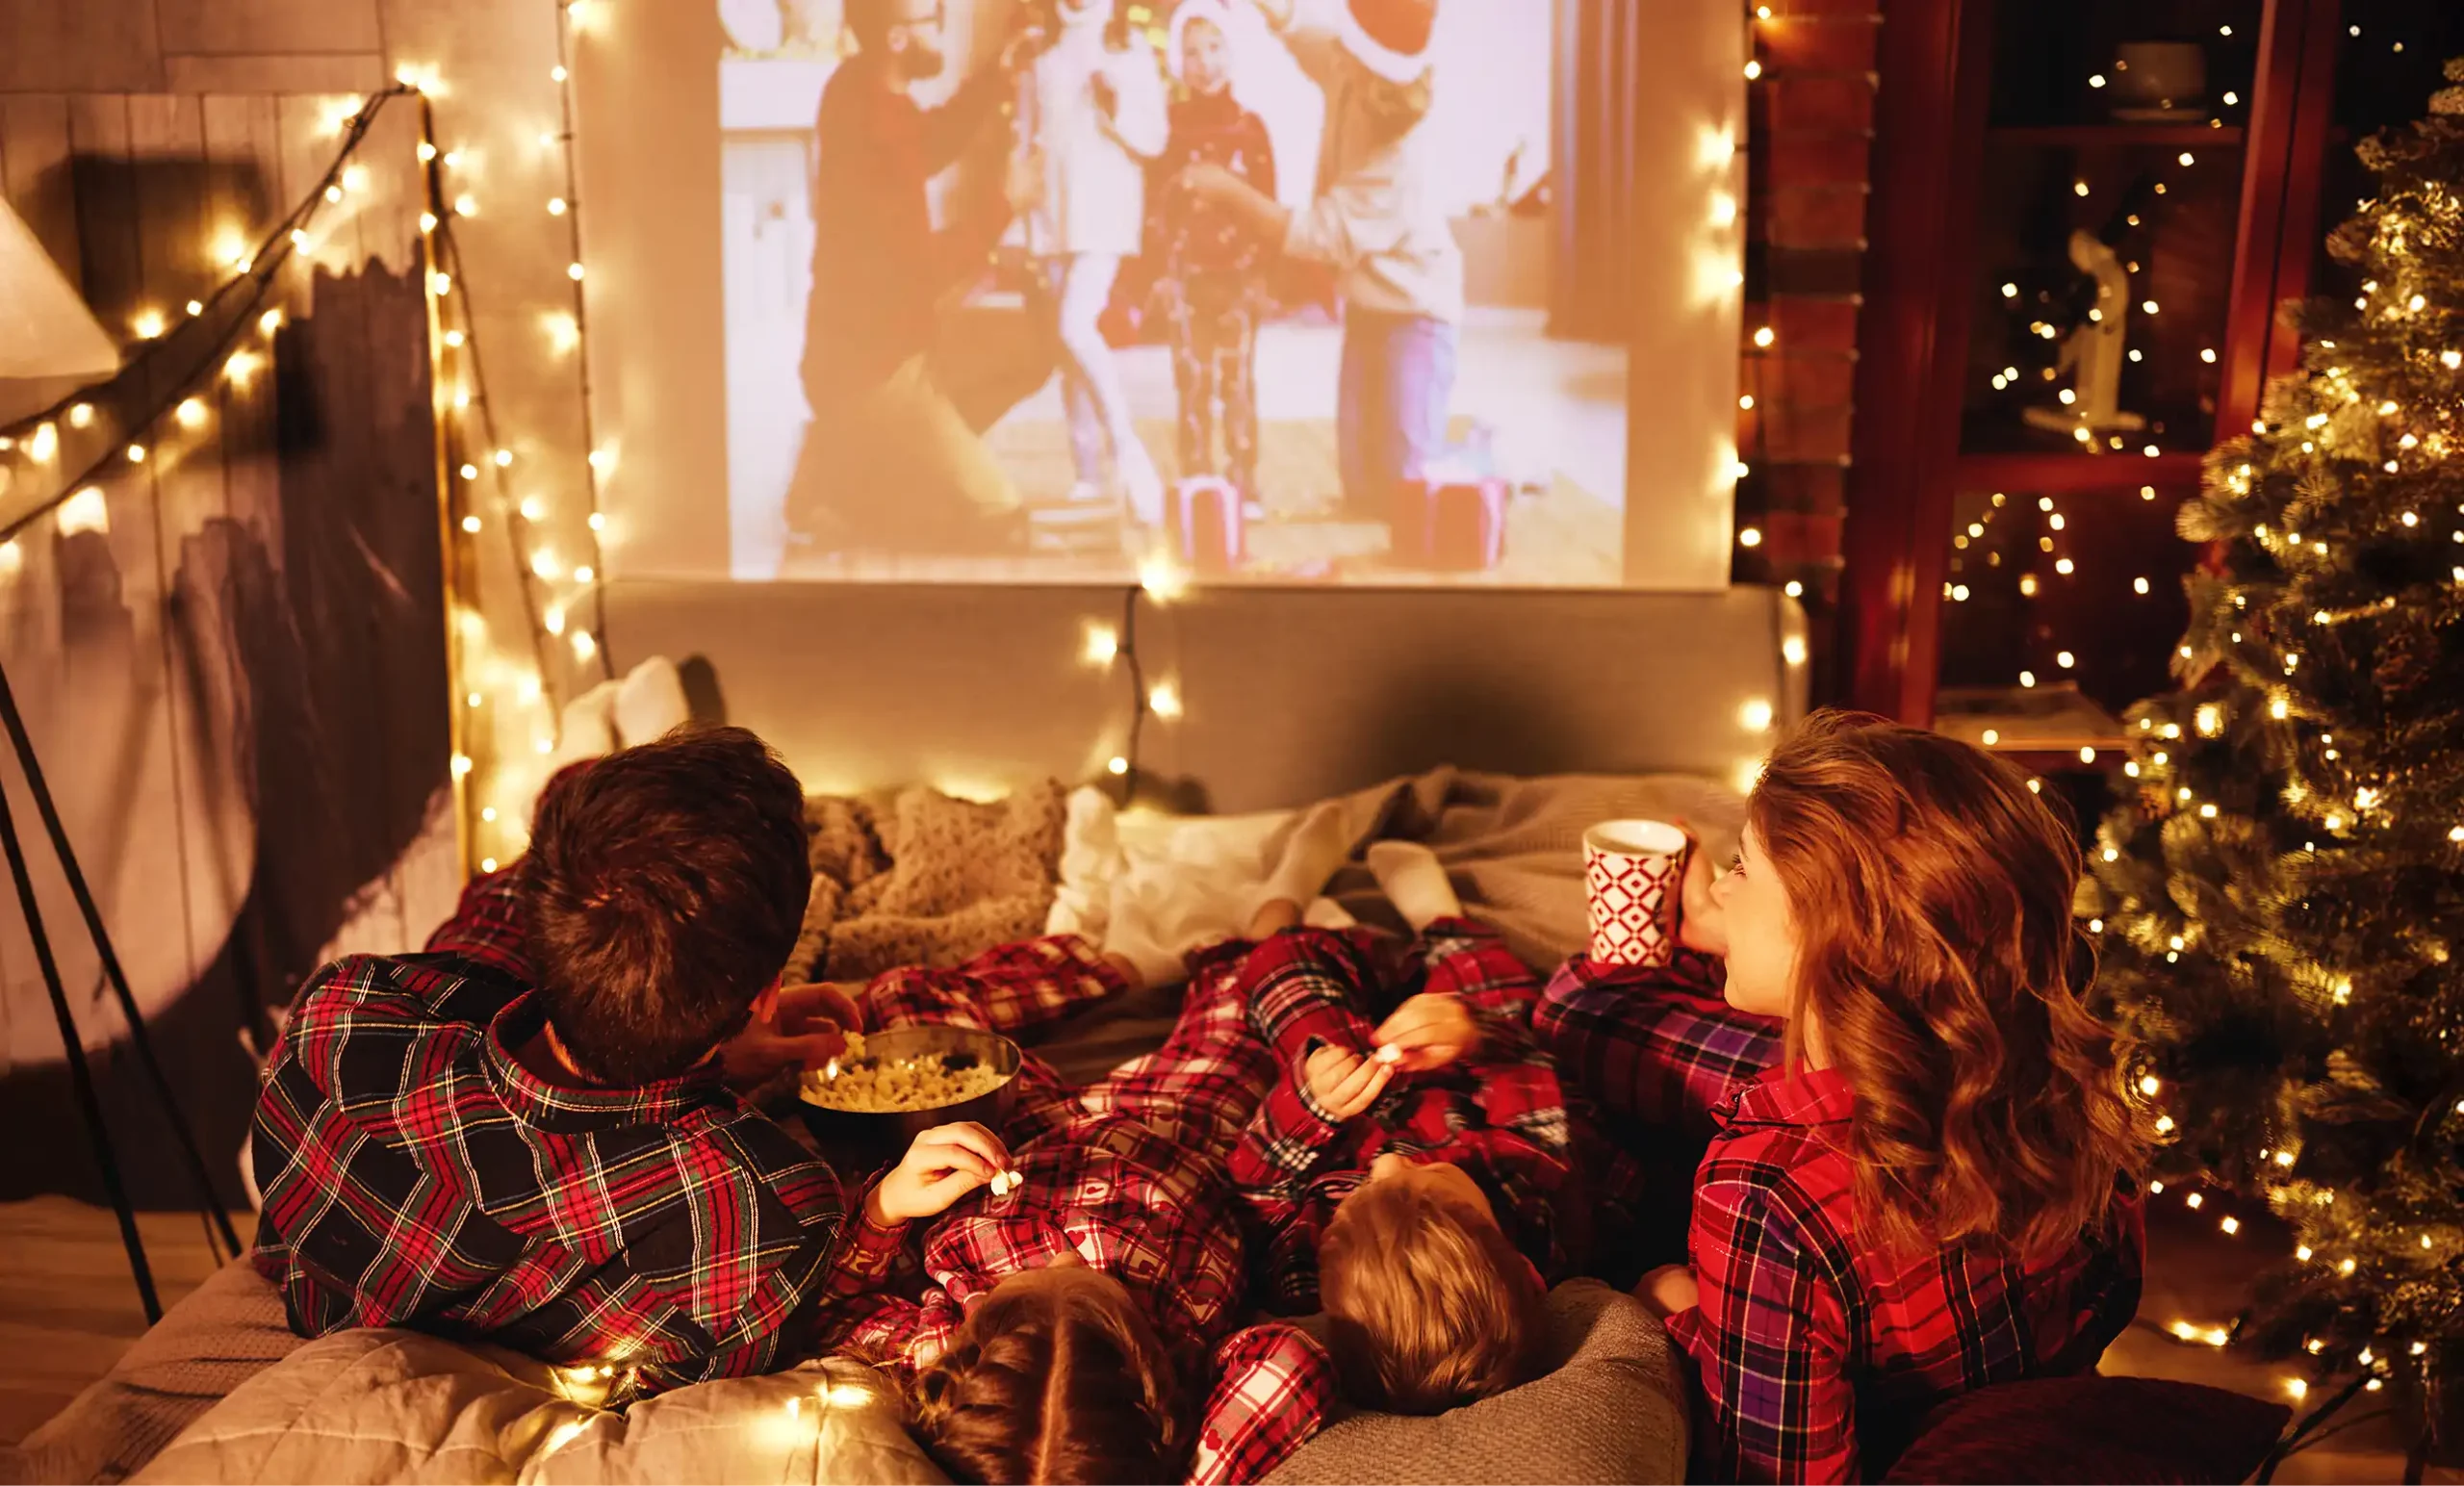

Ever wondered how some people manage to send effortlessly glossy, festive-but-not-cheesy, too-adorable-not-to-keep holiday cards year after year? Well, the secret is all in the planning!
With this guide on taking your own pictures and turning it into a holiday photo card, your card will shine like the season’s first snow – bright, unique, and natural, like it all just fell into place somehow. Here’s how to take your own photos and create a masterpiece Christmas card, in 3 simple steps!
Step 1: Plan a Picture Day!
Taking family pictures in the middle of a busy season isn’t always easy – restless children, tricky lighting, and clashing outfits can create a not-so-picture-perfect storm. Hiring a professional photographer can solve these problems, but with a little planning, you can also take great pictures at home. Here’s what you’ll need to consider when planning your photoshoot this holiday season.
Location – Where will you take your holiday photos?
A well-chosen location gets your shoot off to a great start and helps you make other important decisions, like what the dress code will be and what poses you’ll choose. If, for example, you decide to take pictures outside in the snow, then you’ll need cute hats and gloves, and a tripod, to capture a family snow fight.
The sky’s the limit here: you can go for a classic cozy fireside setting, a beach picture, or even a snap of the whole family at crazy golf. Whatever setting is convenient and fun for you is the best one, whether or not it’s traditionally festive.
Dress for Success – What are you & your family wearing?
Much like your choice of location, your outfits should reflect your family’s personality, whether that means smart casual, formal evening wear, or matching elf pajamas. Whatever theme you choose, you can coordinate with one another to curate your photo’s color palette and add a professional touch to your photo.
You can also take into consideration the background of your photo. In a beach picture, for example, solid navy and crisp white pieces will stand out against the sand. If you’re going for a crazy holiday sweater look, pair your patterned pieces with neutral trousers for balance.
Lighting – What time of the day will you take your pictures?
Once you’re on location, it’s time to think about lighting. Aim to take advantage of ‘golden hour’, the time just after sunrise or before sunset, when the sun is low and natural light is extra flattering. And if the kids are squinting into the sun, or some harsh backlighting is creating an odd halo over someone’s head, choose another spot to pose.
For more tips on lighting, check out this article on How to Best Use Natural Light in Your Photography.
Laughter – Will you practice your photo poses?
Genuine laughter makes for the best photographs, so avoid the temptation to say ‘cheese’, which can result in stiff, unnatural smiles. If possible, have a close friend be your photographer and make you giggle while you pose. If you’re using a timer, have a joke prepared to catch your family off guard.
You can also set your camera to burst mode (which will take lots of photos in quick succession) and play with some props, like wrapping paper or lights; the camera loves a candid moment!
Equipment – What photo equipment will you need to bring?
Taking great pictures with nothing but a smartphone is totally possible, but a few simple accessories can make things a lot easier. The addition of just a tripod and remote shutter release will save you from propping your phone up on shaky boxes and running to beat the timer – a recipe for blurry images! If you’re ready to go a little more high-tech, check out our article on Essential Accessories for Photography.
Subject Framing – How would you like to place your subjects?
You may not consider yourself a photographer, but anyone can develop a knack for framing with some practice. Try experimenting with leading lines and the rule of thirds. Using the rule of thirds, you can divide your image into sections with gridlines and place your subject (like the face of the person you’re photographing) at the intersections of the lines, which will frame them in a way that’s naturally pleasing to the human eye. Your smartphone or camera may even have a setting that shows gridlines.
Leading lines are, unsurprisingly, lines that lead the eye naturally to the subject of a photo; think of that hilltop shot that has a beautiful path stretching up towards the triumphant climber. These ‘rules’ don’t have to be followed in every photo, but they can help you decide where to stand and how to make the most of your background.
Share Something Special – Do you have a Christmas photo idea in mind?
A truly memorable holiday card is one that builds connection with your friends and family, especially those you don’t see regularly. There are so many family Christmas picture ideas to choose from. Has your youngest been refusing to take off their favorite superhero costume? Have them pose in it! Did someone just graduate from college or start a new job? Is there a new pet or baby in the house? Share the great news! Check out these exciting pregnancy announcement, engagement, and birth announcement holiday cards for inspiration.
Photo Editing – How will you edit your pictures?
Finally, when you’ve chosen your favorite photos, don’t be afraid to give them a light edit. This doesn’t have to be as daunting as you might think; there are many online tools and easy-to-use editing applications available today. We’ve even made a list of the best ones! Read up on the Best Photo Editing Apps to Improve Your Pics.
If you’d rather keep it to the professionals, online freelancing services like Fiverr host hundreds of professional photo editors who will gladly edit your picture for an extra cost.
Step 2: How to Create Your Christmas Card
Congratulations! The hard part, taking your pictures, is over, and it’s time for the second step – choosing your card. Thanks to Zazzle’s handy holiday card maker, finding a card that fits your photo nicely has never been easier.
Using the card maker is simple:
- Upload one or two photos
- Enter your family name
- Select a seasonal greeting
- Hit ‘View Your Holiday Cards’
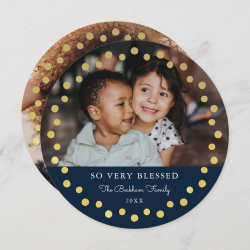
You’ll be shown a range of cards with your photo(s). All you have to do is decide which one you love most!
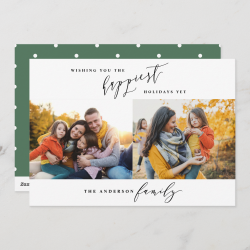
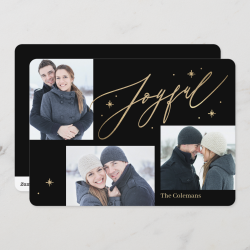
If you managed to capture a bunch of great shots this year, and simply can’t choose between them, a collage card might be for you! Check out our photo Christmas cards for options with multiple photos.
Make It Last – Put your pictures on EVERYTHING!
For your VIP holiday card listers (like Grandma and Grandpa), you may want to create a more durable keepsake, in the form of a photo gift. Give your holiday snaps pride of place on a photo mug, a keyring, or a Christmas magnet, where they can brighten the fridge up all year round!
Step 3: Send Your Cards to family, friends & more!
You did it – phew! The hard work is done and it’s time to send your cards out (when you’re done admiring your artistry, of course). To make life easy (and pretty), check out these holiday labels, stickers, and rubber stamps.
If you need guidance on Christmas card messaging, check out our comprehensive article on what to write in a Christmas card.
Et voilà! Now you too are a master of the perfect holiday card. We hope you found these tips helpful, and wish you a very happy holiday season! May your pictures be clear and your holiday full of cheer!
Shop our Photo Christmas Cards


Neasa, a self-confessed travel and podcast addict, is a Content Specialist with our Zazzle team in Cork, Ireland. When she’s not reading, writing, or practicing her French, you’ll find her drinking far too much coffee and babbling about pop culture to anyone who’ll listen.