

The Mason jar craze isn’t slowing down any time soon—they’re just so versatile! Your Grandma’s canning jars are today’s everything-jars. What other items can you drink from, store food in, and place a bouquet?
*And* they’re affordable. Glass containers and vases don’t come any cheaper than these!
After spending the summer attending wedding celebrations, I’ve recently discovered another terrific use—centerpieces! To create them, it’s as simple as adorning the jars with ribbon, glitter, or twine and adding items that speak to your theme. If you like the nautical arrangement I dreamed up, follow these easy steps below.
Project: DIY Mason Jar Wedding Centerpieces
Time: 20 minutes
Difficulty level: Beginner
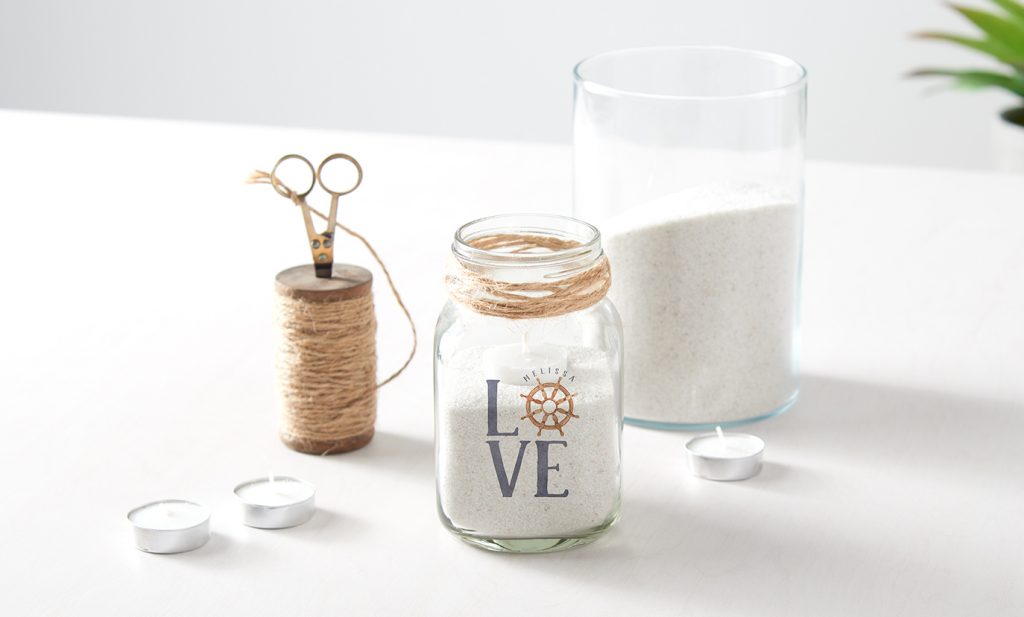
Here’s what you’ll need:
- Zazzle Custom Mason Jars
- Sand
- Twine
- Scissors
- Tea Light Candles
Here’s how you do it:
Time needed: 20 minutes
Grab your supplies and follow these steps to make your own DIY mason jar centerpieces!
- Wrappers Delight.
Gather a few feet of twine. Wrap it around the rim of the jars several times to achieve the desired, rustic look. Tip: more twine gives it a nautical vibe, while less twine provides more of a country-chic look (for a rustic wedding). There’s no wrong way to do this, so don’t sweat it!
Tie a small knot to secure it in place. Cut off any excess twine, or you can even fray the ends for a fun tassel effect.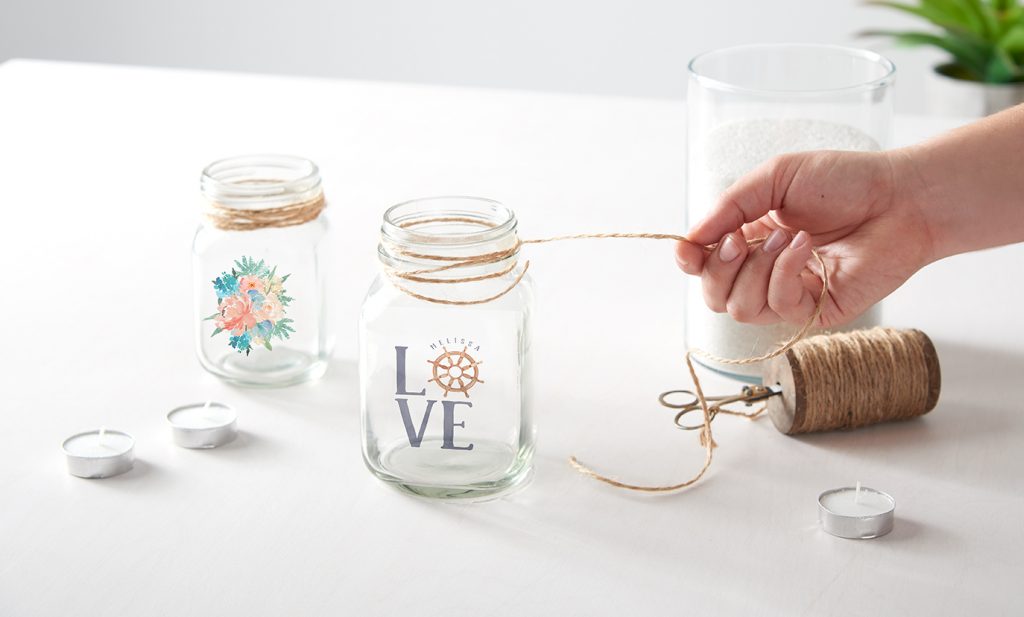
- Yes, Sand…
Now it’s time to pour sand into each jar. Add the same amount to each jar or vary the amounts to create candle height variation.
The sand will make it easier to affix candles to the centerpiece display, but it will also weigh the jars down. This makes it perfect for an outside wedding.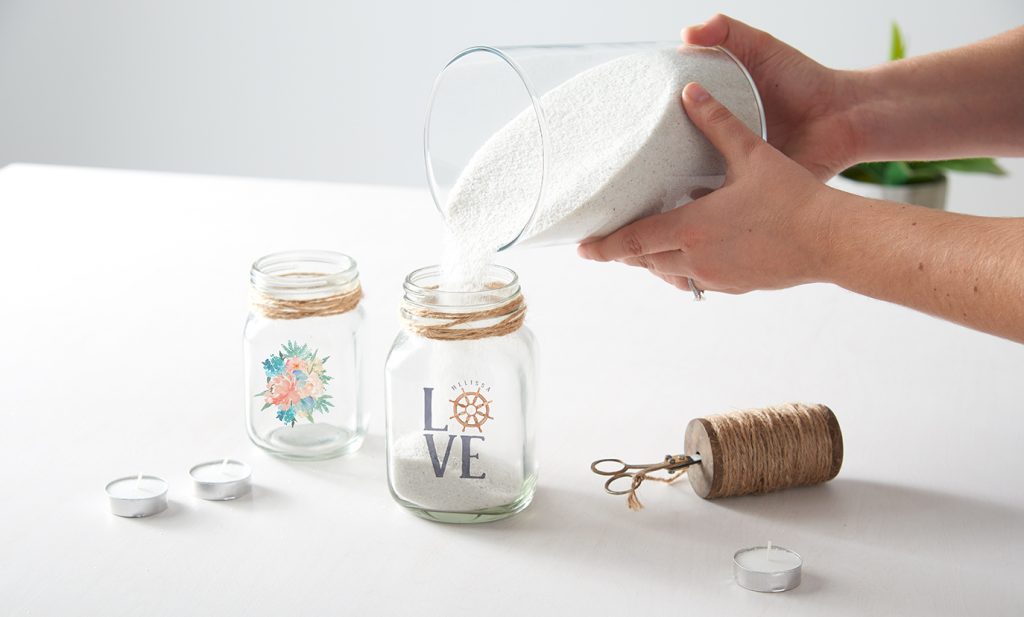
- Let There Be Light.
Pop in the tea light candles. Simply place them on top of the sand, or bury them in slightly, so only the tops show through.
Arrange the jars in clusters at the center of your tables and light the candles to set the mood. I reckon it’s not a true centerpiece unless it adds a fragrance or light feature.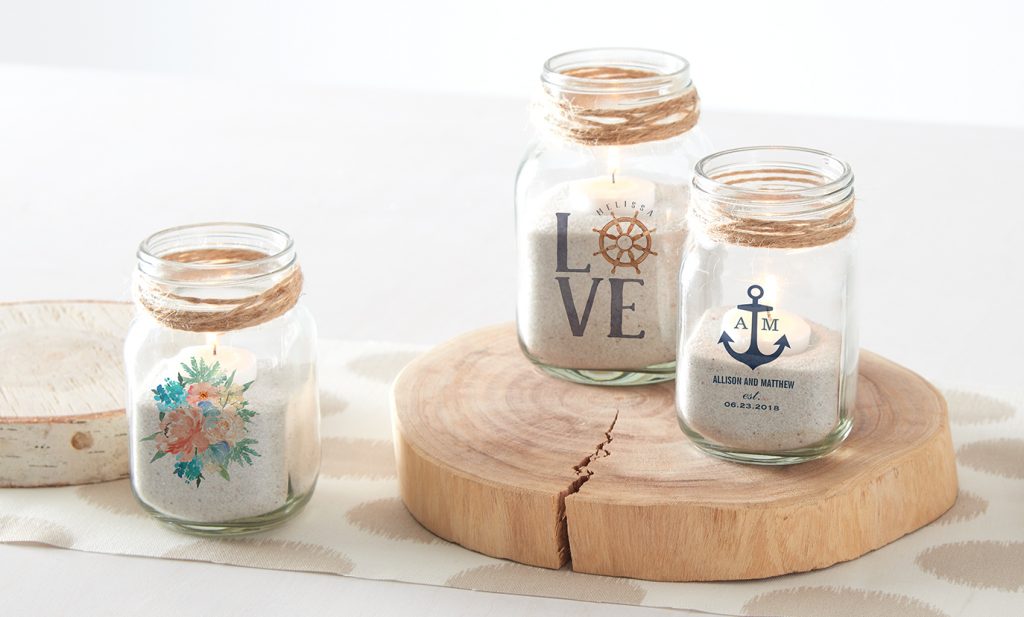
I hope you found this DIY project as ah-mason as I did! Isn’t the finished product just the sweetest thing?
Expert Tips for a Perfect Centerpiece
- These custom jars from Zazzle came pre-decorated, but you can decorate your centerpieces with your Cricut machine, washi tape or other stickers.
- Why stop at weddings? Use centerpieces for every seasonal gathering and special occasion.
- Consider different sizes when clustering multiple mason jars. Different heights will make the focal point more interesting.
- Consider colored mason jars. While green and aqua blue mason jars are more common, custom colors such as pink and purple are available (or you can paint them yourself).
- Think about the base of your centerpiece, too. It could be a wood slab, a mirror, burlap, antique books, or even an extra charger plate.
Additional Mason Jar Ideas
Still need more of a mason jar fix? Are you more candyman than sandman? I have a couple more mason-jars-as-centerpiece projects you’ll love.
- Get nauti with this fishnet design. Heads up: this one is the more complicated spiritual cousin to the project we outlined above. https://www.itallstartedwithpaint.com/fishnet-wrapped-mason-jar/
- Prepare for a summer picnic or birthday party with this daisy crazy design. https://masonjarcraftslove.com/painted-daisy-mason-jars/?crlt.pid=camp.rvizdmHBbNMp
- These lace jars are perfect for weddings or other elegant soirees, http://www.iammommahearmeroar.net/2012/03/feature-friday-lace-painted-mason-jars.html
- Nothing says Christmas like a perfectly designed table filled with all the DIY crafts—including these frosted centerpieces https://www.yellowblissroad.com/christmas-home-tour-2014/
- Satisfy everyone’s sweet tooth with a candy bouquet mason jar centerpiece https://www.onecrazymom.com/easy-candy-bouquet-diy/
- Learn how some fresh flowers bring a touch of sophistication to any occasion with this easy DIY project https://anoregoncottage.com/easy-mason-jar-flower-arrangements-with-live-plants/
Have you used Mason jars as party décor? Let us know in the comments below!
If you try this DIY please share it with us by using the hashtag #zazzlemade on Facebook, Instagram, or Twitter. We love seeing the creative ways you use Zazzle products.
All Photos: Zazzle.com
Jenny is Zazzle’s Associate Art Director. She loves DIY projects and making things with her hands. When she’s not getting crafty, you can find her hosting dinner parties, reading books, or cuddling her cat, Luna.

Cute idea! Thanks for featuring my ‘nautical anchor’ mason jar!
These are actually really cute. I did not think to burn tea lights in them before and I love tea lights!
I love the combination of glass and twine. makes it so cozy!