Planning a baby shower involves many moving parts, and one of the most important aspects is the invitation. It sets the tone for the event and gives guests a glimpse of what to expect. Newly released generative art tools, like the ones included in the most recent releases of Adobe Photoshop, have made it easier than ever to get that perfect look.
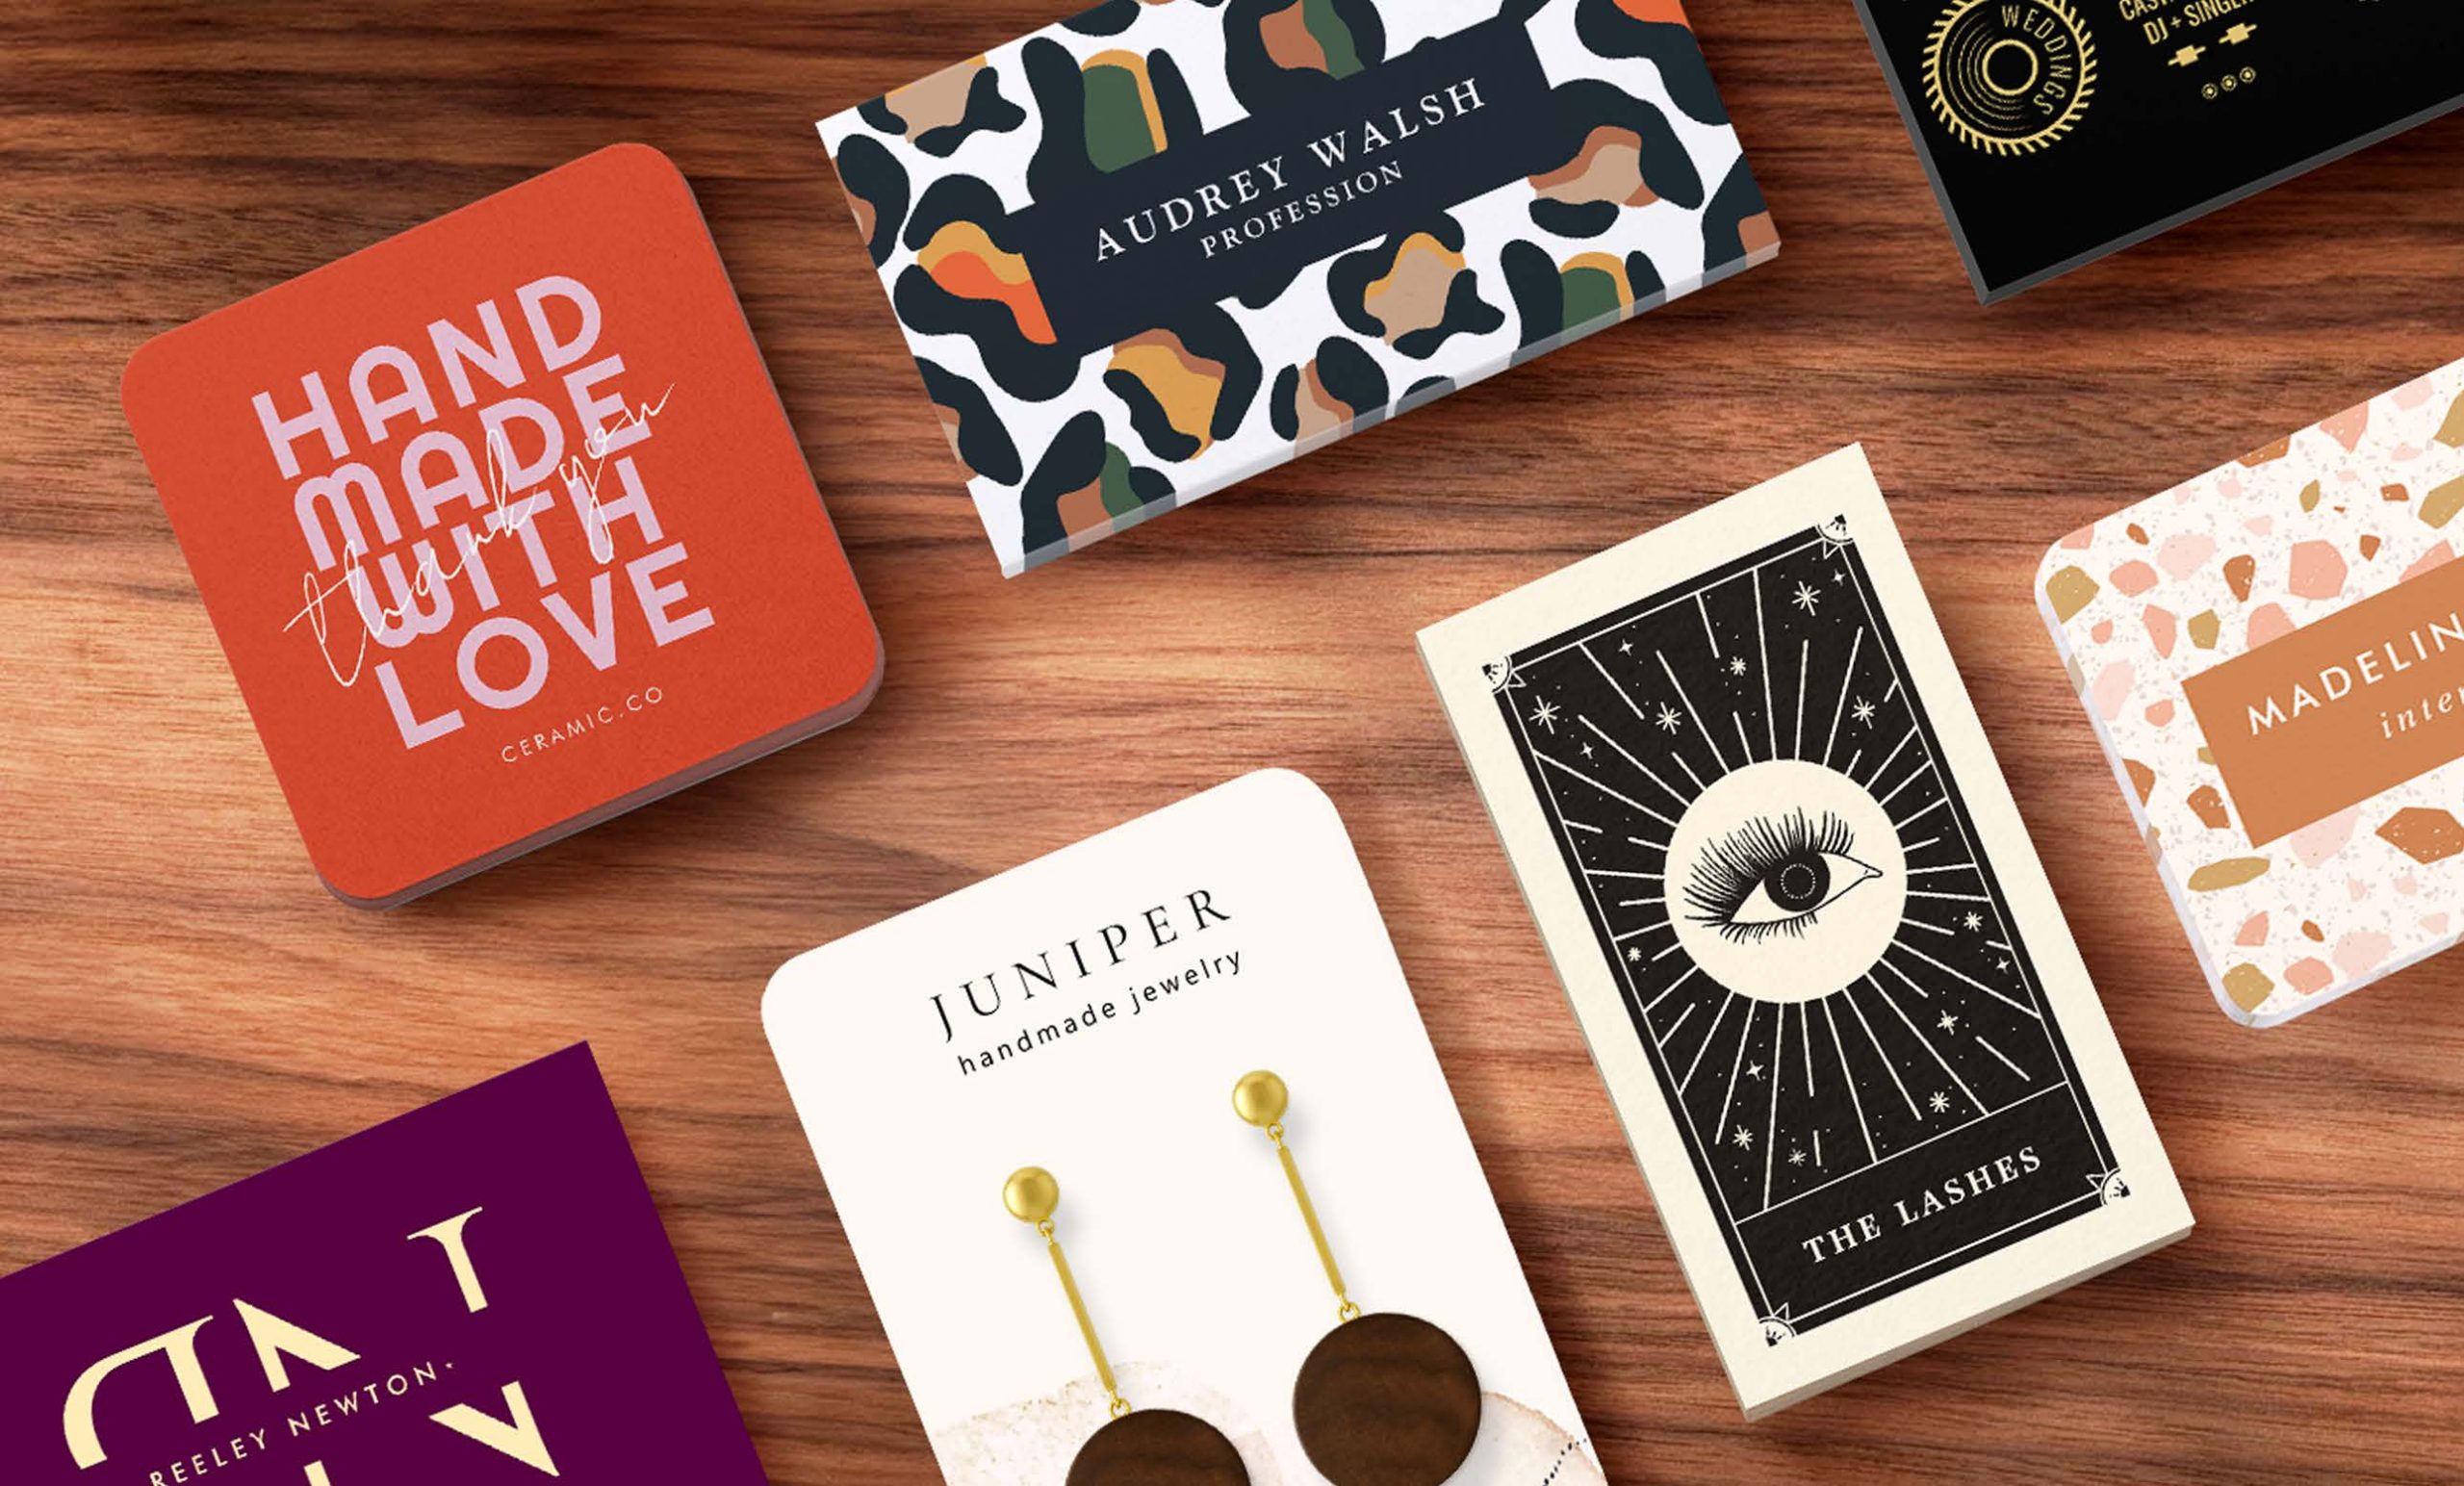
Whether it’s for baby shower invites, wedding invitations, or save the dates, you’ll be able to apply generative AI art to all types of invitations!
How To Get Started with Generative AI
For this tutorial, you’ll either need to have the most recent Photoshop release installed, or access to another generative art tool that you’re comfortable using. There are quite a few on the market now, so you can almost certainly find something that matches your work style and process. You can always search “AI art tools” on Google to quickly find one that you might like, if you don’t have one in mind and Photoshop is not an option for you.
We’ll be generating artwork from text descriptions, meaning that you can write a description of the image that you want, and an interpretation of what you described will be created automatically. These descriptions are called “prompts.”
It will still be up to you to ensure that the colors, details, and style are at the level of quality and cohesiveness that you expect in your own handmade work, so you may occasionally have to make manual touch ups to the artwork these tools create. Now that we’ve got that out of the way, let’s jump in.
Creating Your Invite Design (with help from AI)
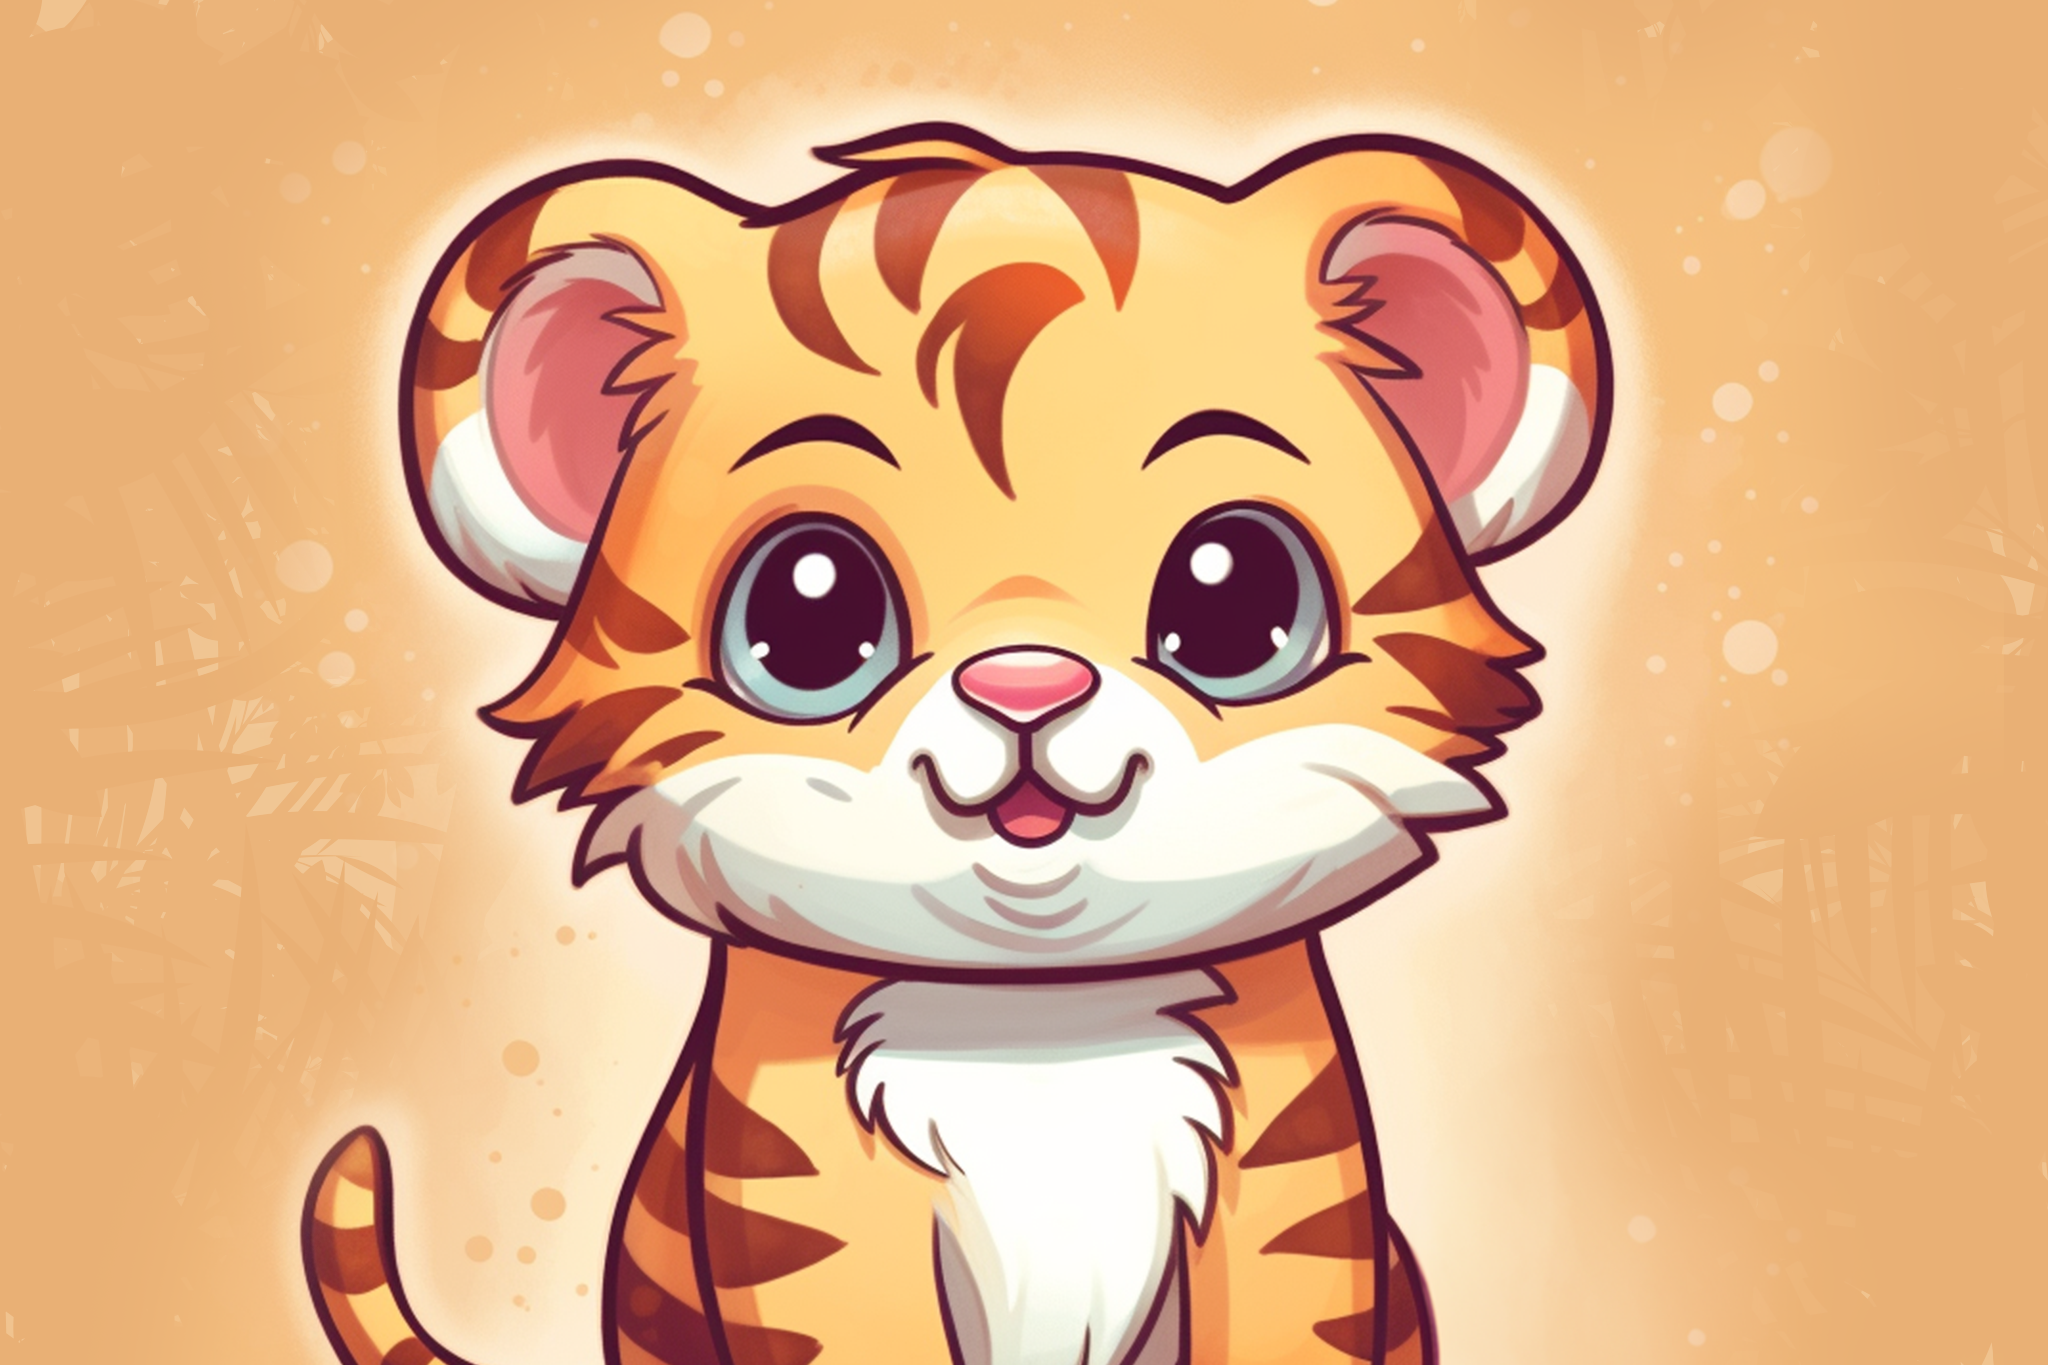
The first step in creating any composition is to come up with a general idea or theme, style, and color palette, along with a rough idea of the text content you want to include. I’m choosing to go with a wild animal theme, light pastels, and a digital art style. We know this is for a baby shower, so the text will be related to that function. I want to center the invite around a singular eye-catching image, so my first step will be to write a prompt to create that, such as “cute kawaii baby tiger digital drawing on a pastel orange background”.
After creating a new document in Photoshop for a 5×7 invitation (with an actual document size of 5.25×7.25 to include bleed and trim– don’t forget those!), the next step will be to run the prompt several times to generate some options to pick from. Again, you can generate these inside Photoshop, or whichever external tool you like to use.

Using my creative eye to choose the best result for my project, I can go ahead and drop my art pick into the invite layout. I chose the baby tiger on the right– but you’ll notice that this one ended up with an extra tail. We’ll use the selection tool to make a selection of the extra tail, and then we’ll use the generative fill tool to fix that incorrect detail. We’ll then use the “fill” tool on a lower layer to fill in the background with a matching solid color.

Now that we’ve got this “down on paper”, so to speak, we can start adding our text elements. I’m using typefaces that are available in Zazzle’s design tool: Pangolin for the main headline, and Averia Serif for the smaller text.

This invite is really shaping up! You’ll note that while most of the text is white, I used the eyedropper tool to grab some color from the illustration, so the whole layout ties together more tightly. I grabbed #a84633 from one of the tiger’s stripes to change the color of the event details.
Adding Visual Interest and Detail
I’ve added a vector banner created in Adobe Illustrator here, but it’s clear that the invitation needs some additional visual consideration to be the best invite that it can be. So the next step will be to create some elements we can use around the edge of the design. For these, I’m using variations on the prompt “cute kawaii jungle leaf clipart elements digital drawing on a white background“.

You can use the individual leaf elements and lay them out yourself, or you could use the border elements. To save time, we’re going to use one of the border elements. I’ll then add that content around the edges of my artboard to create visual interest by converting it to grayscale and then making use of Photoshop’s layered blending modes. .

The completed design for the invitation is here on the right, but there’s one more thing we can try to really make this sing. Zazzle has more than one type of invitation shape. Rectangular invites are the most common, but one of the other available die cut shapes could really look fantastic. It all comes down to your creative eye and aesthetic.

If you’ve followed along to this point in the tutorial, you can see that these innovative AI art tools can significantly reduce your preparation time and overall time investment when crafting something new. However, the responsibility still lies with you and your artistic vision to select the most suitable colors, typography, design elements, and layout for the invitations or any other materials you’re working on. It may also be necessary to alter the generative images to correct visual errors or align more closely with your color scheme or design style. This can be done using the conventional tools in Photoshop, such as cropping/clipping, hue/color/saturation adjustments, blending mode changes, creating new artwork as needed, and/or removing or substituting parts of the artwork using generative fill.
As always, be sure to review our policy guidelines if you have any questions about what content is ideal to buy or sell on Zazzle. We’re excited to see what you come up with, and from all of us here, we’d like to wish you happy creating!
Read More Generative AI Art Articles on Zazzle Ideas

Zazzle Ideas hosts a wide range of content experts, contributing knowledge & inspiration around current events. Learn more about what our writers have to say, exclusively here on Zazzle Ideas.